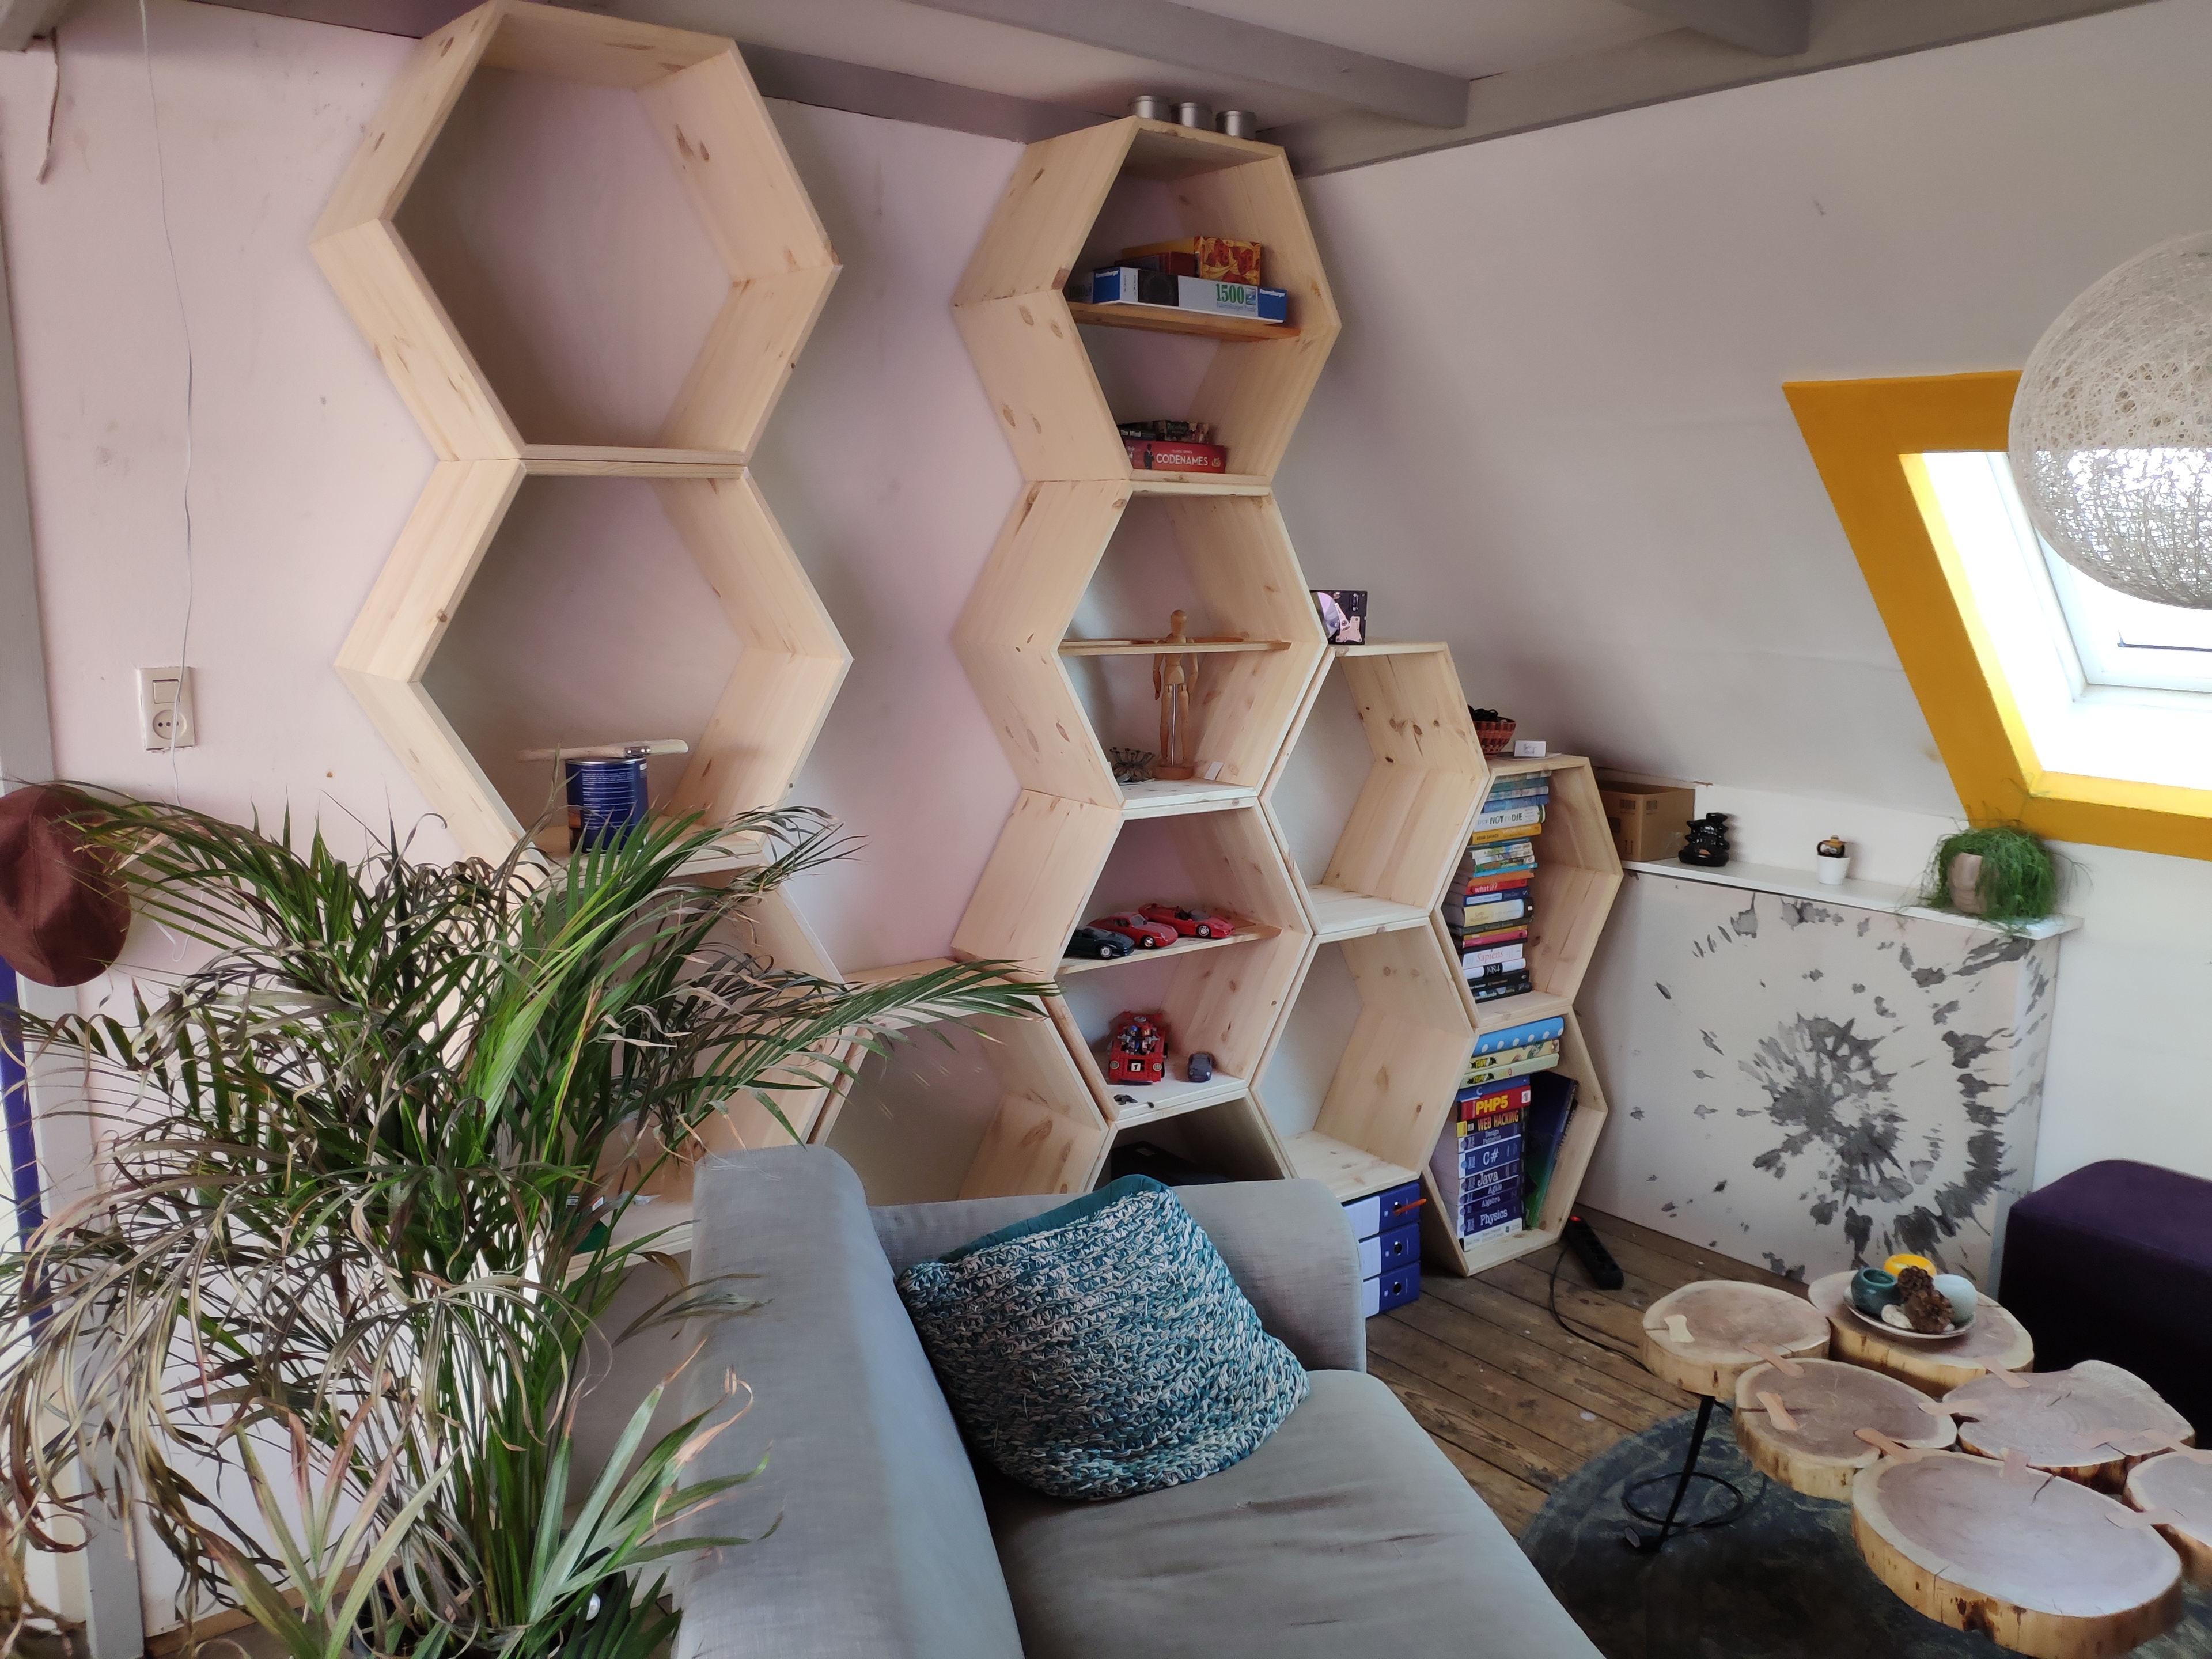
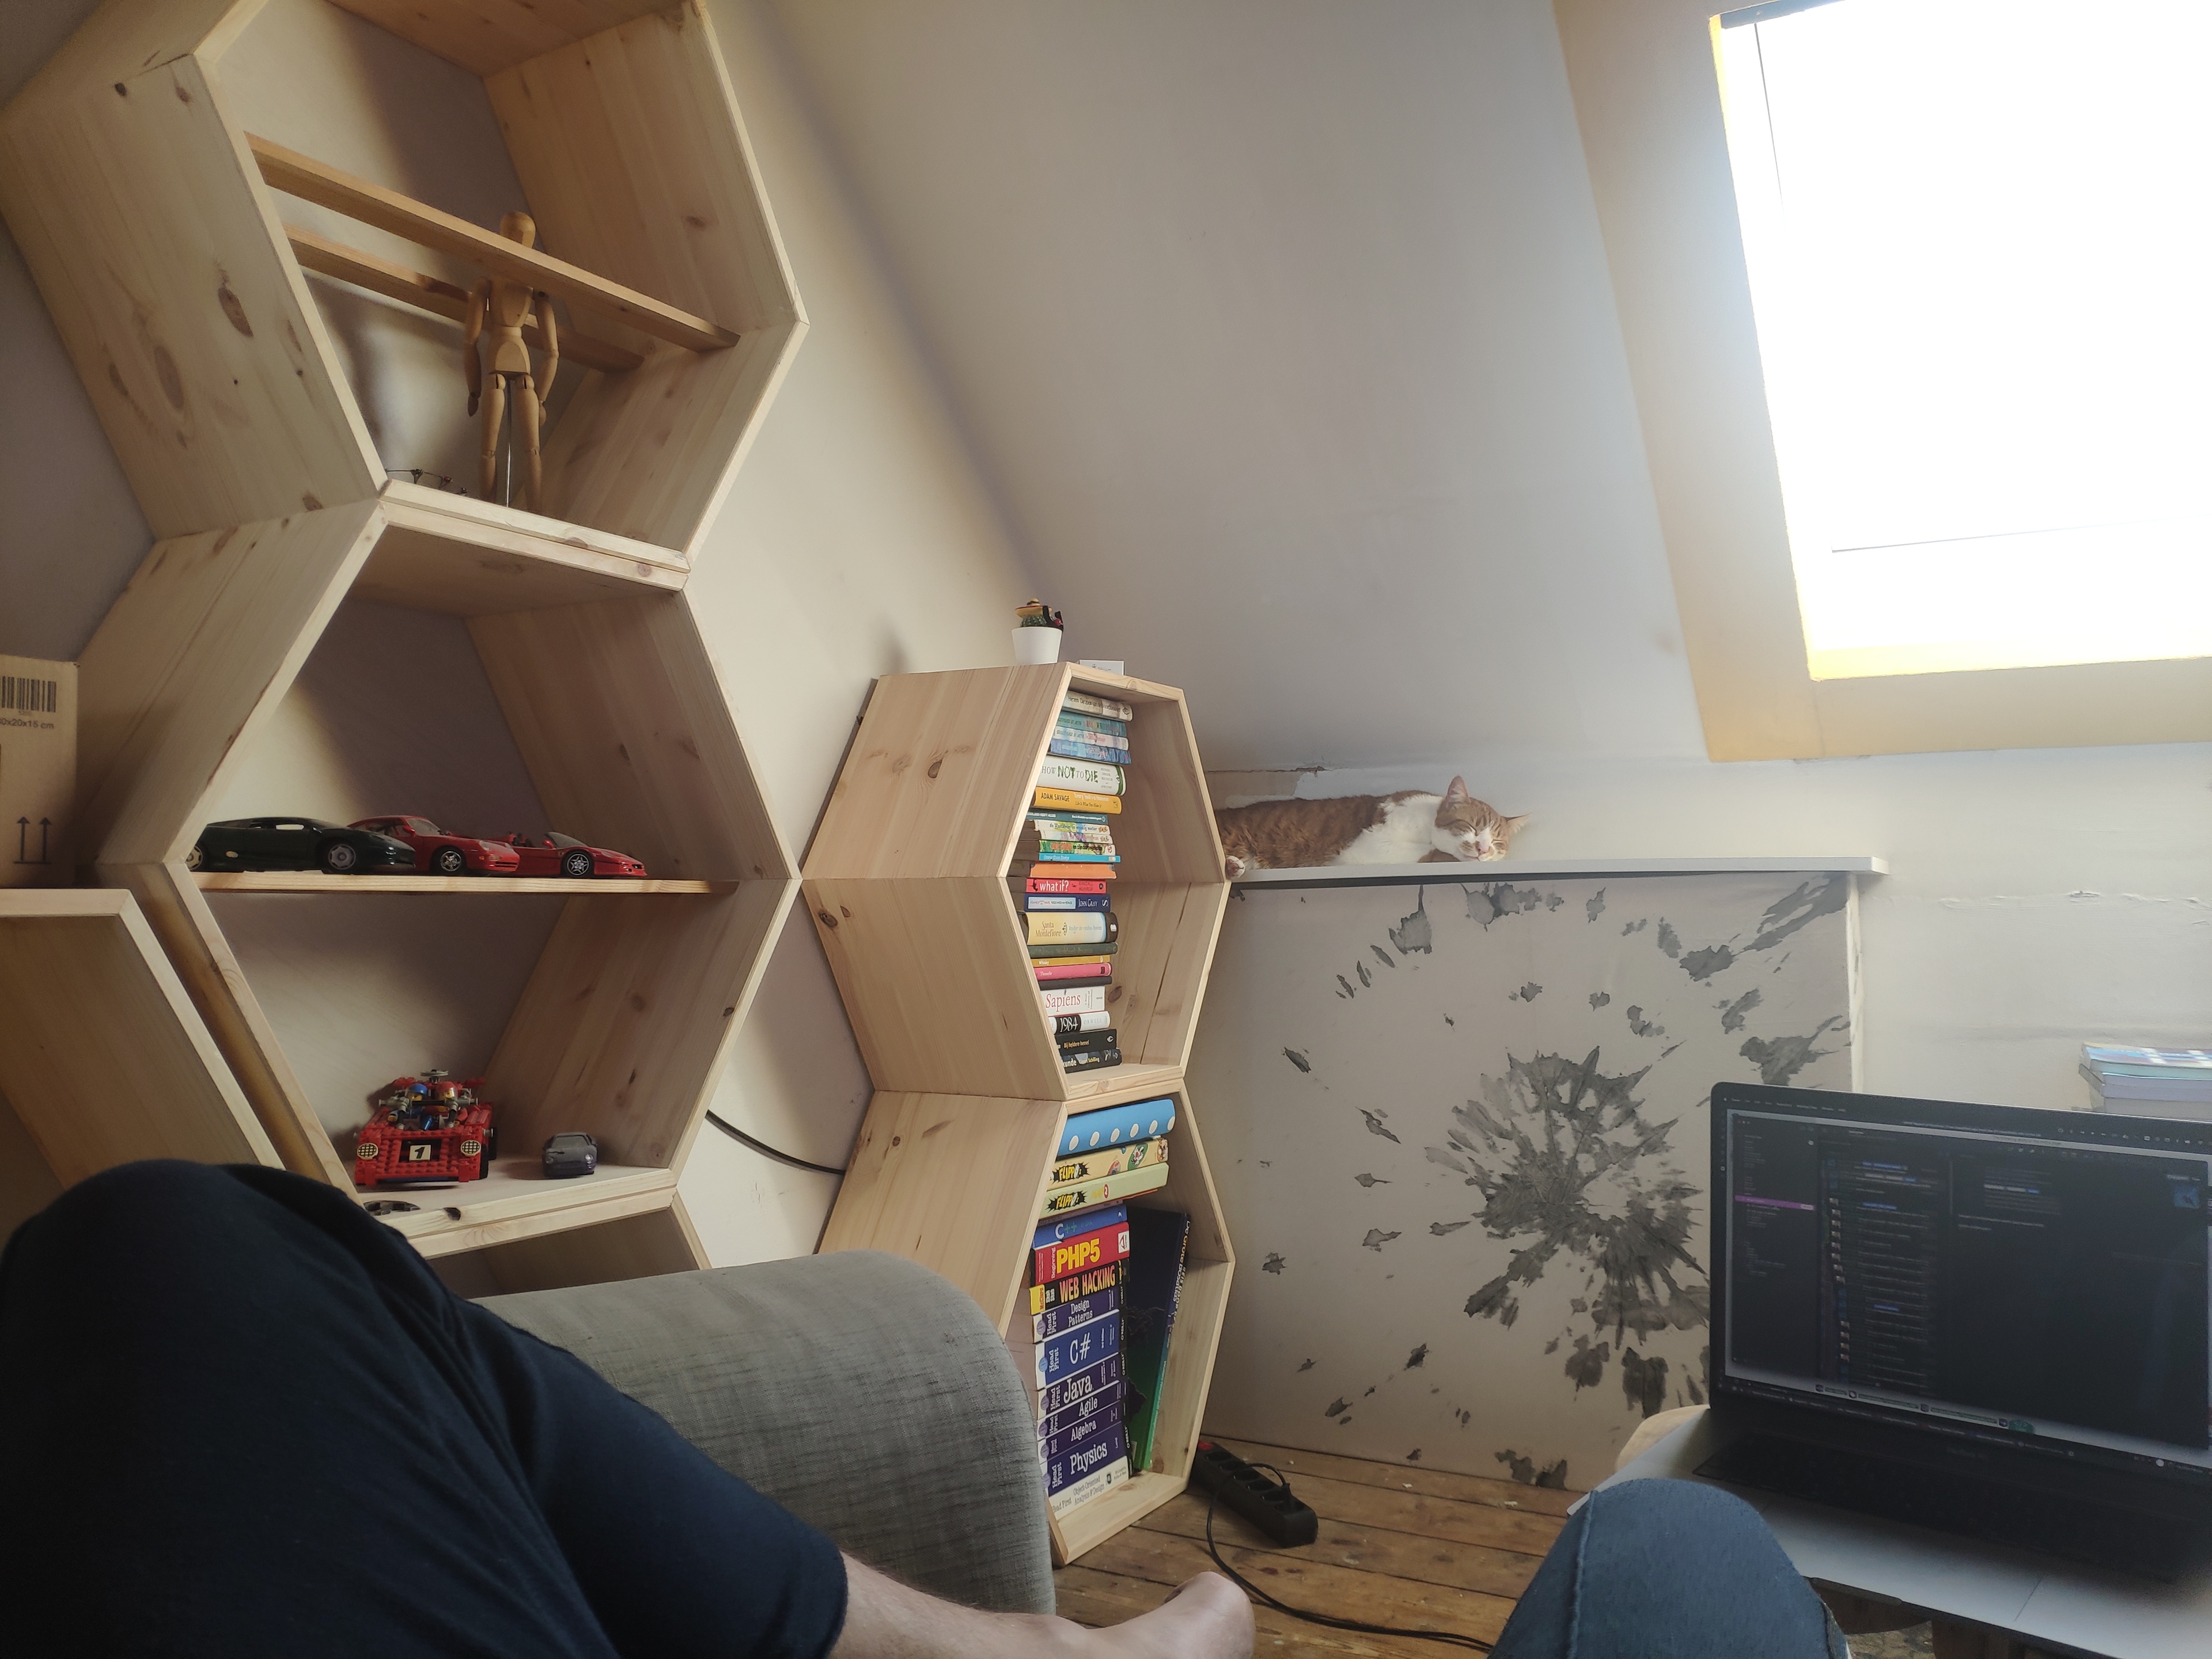
Cabinet
Published at: 12 February 2022Take a look at my other DIY projects as well.
This is a first concept of this post, updates are pending
I started off with this basic tutorial from KamuiCosplay.
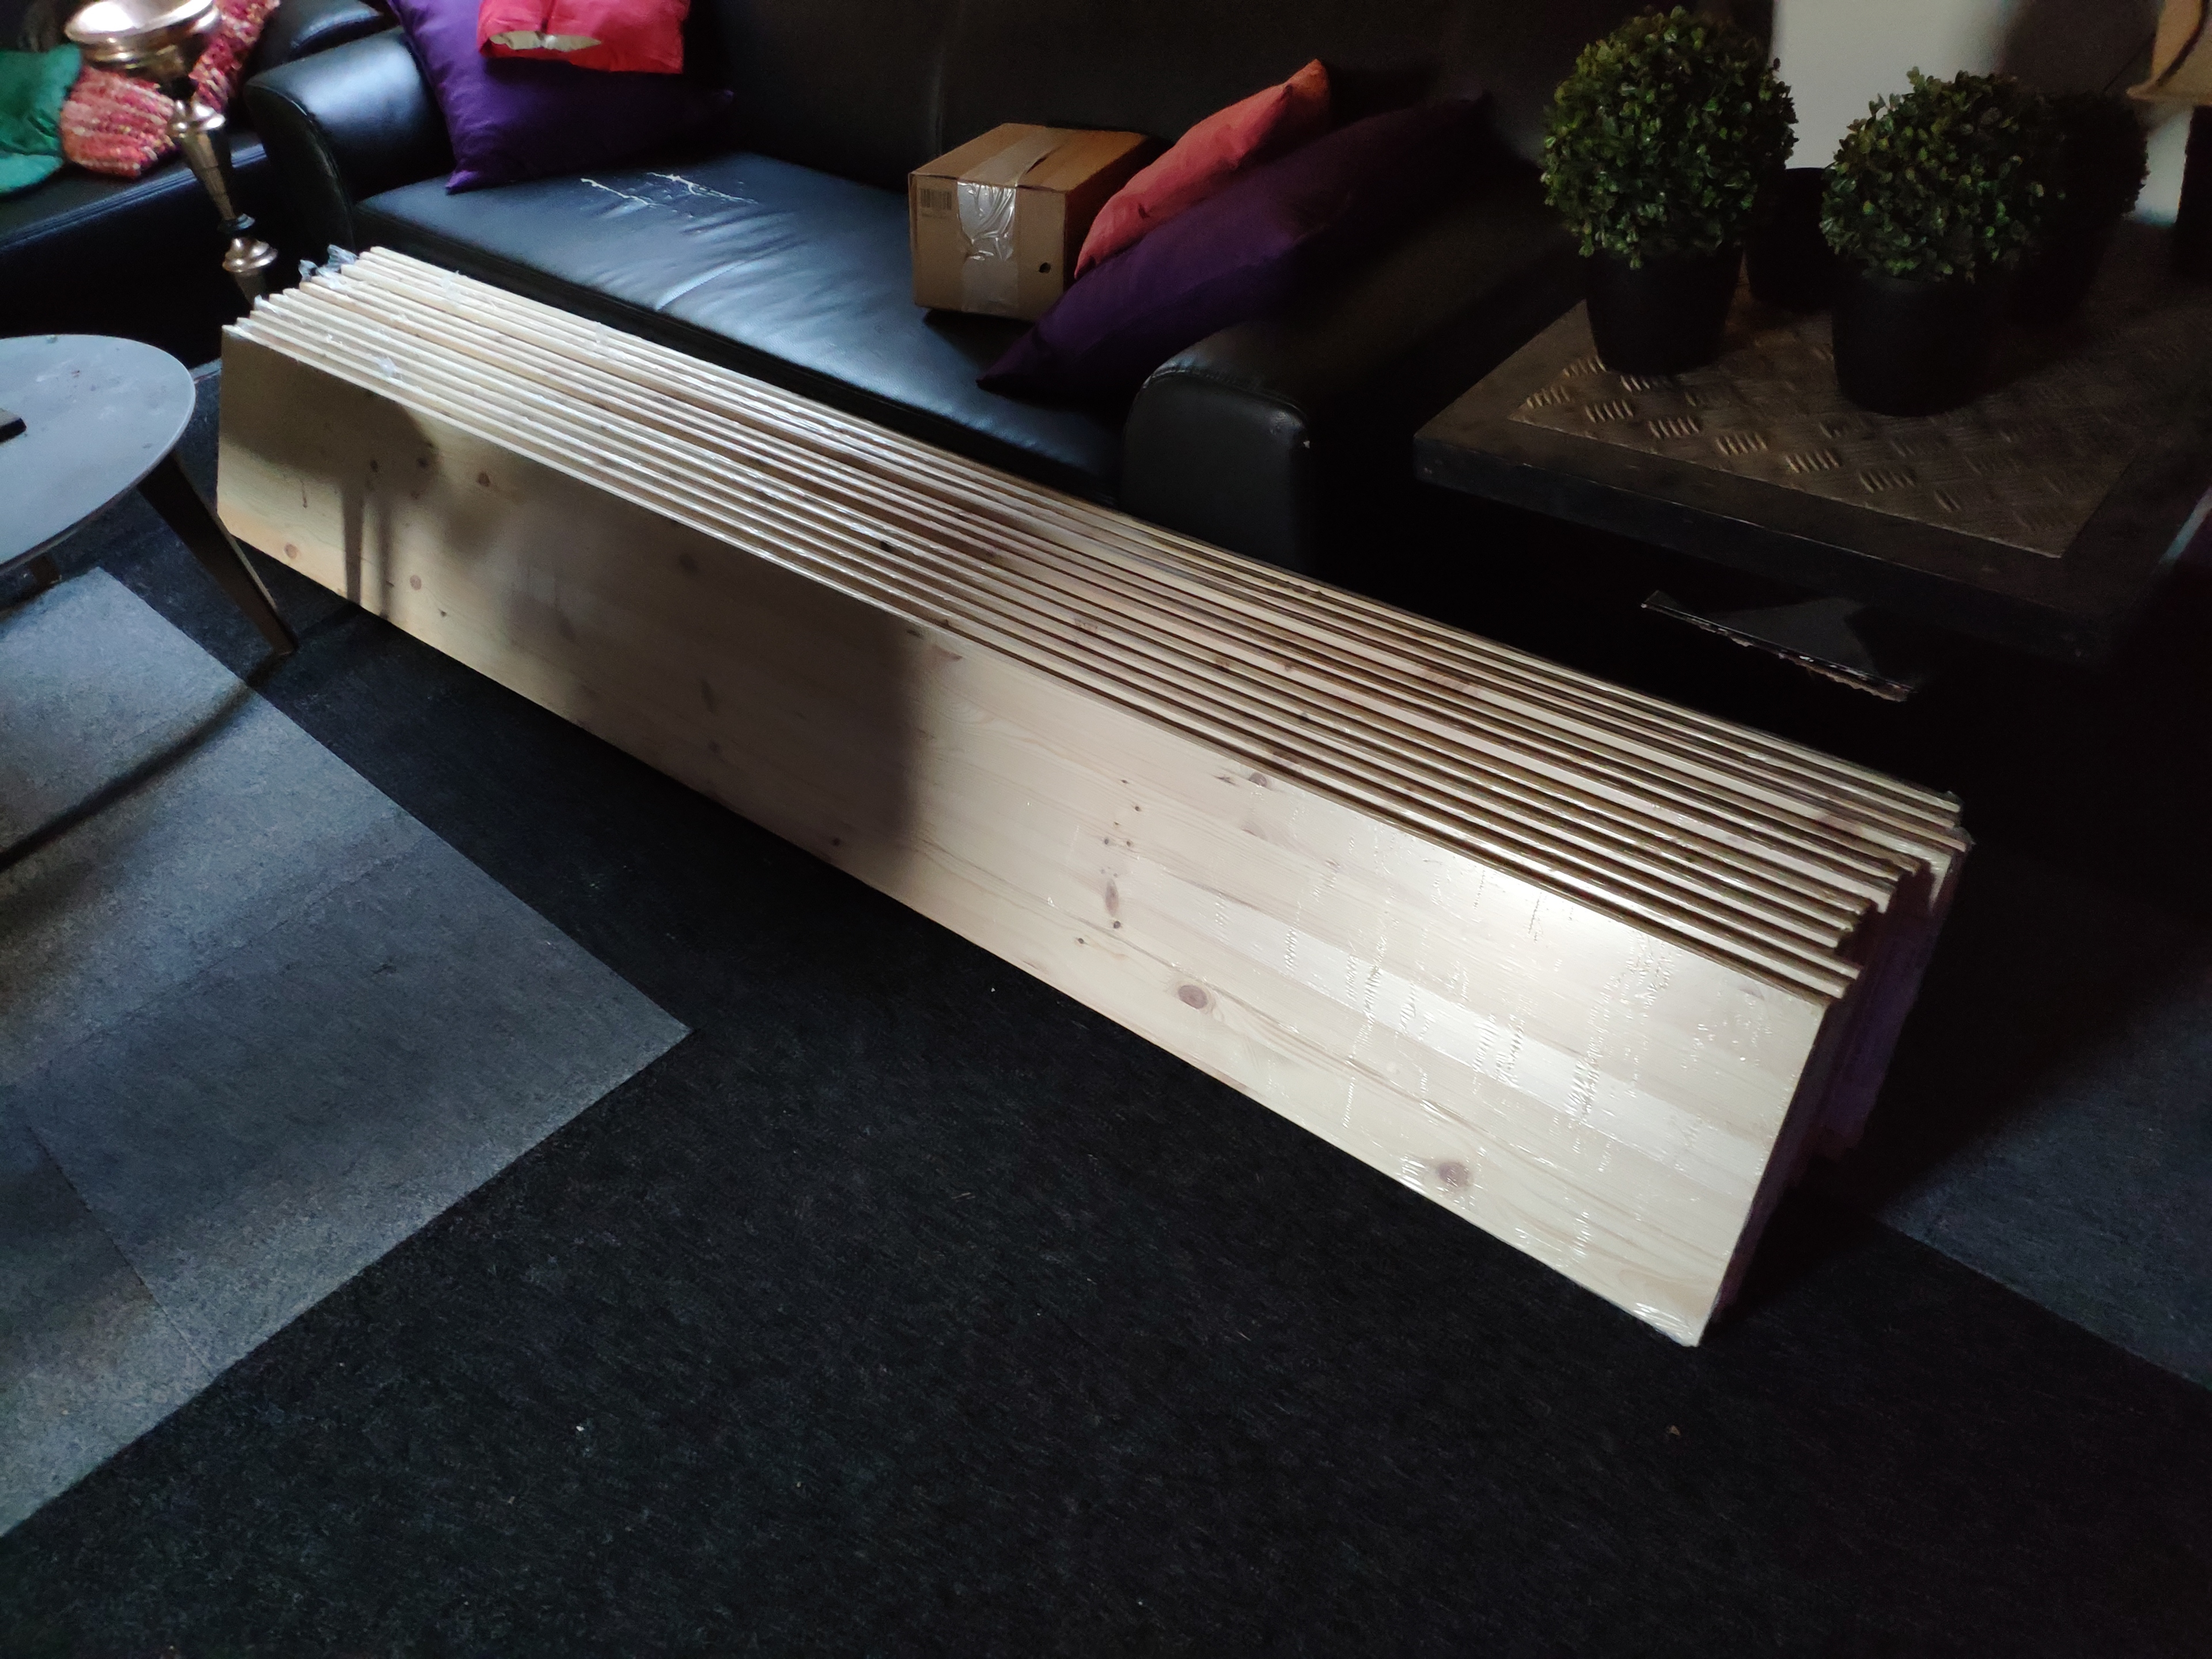
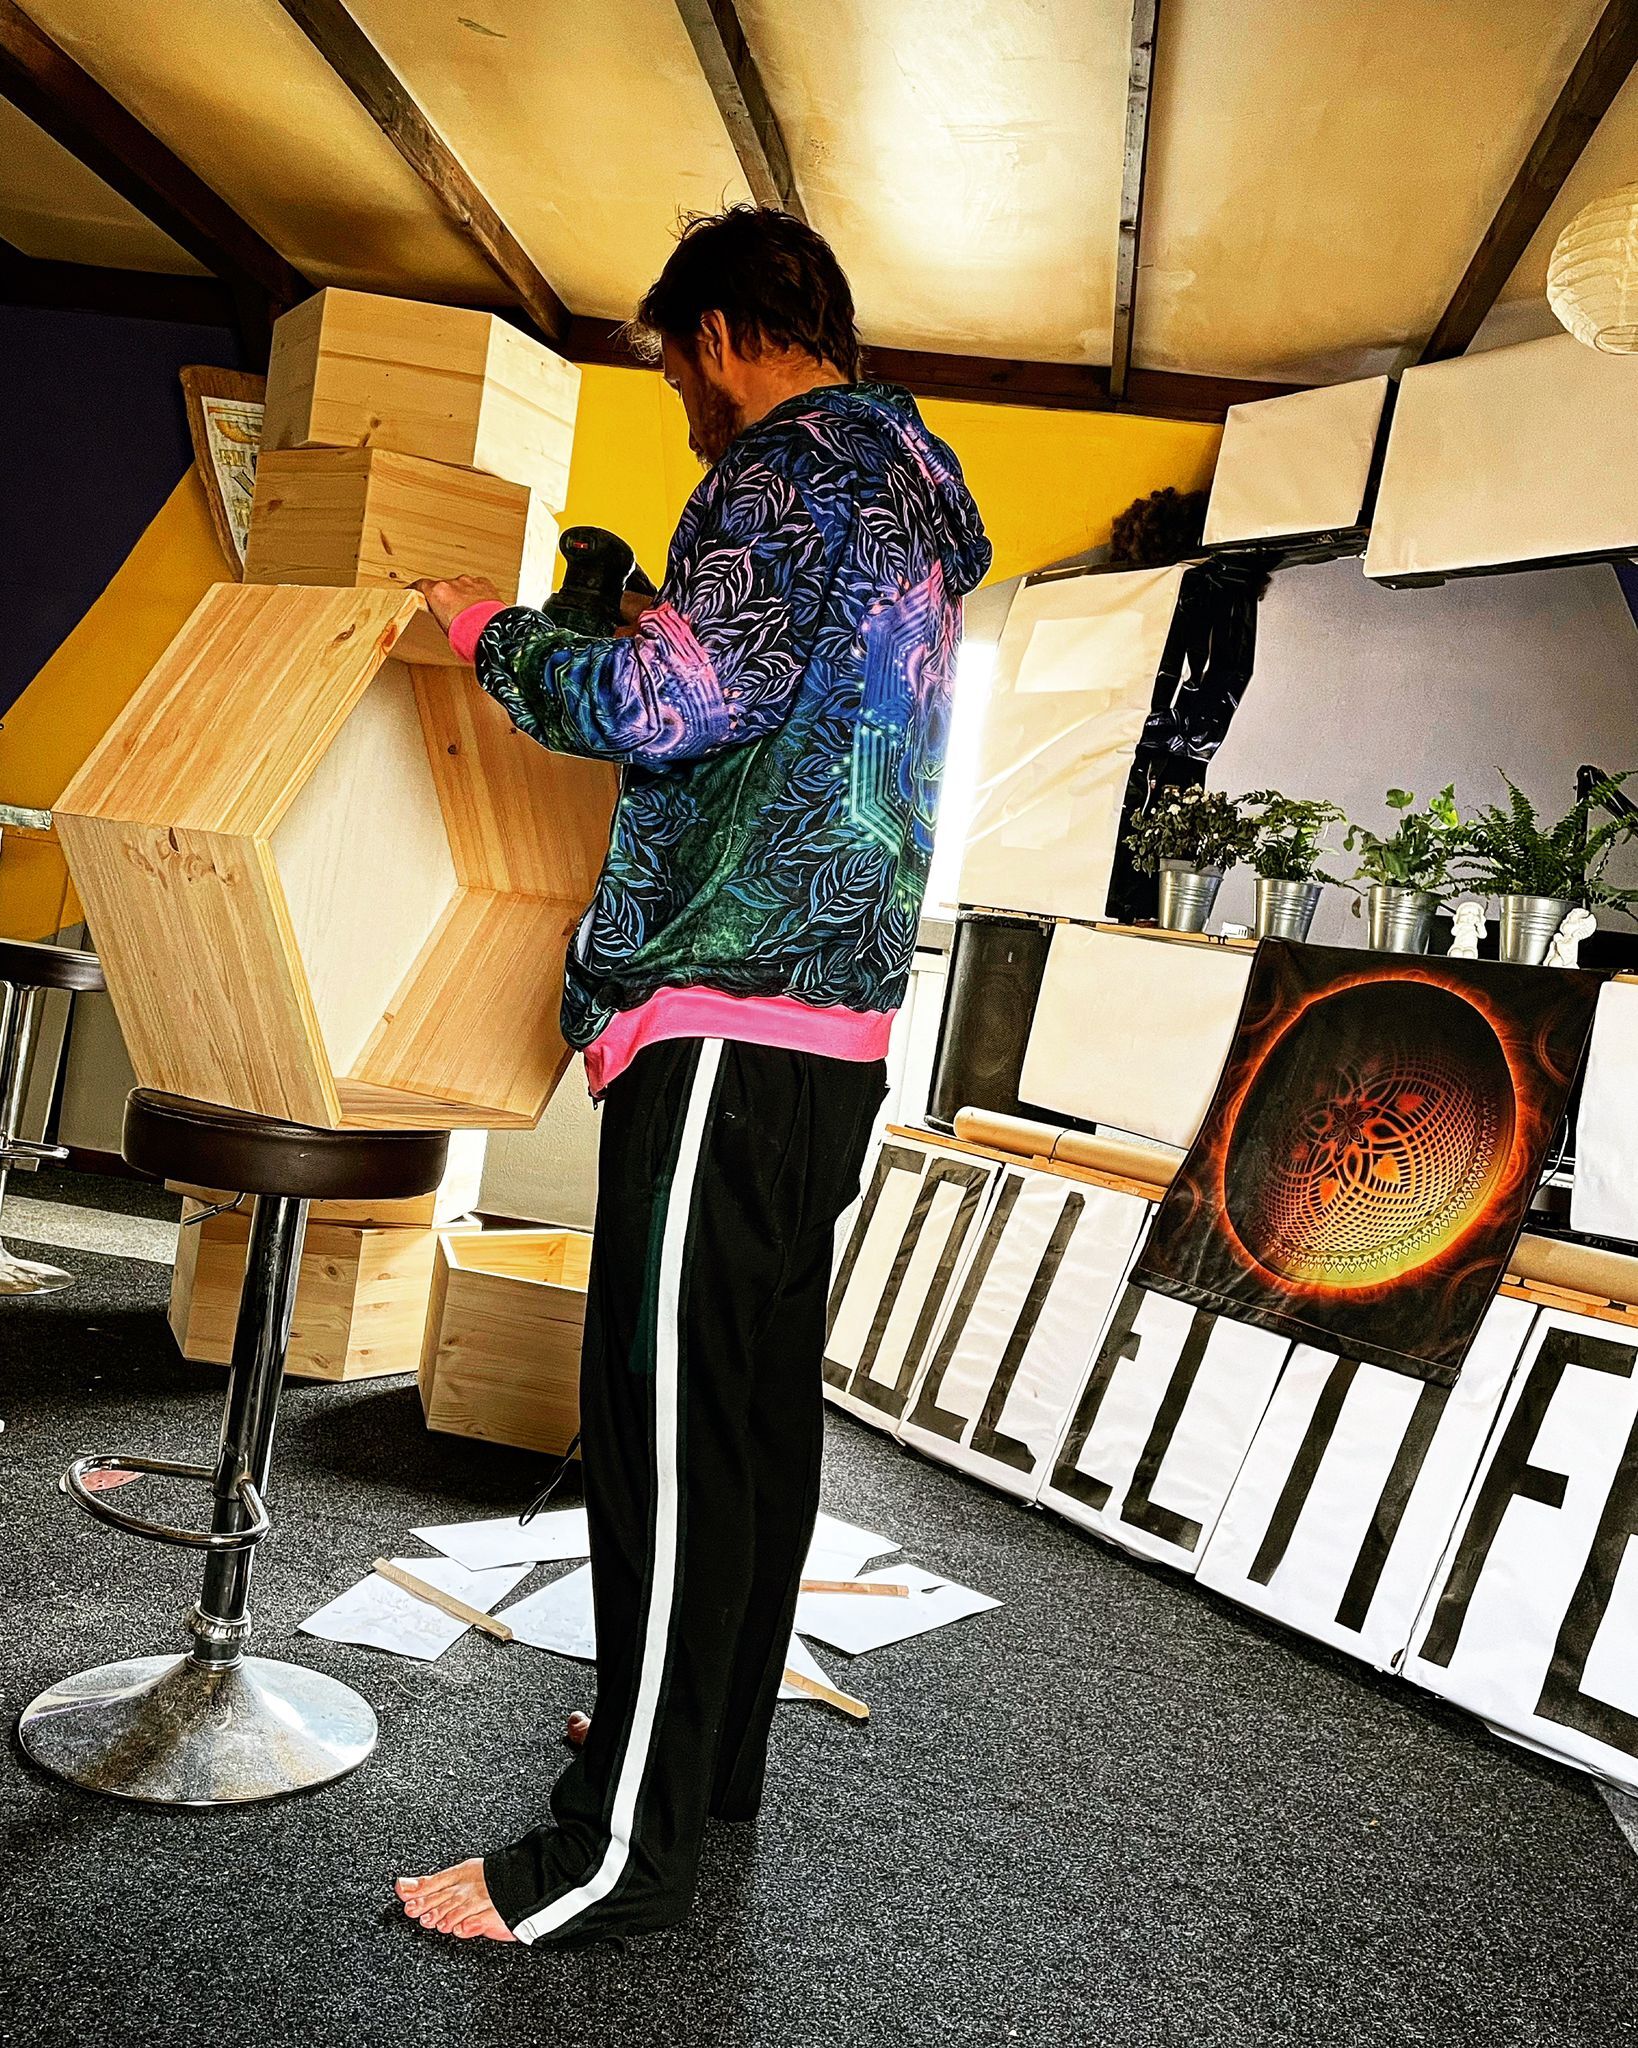
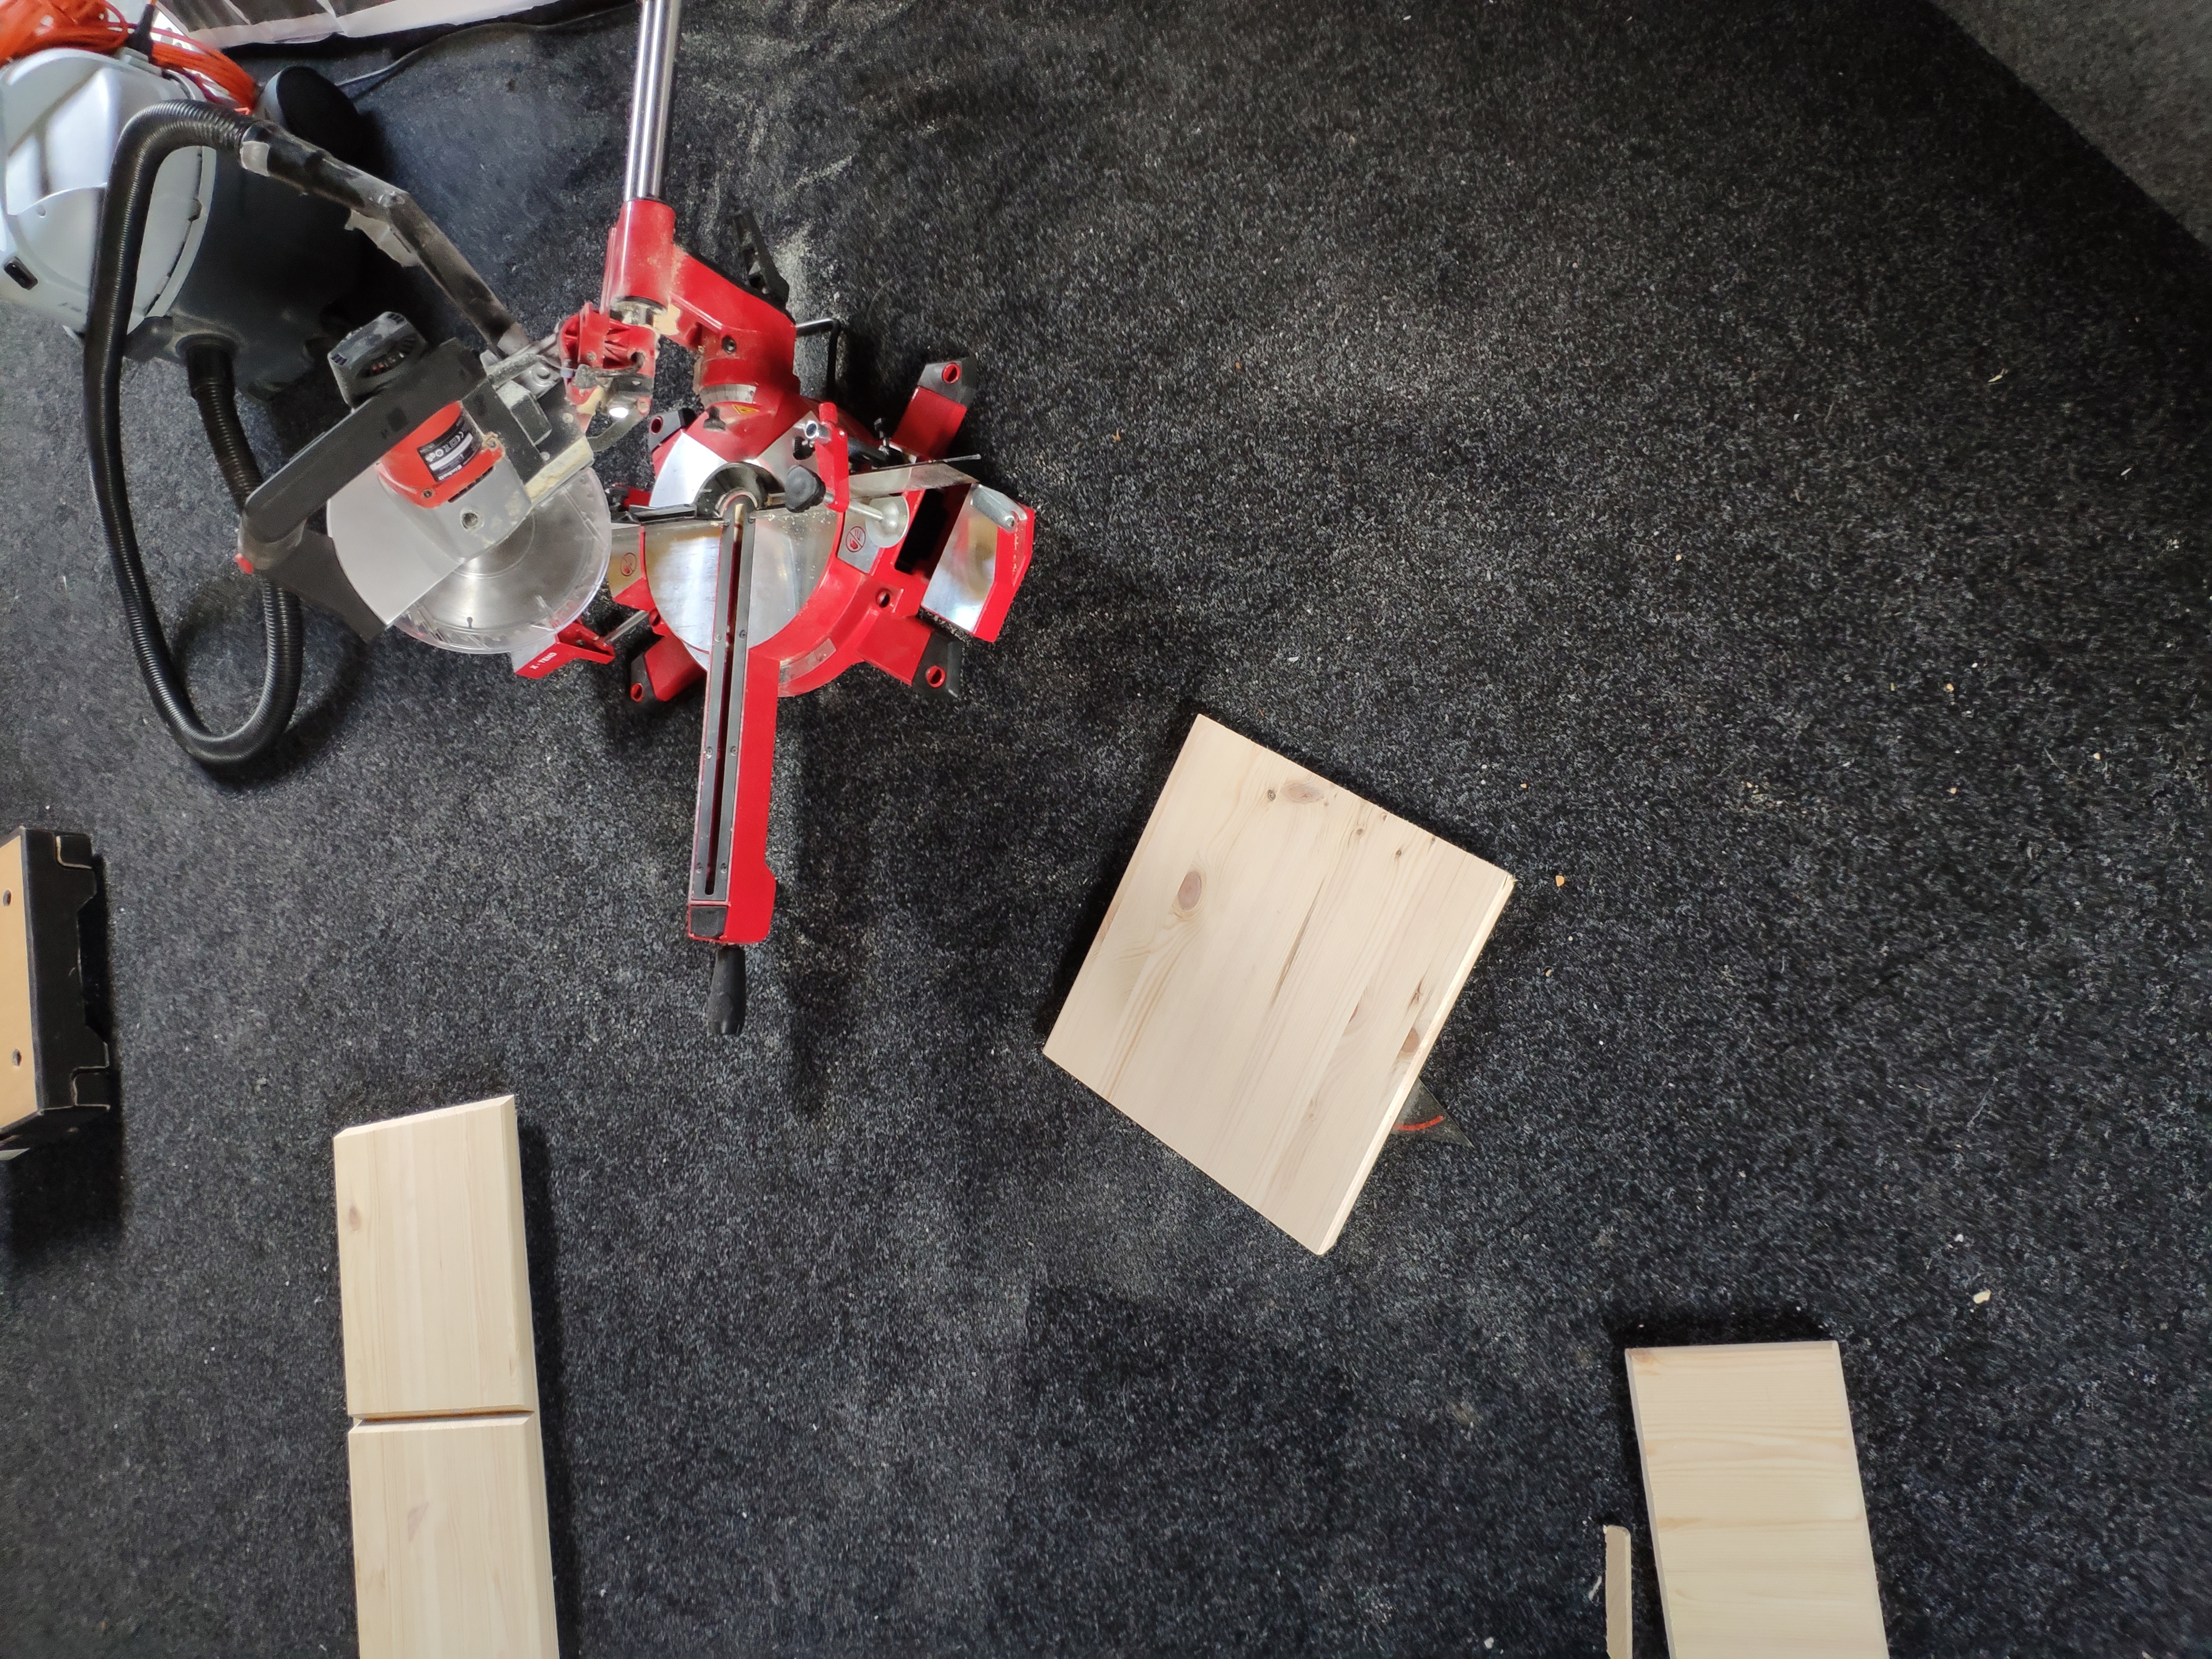
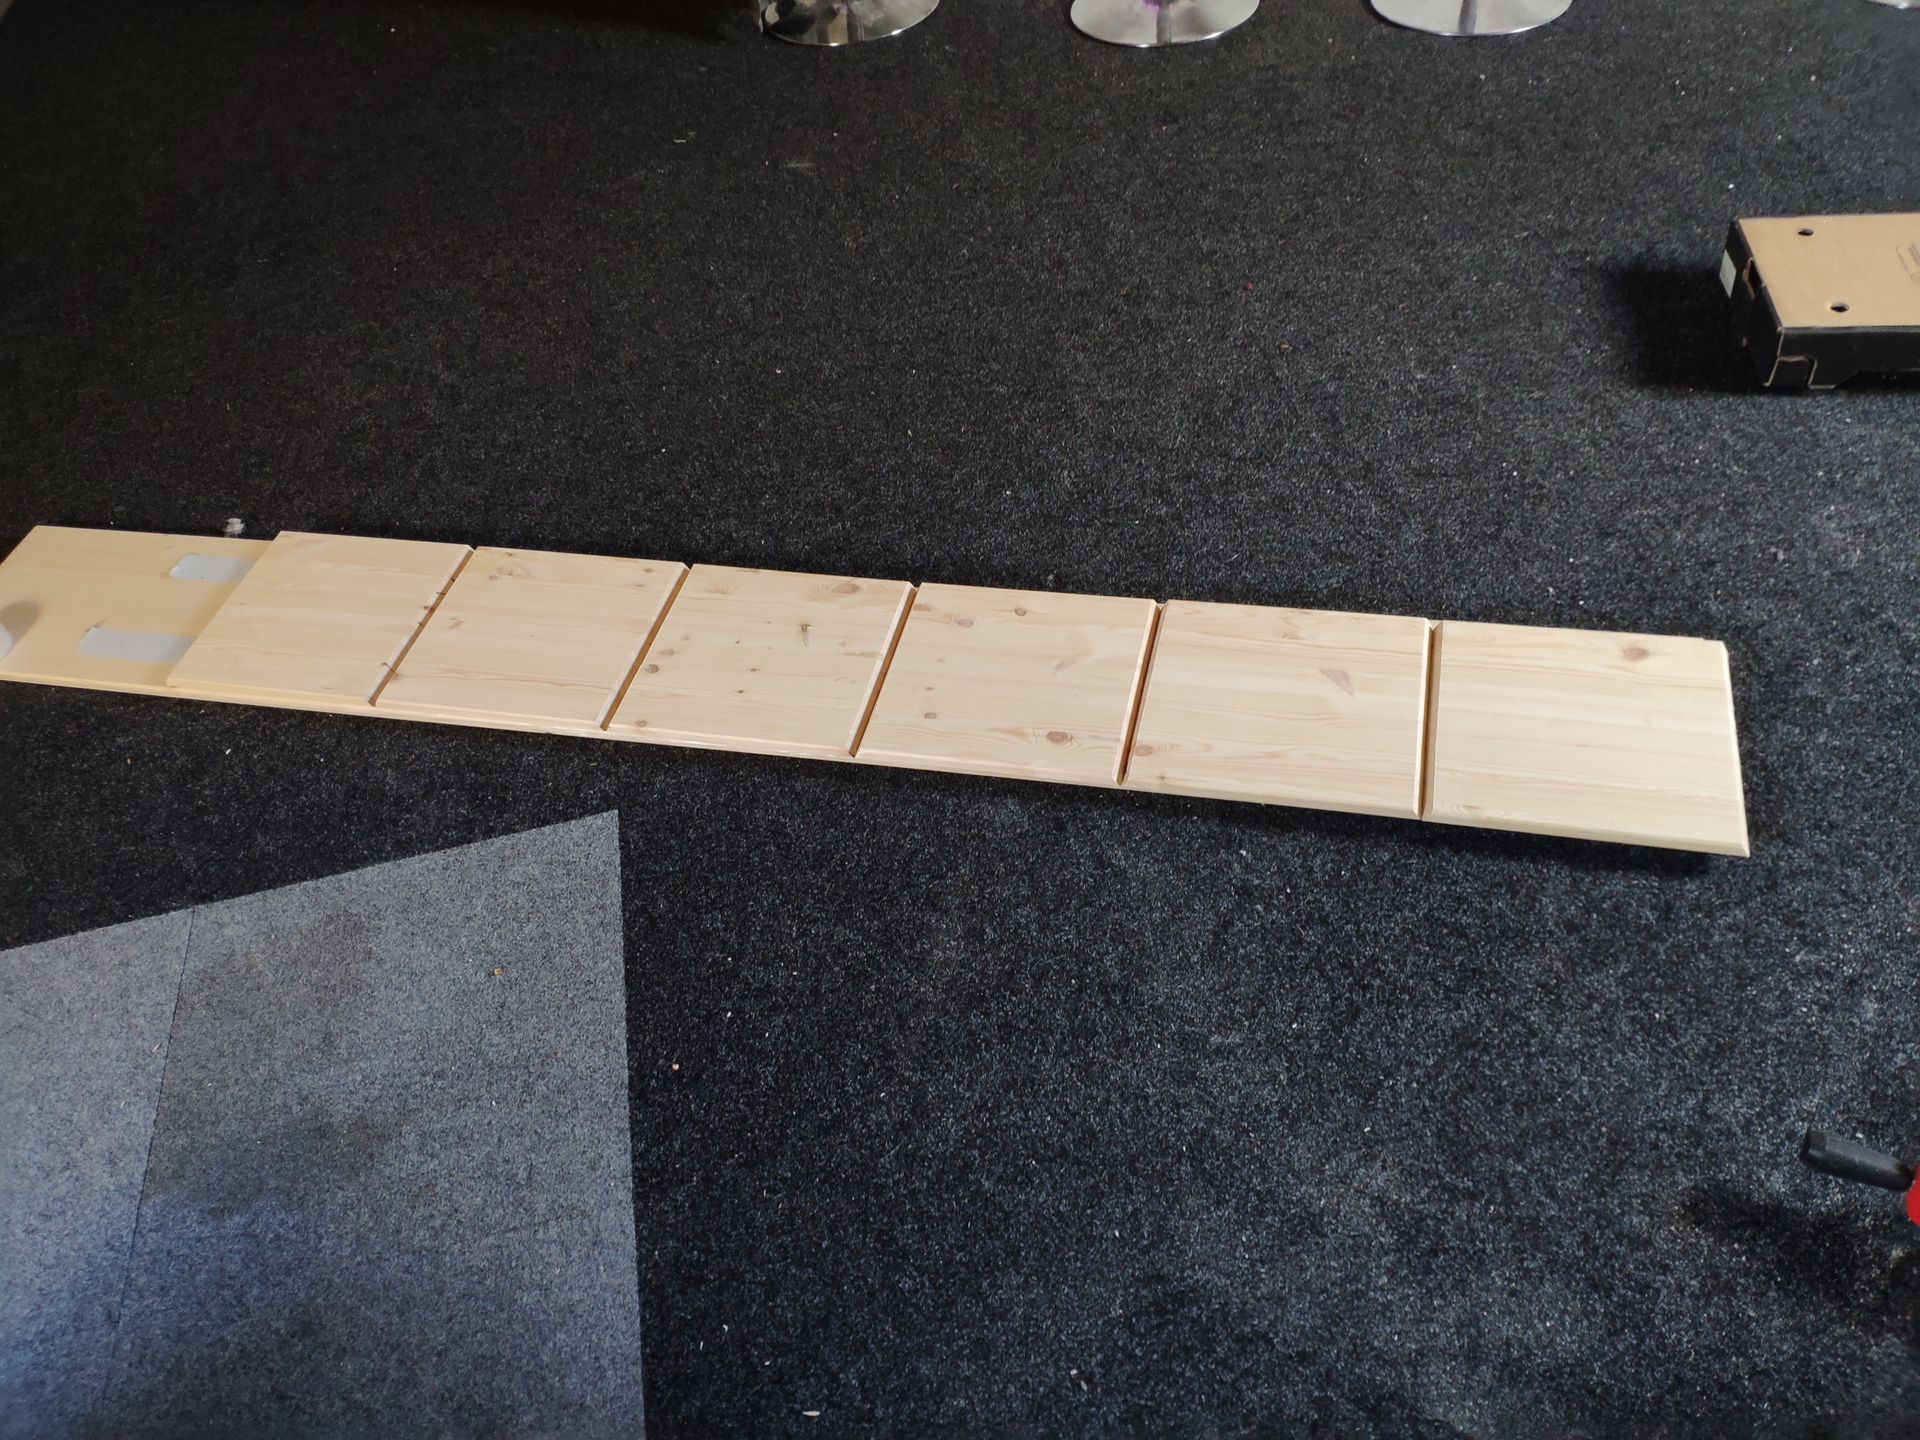
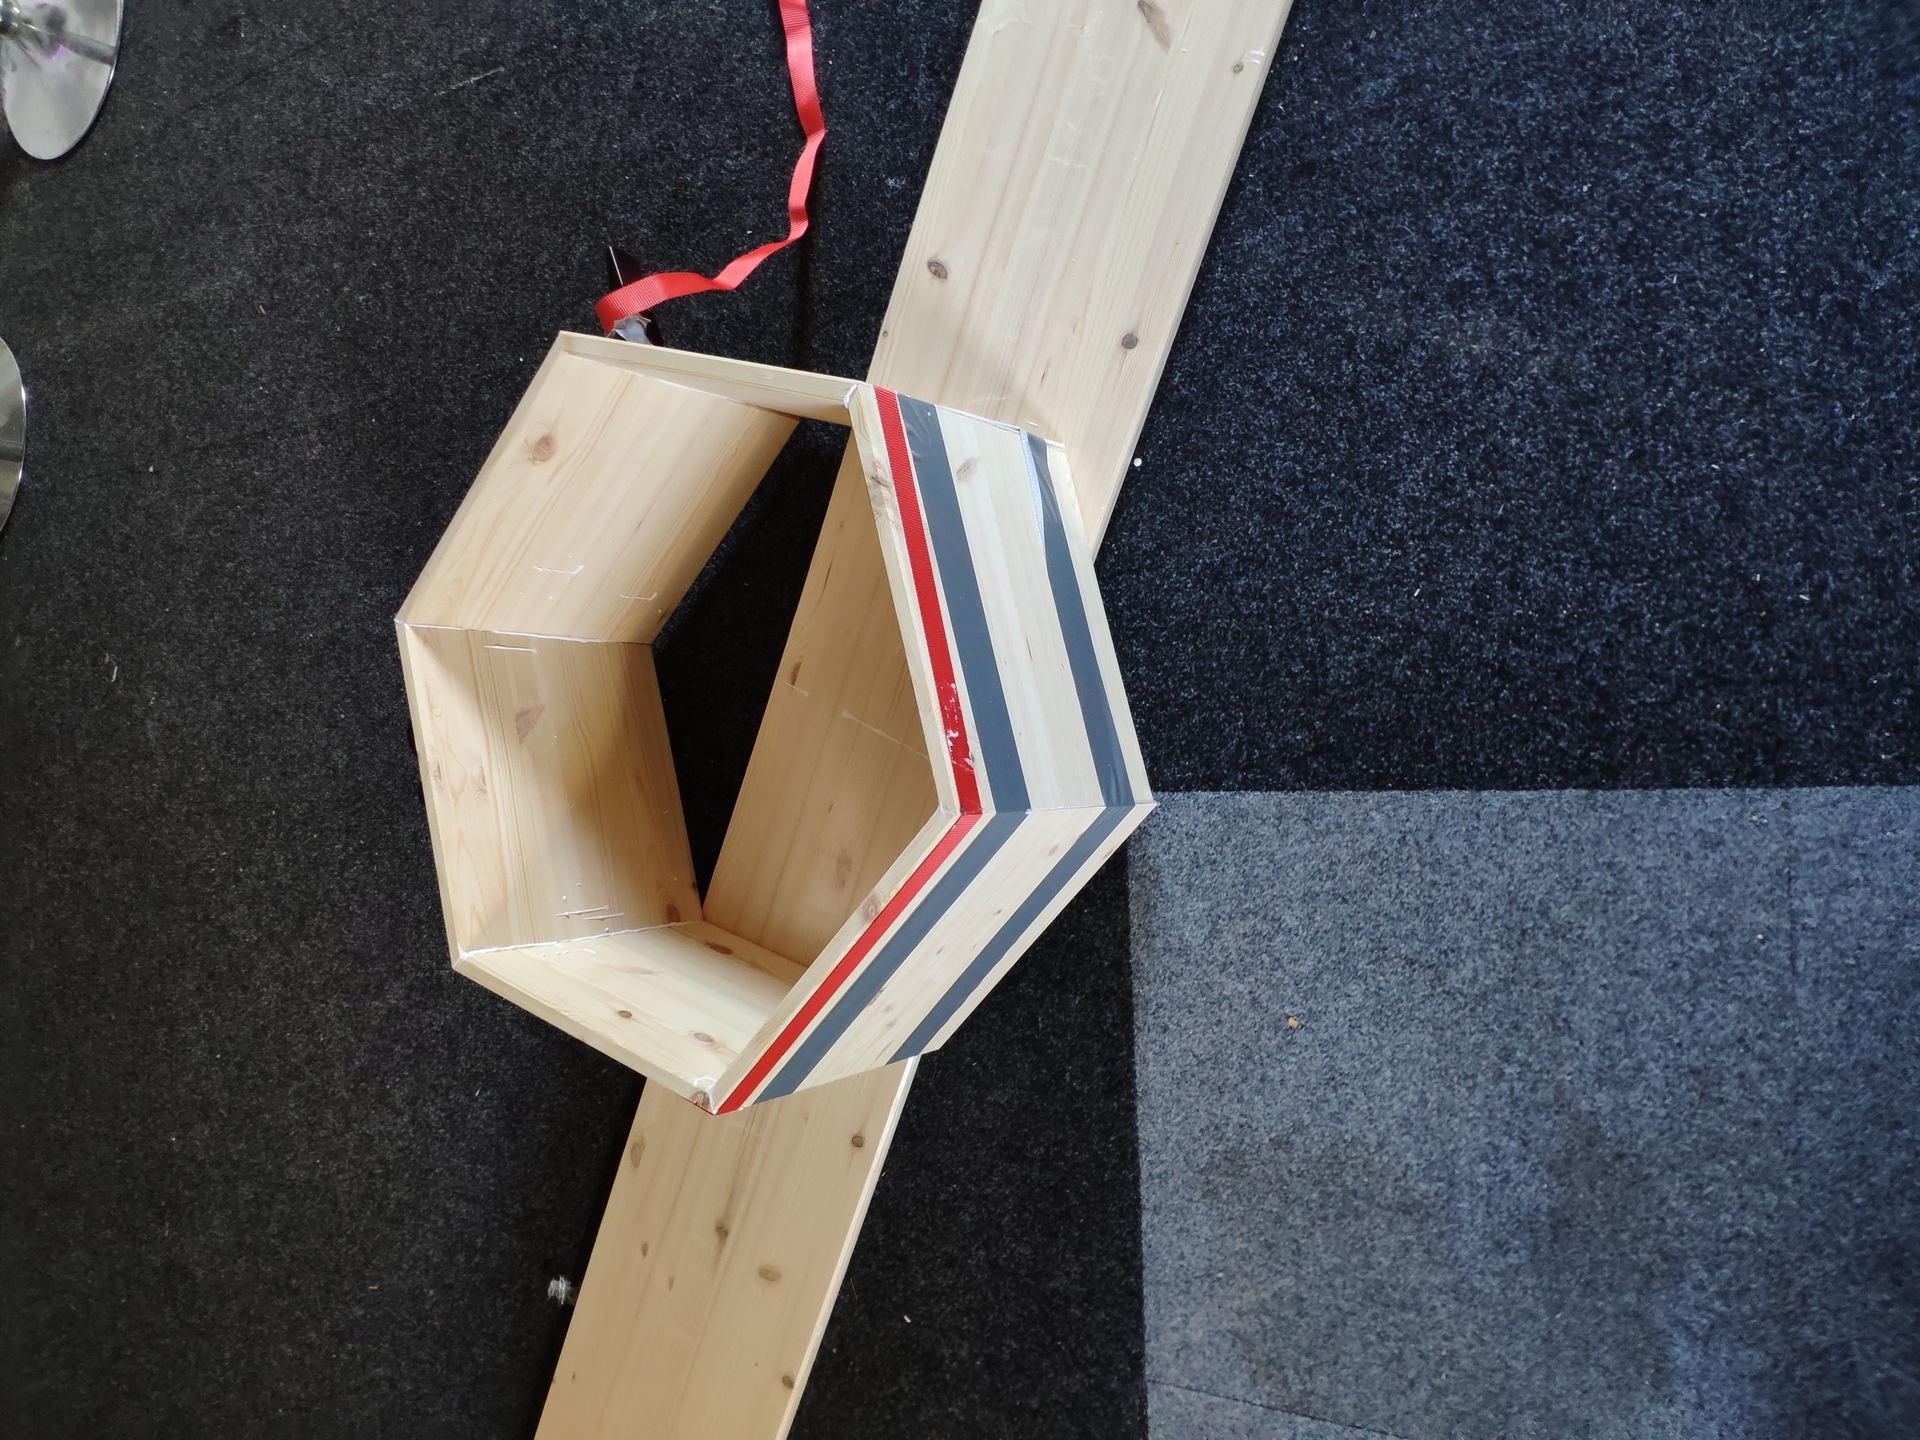
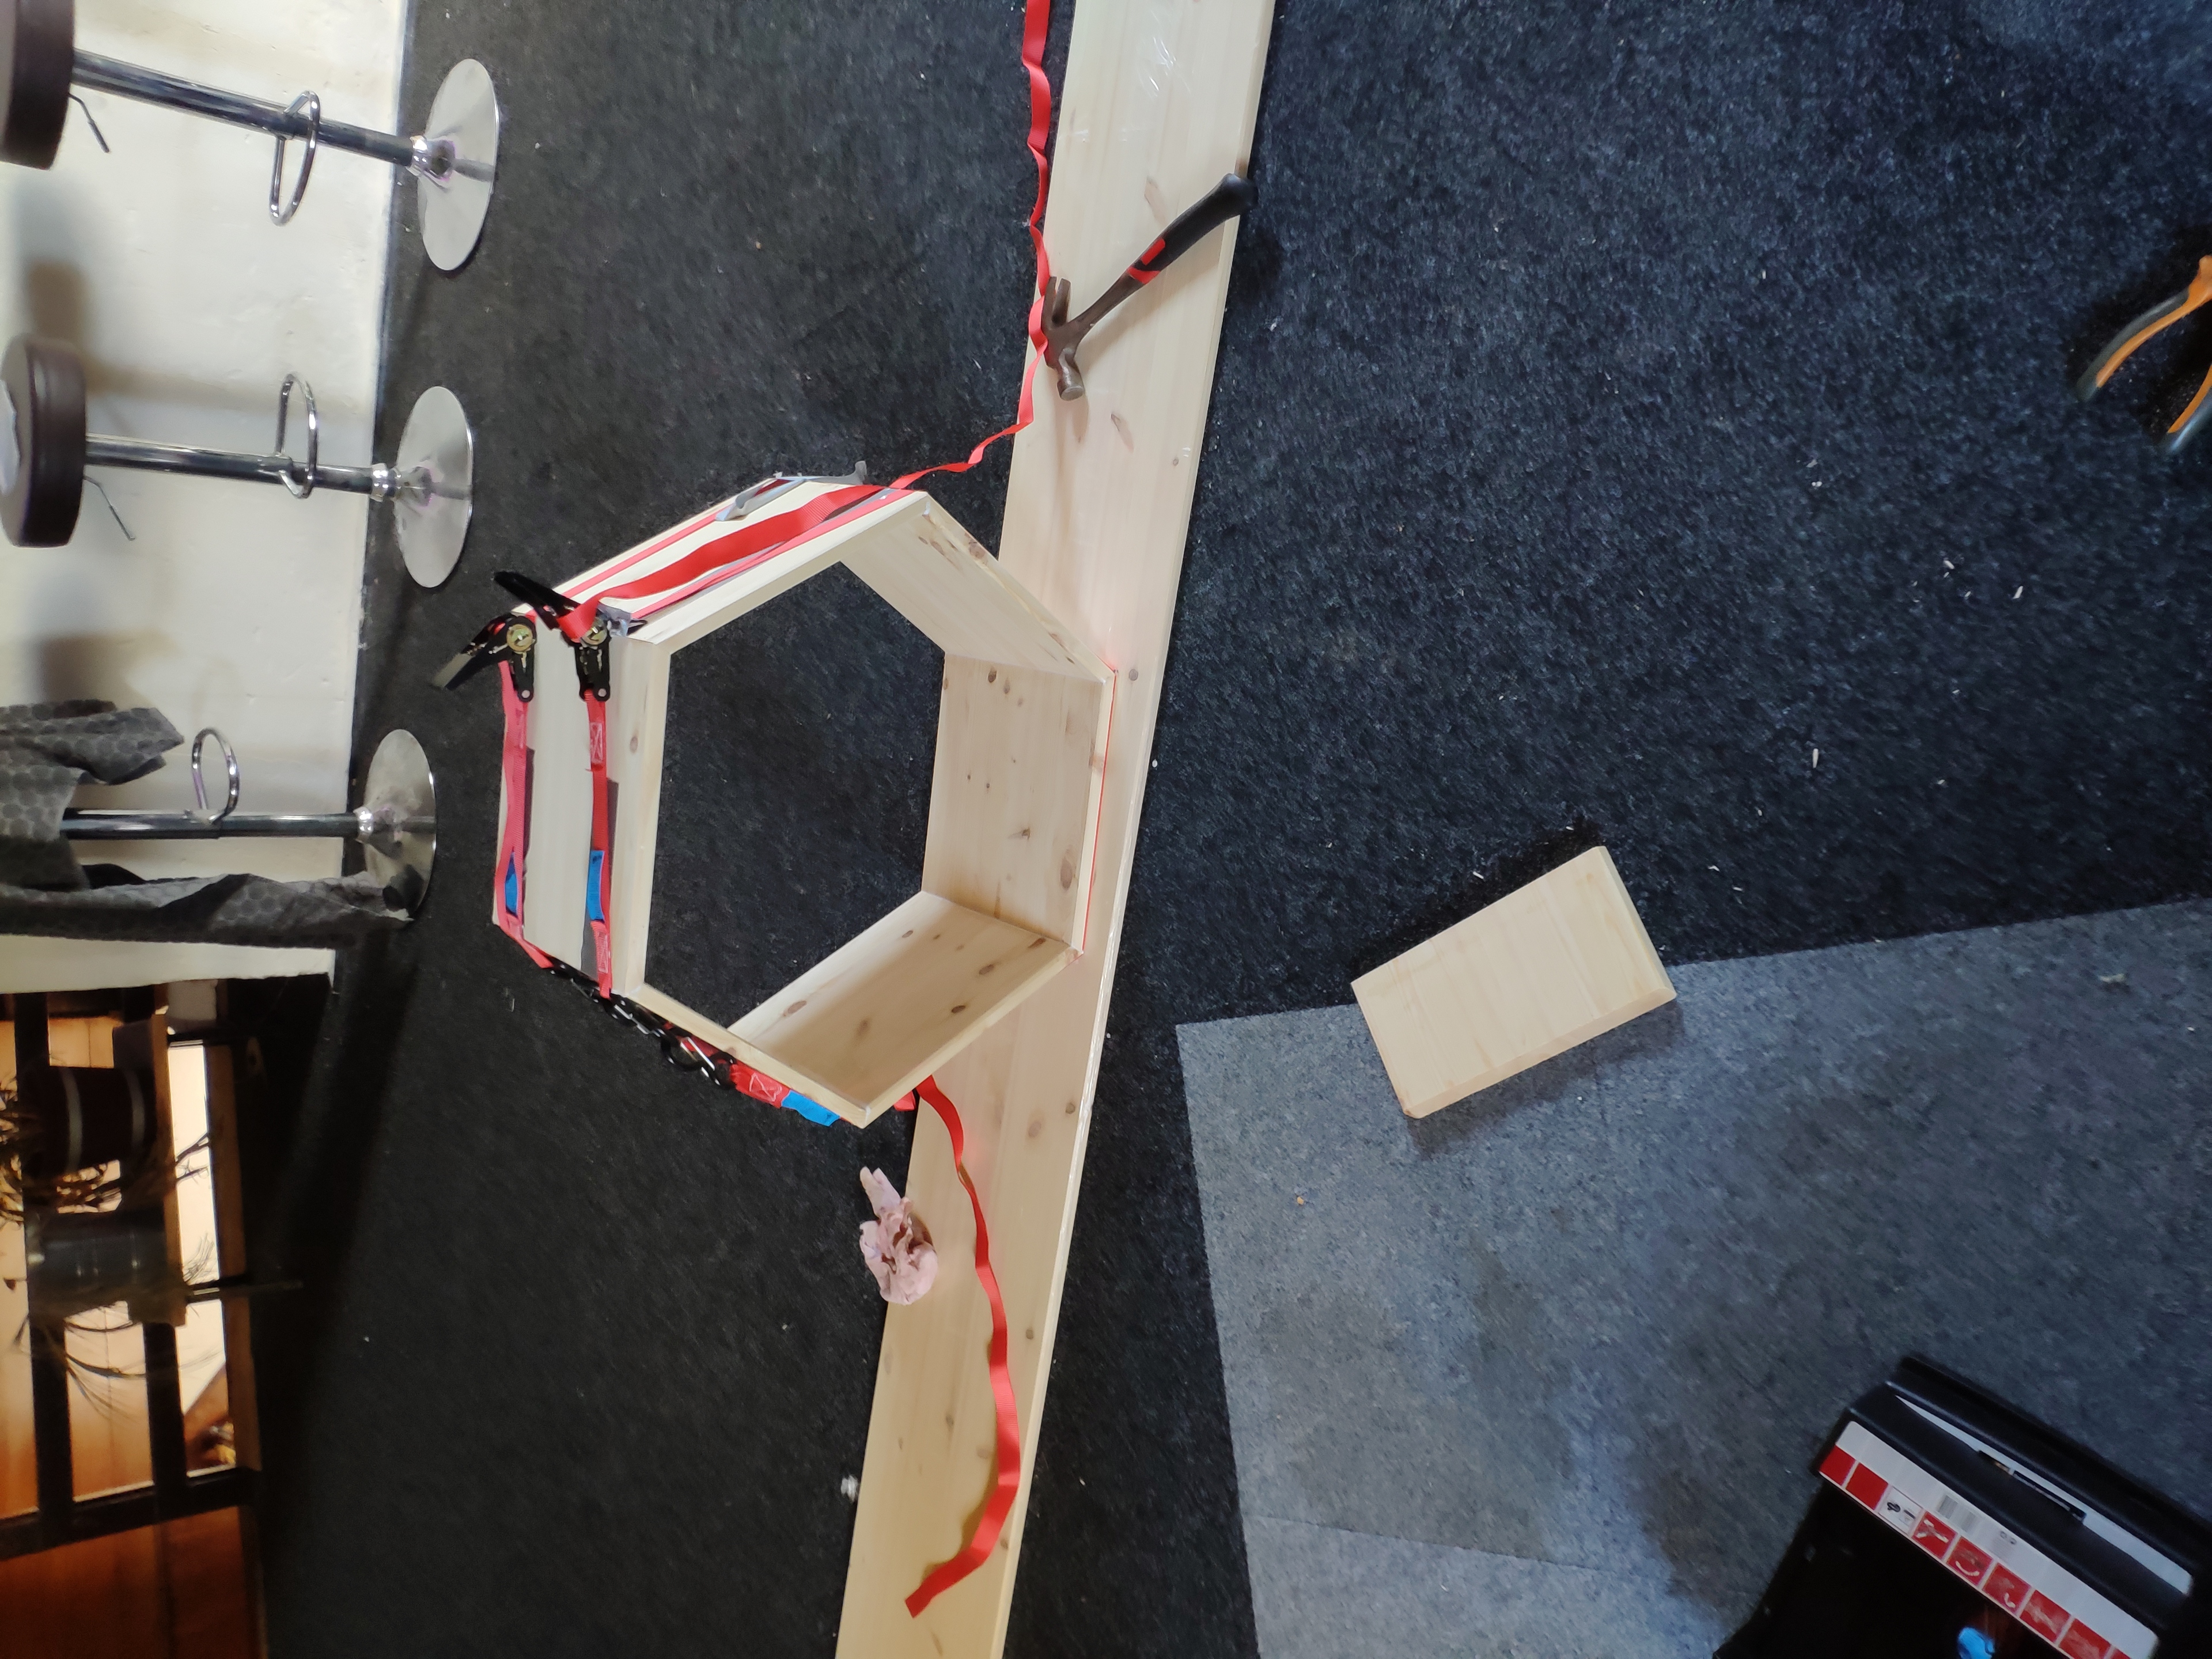
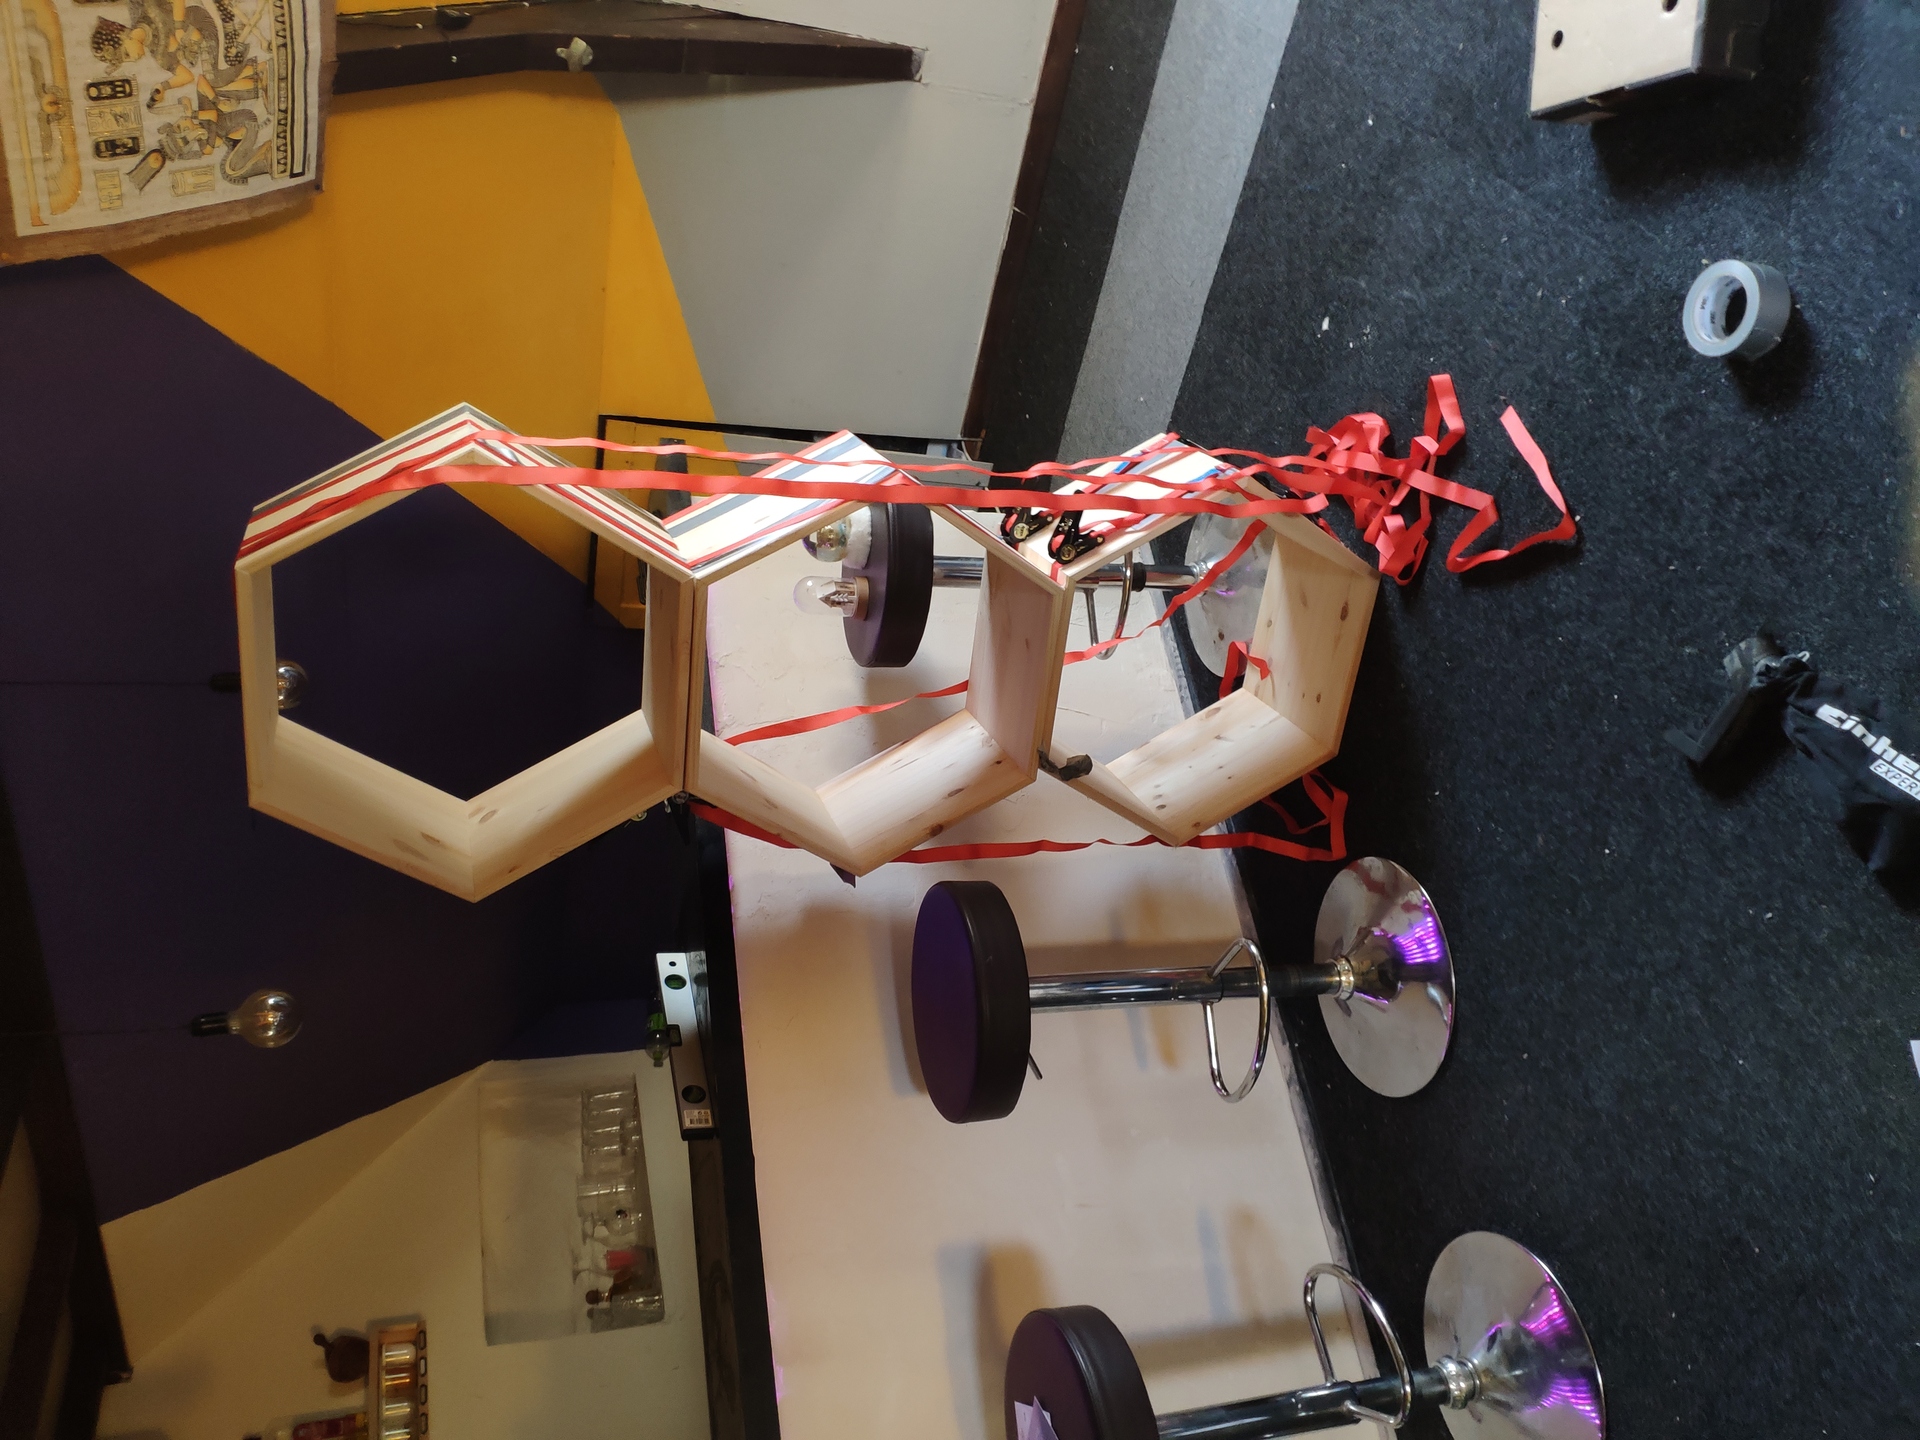
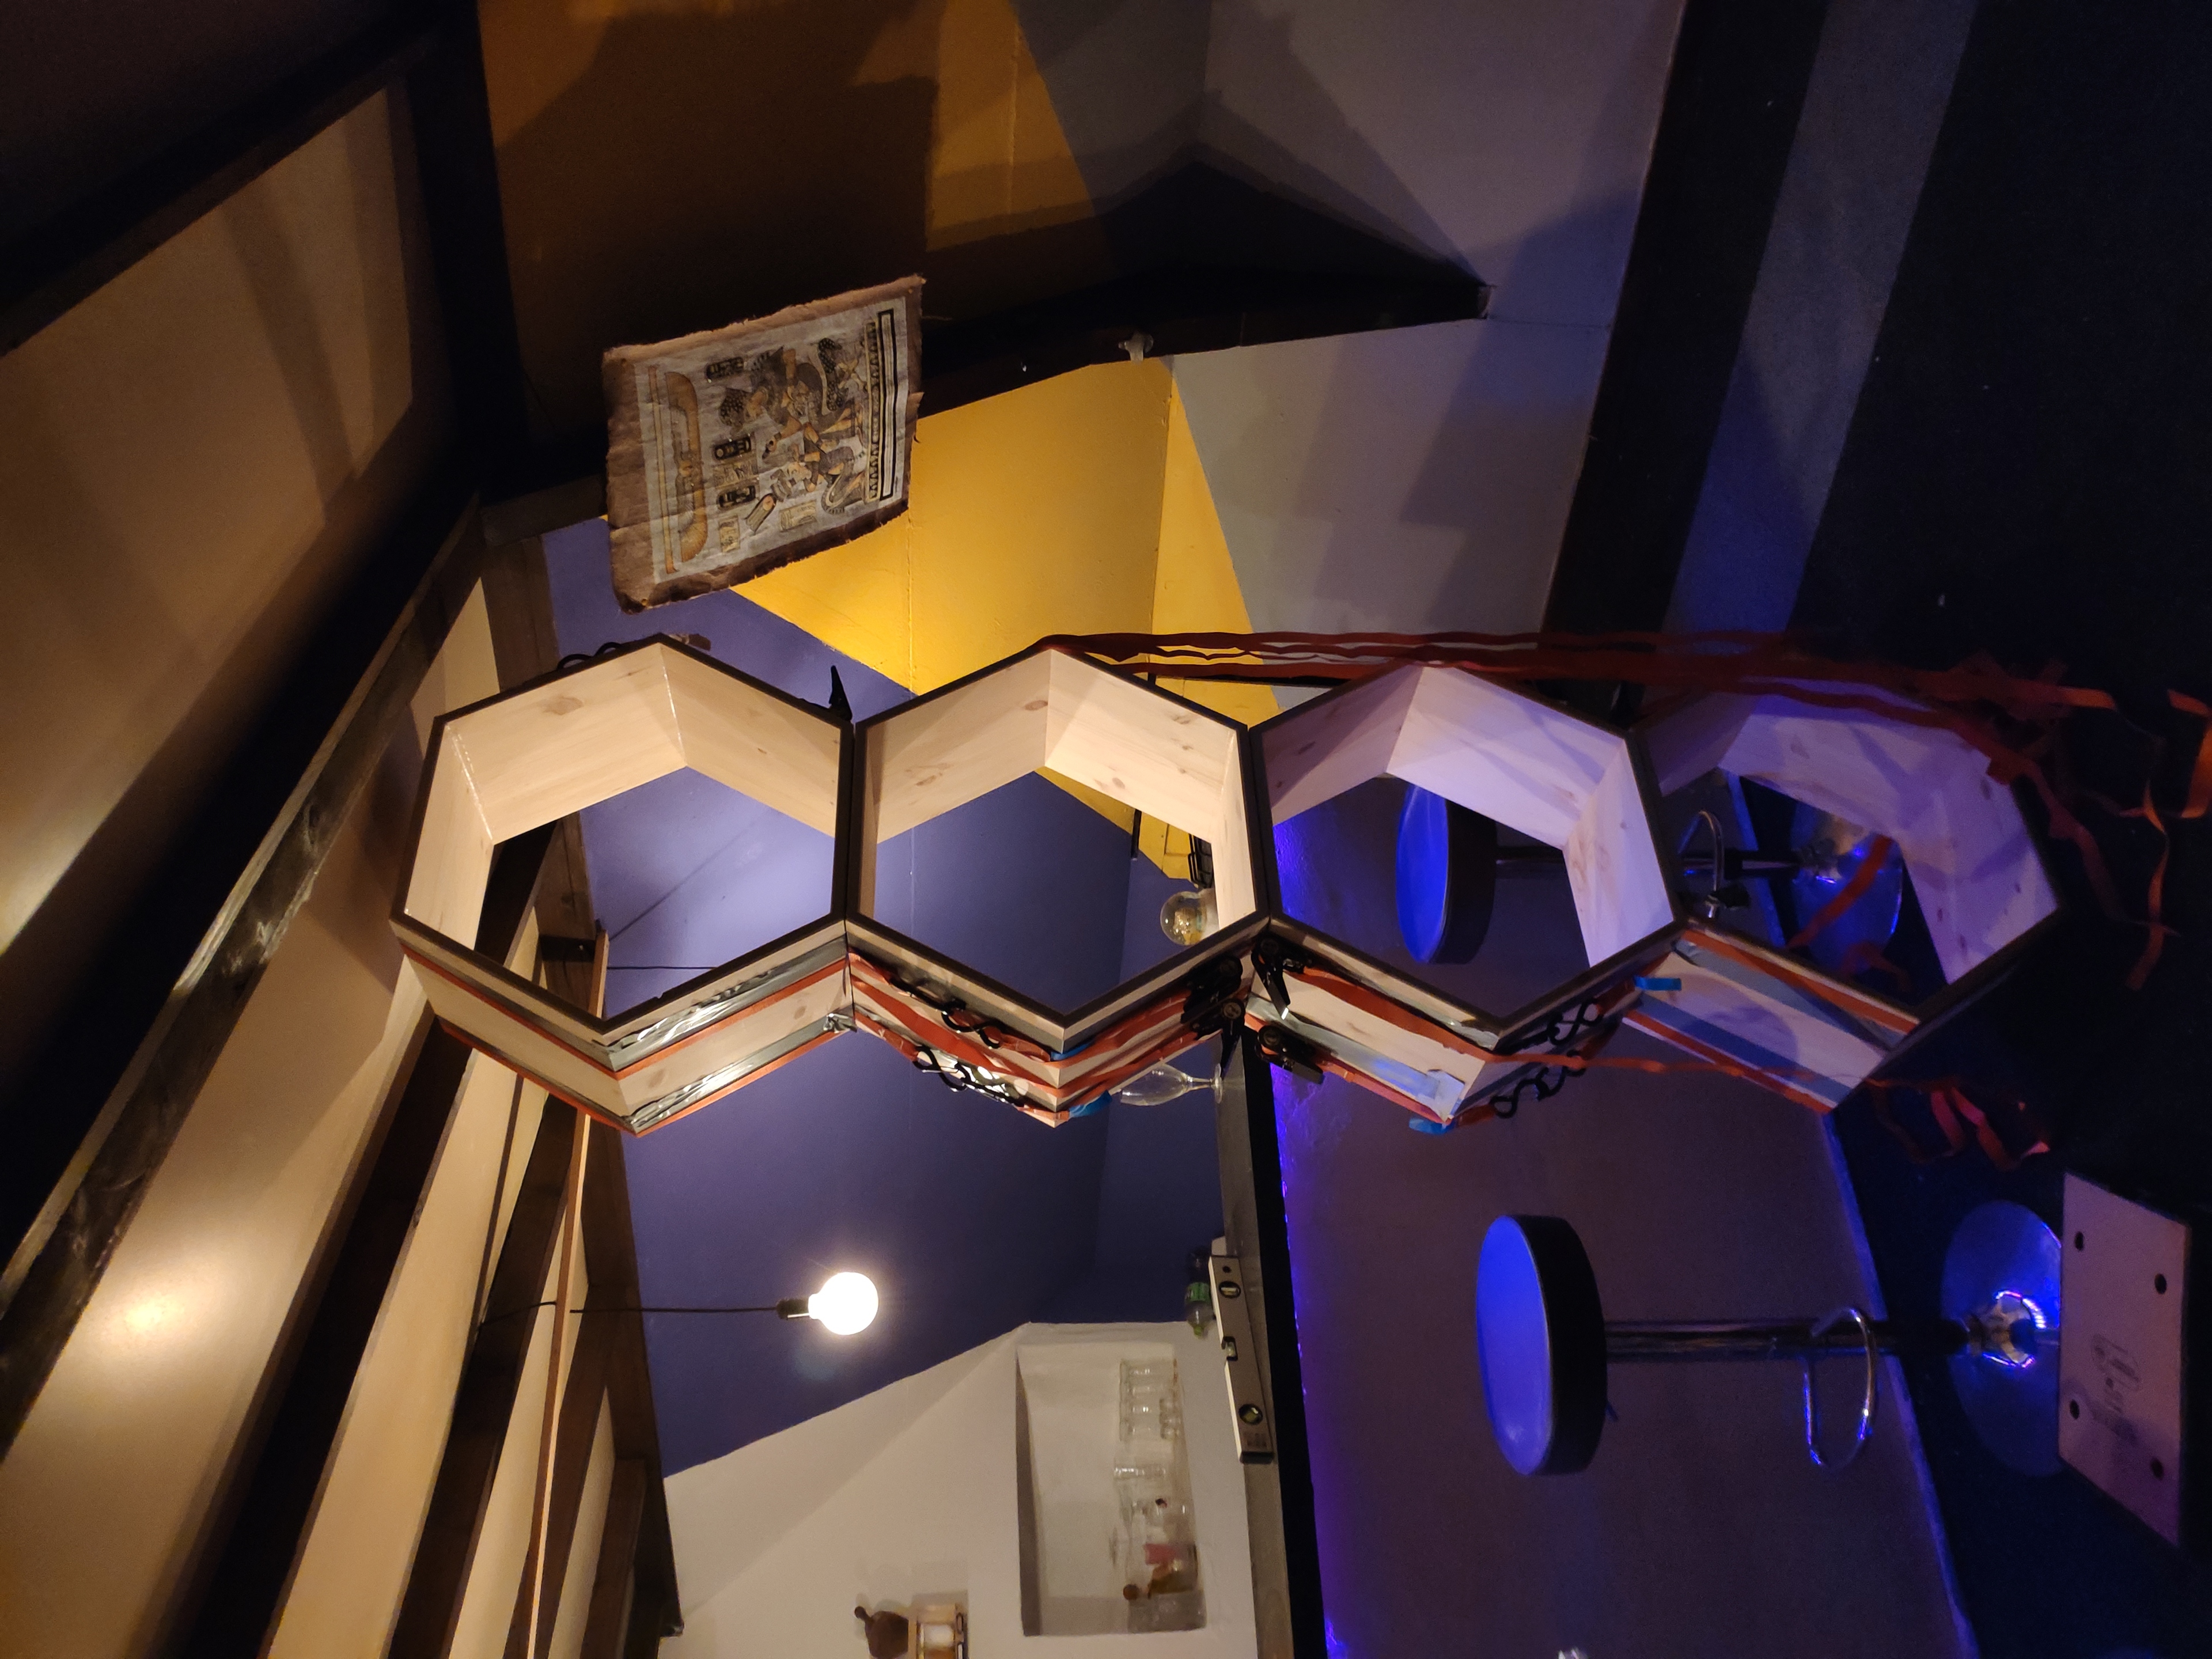
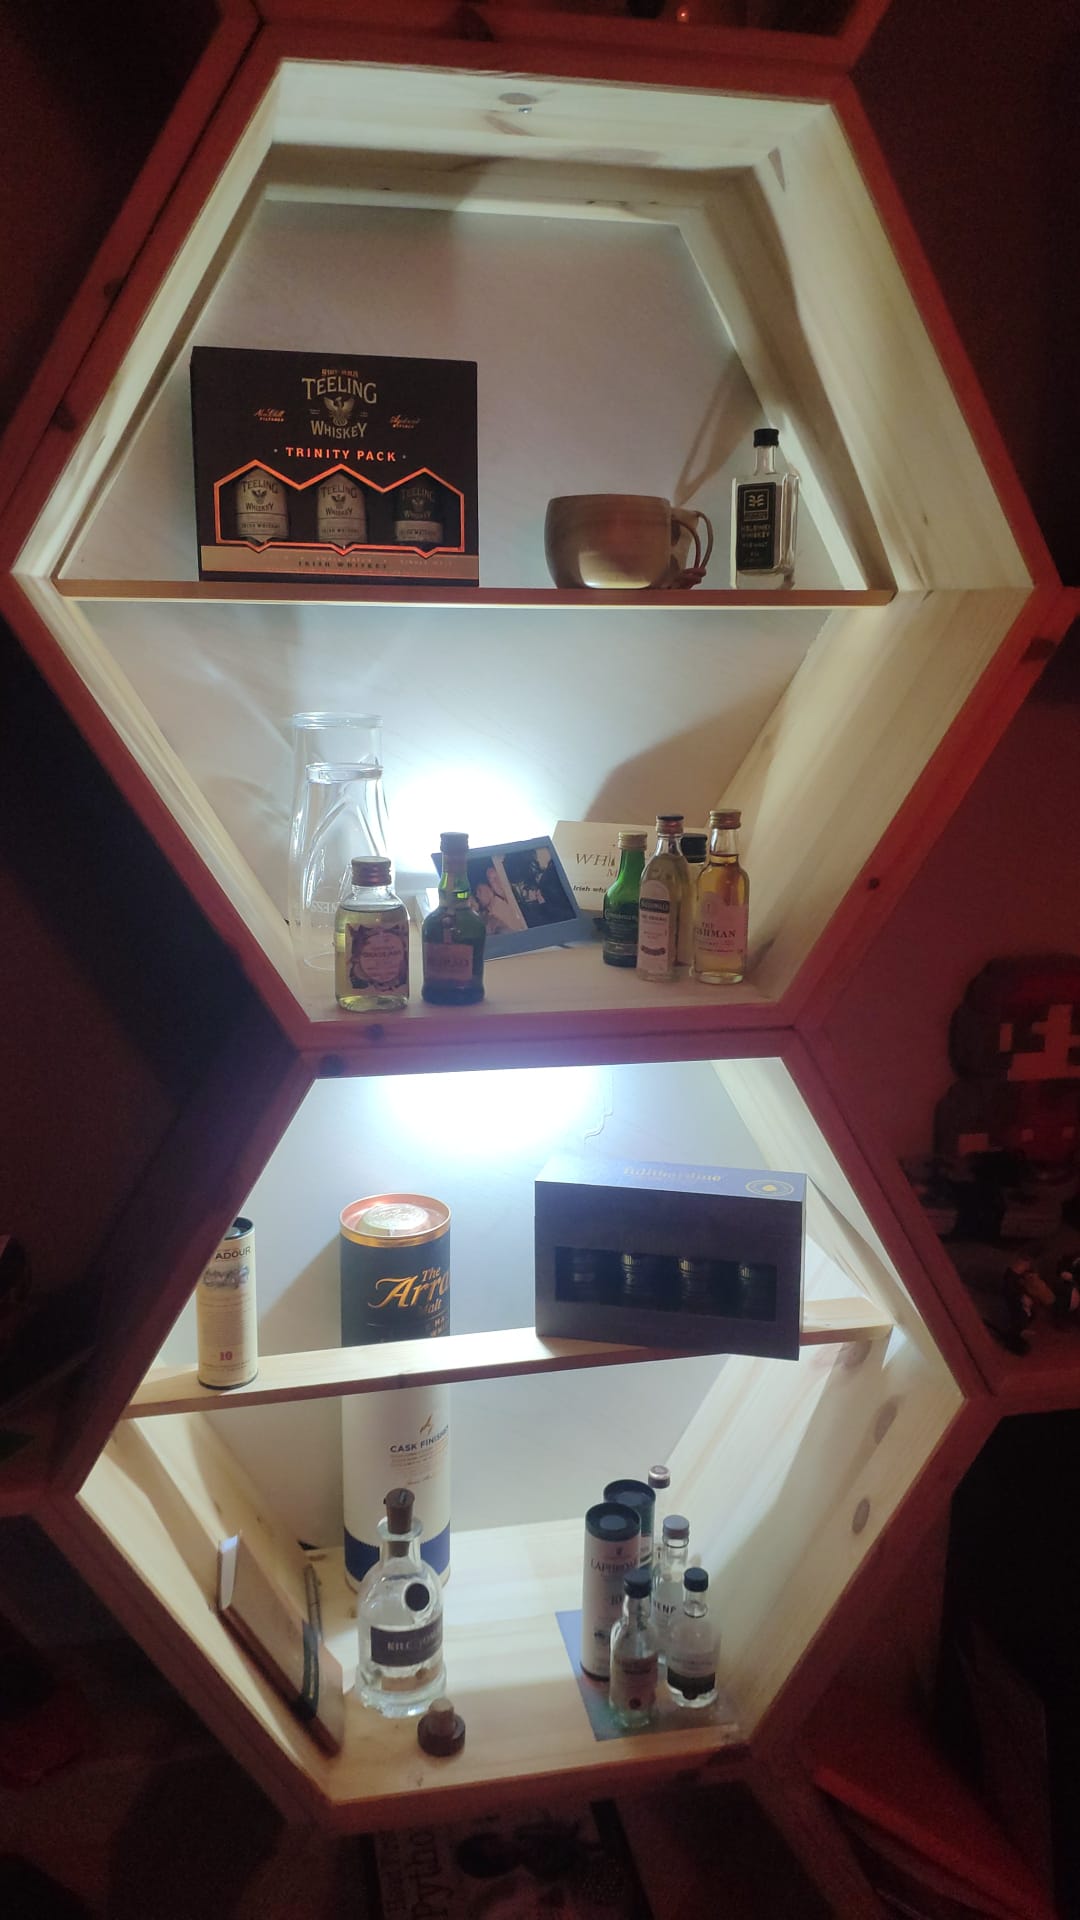
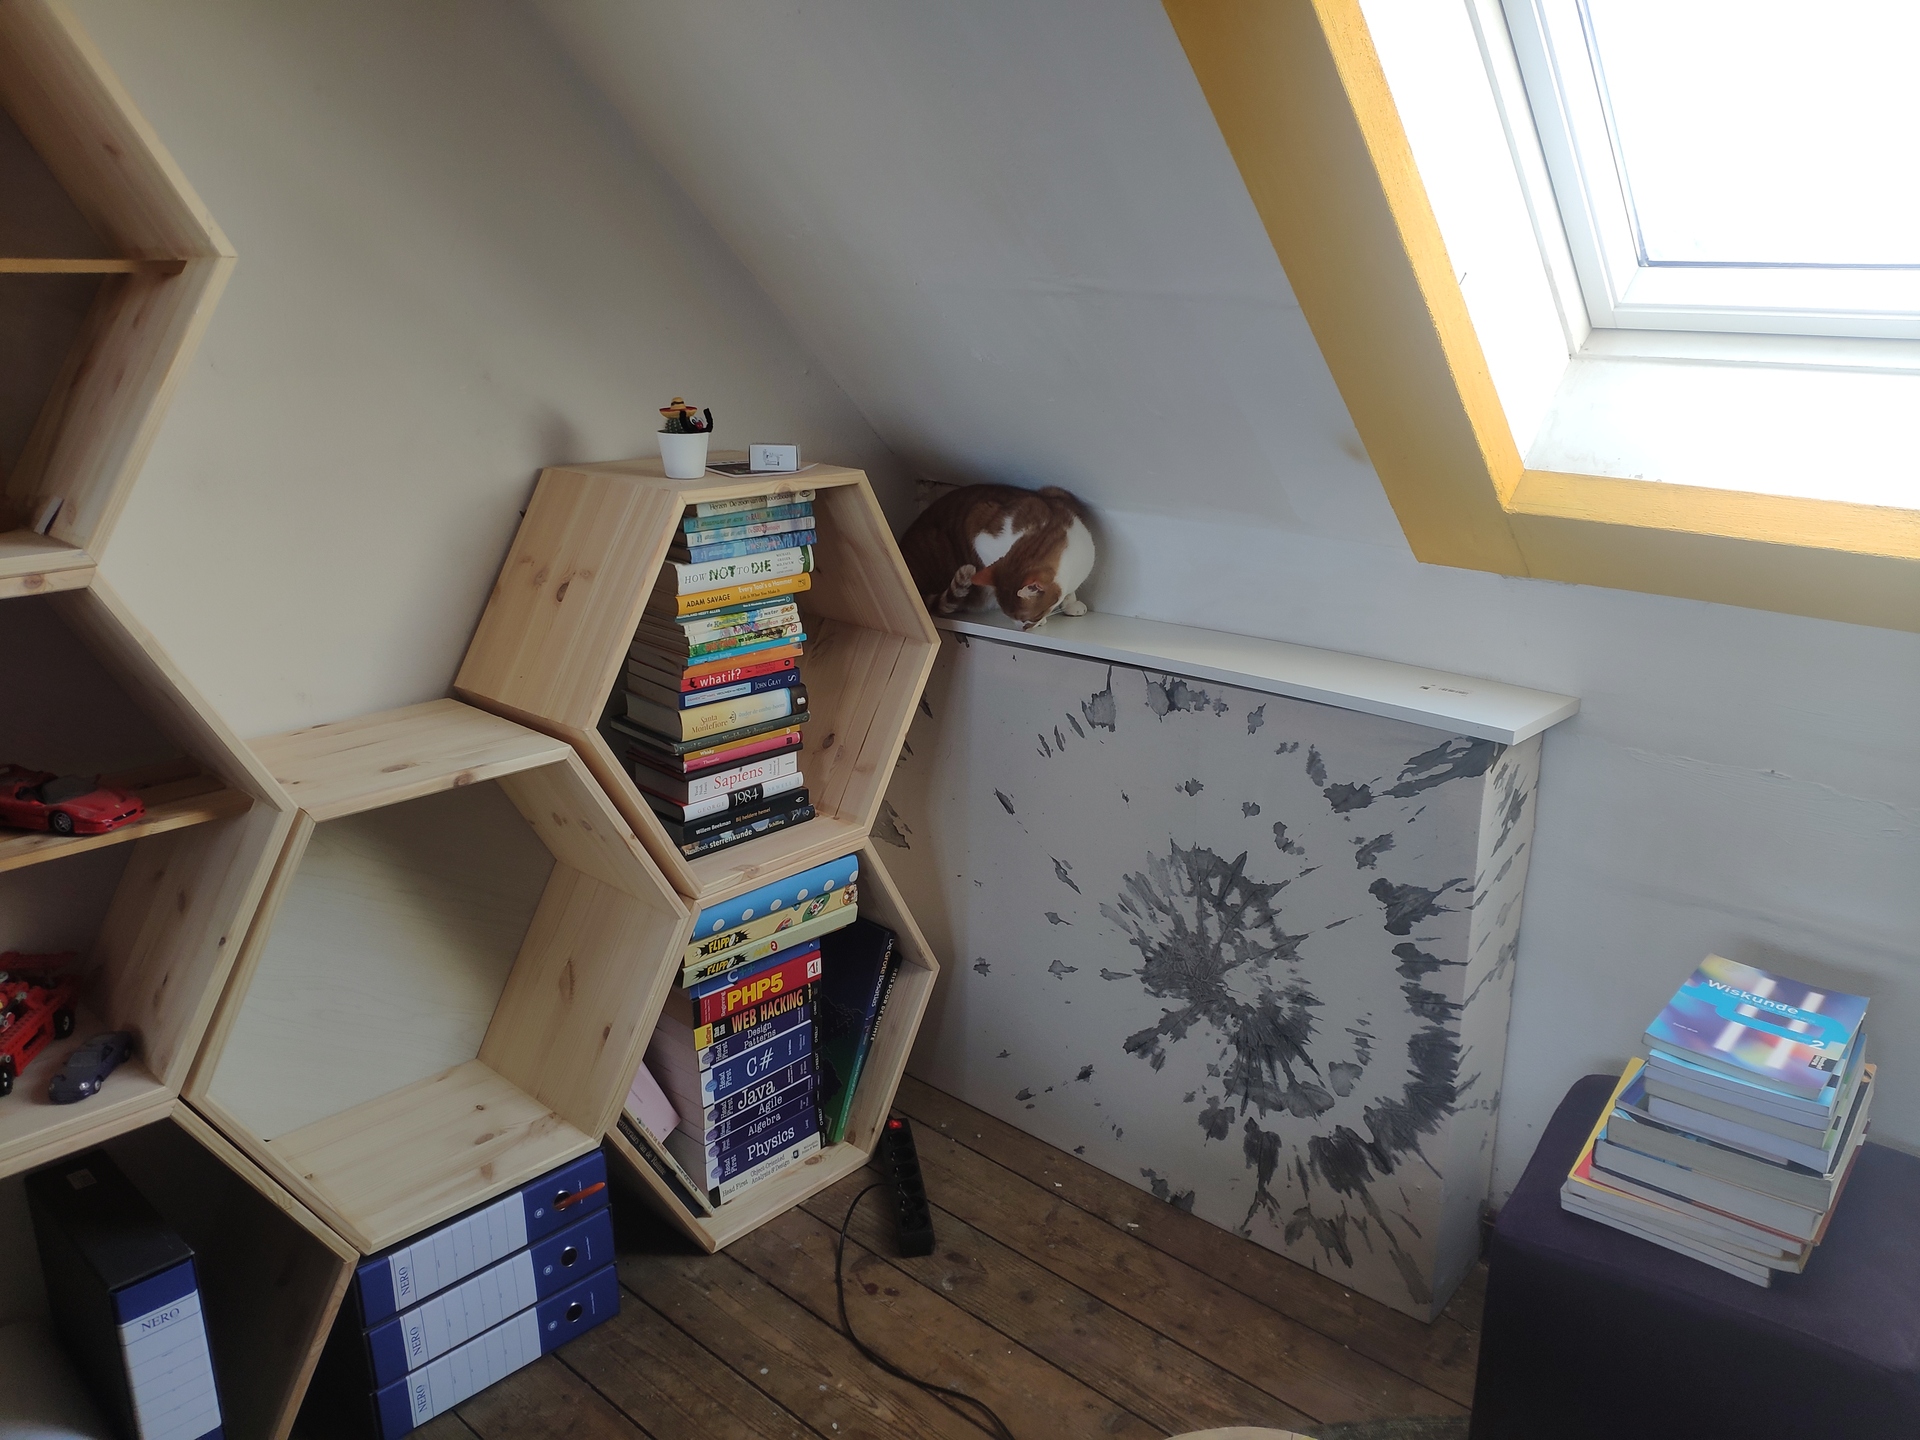
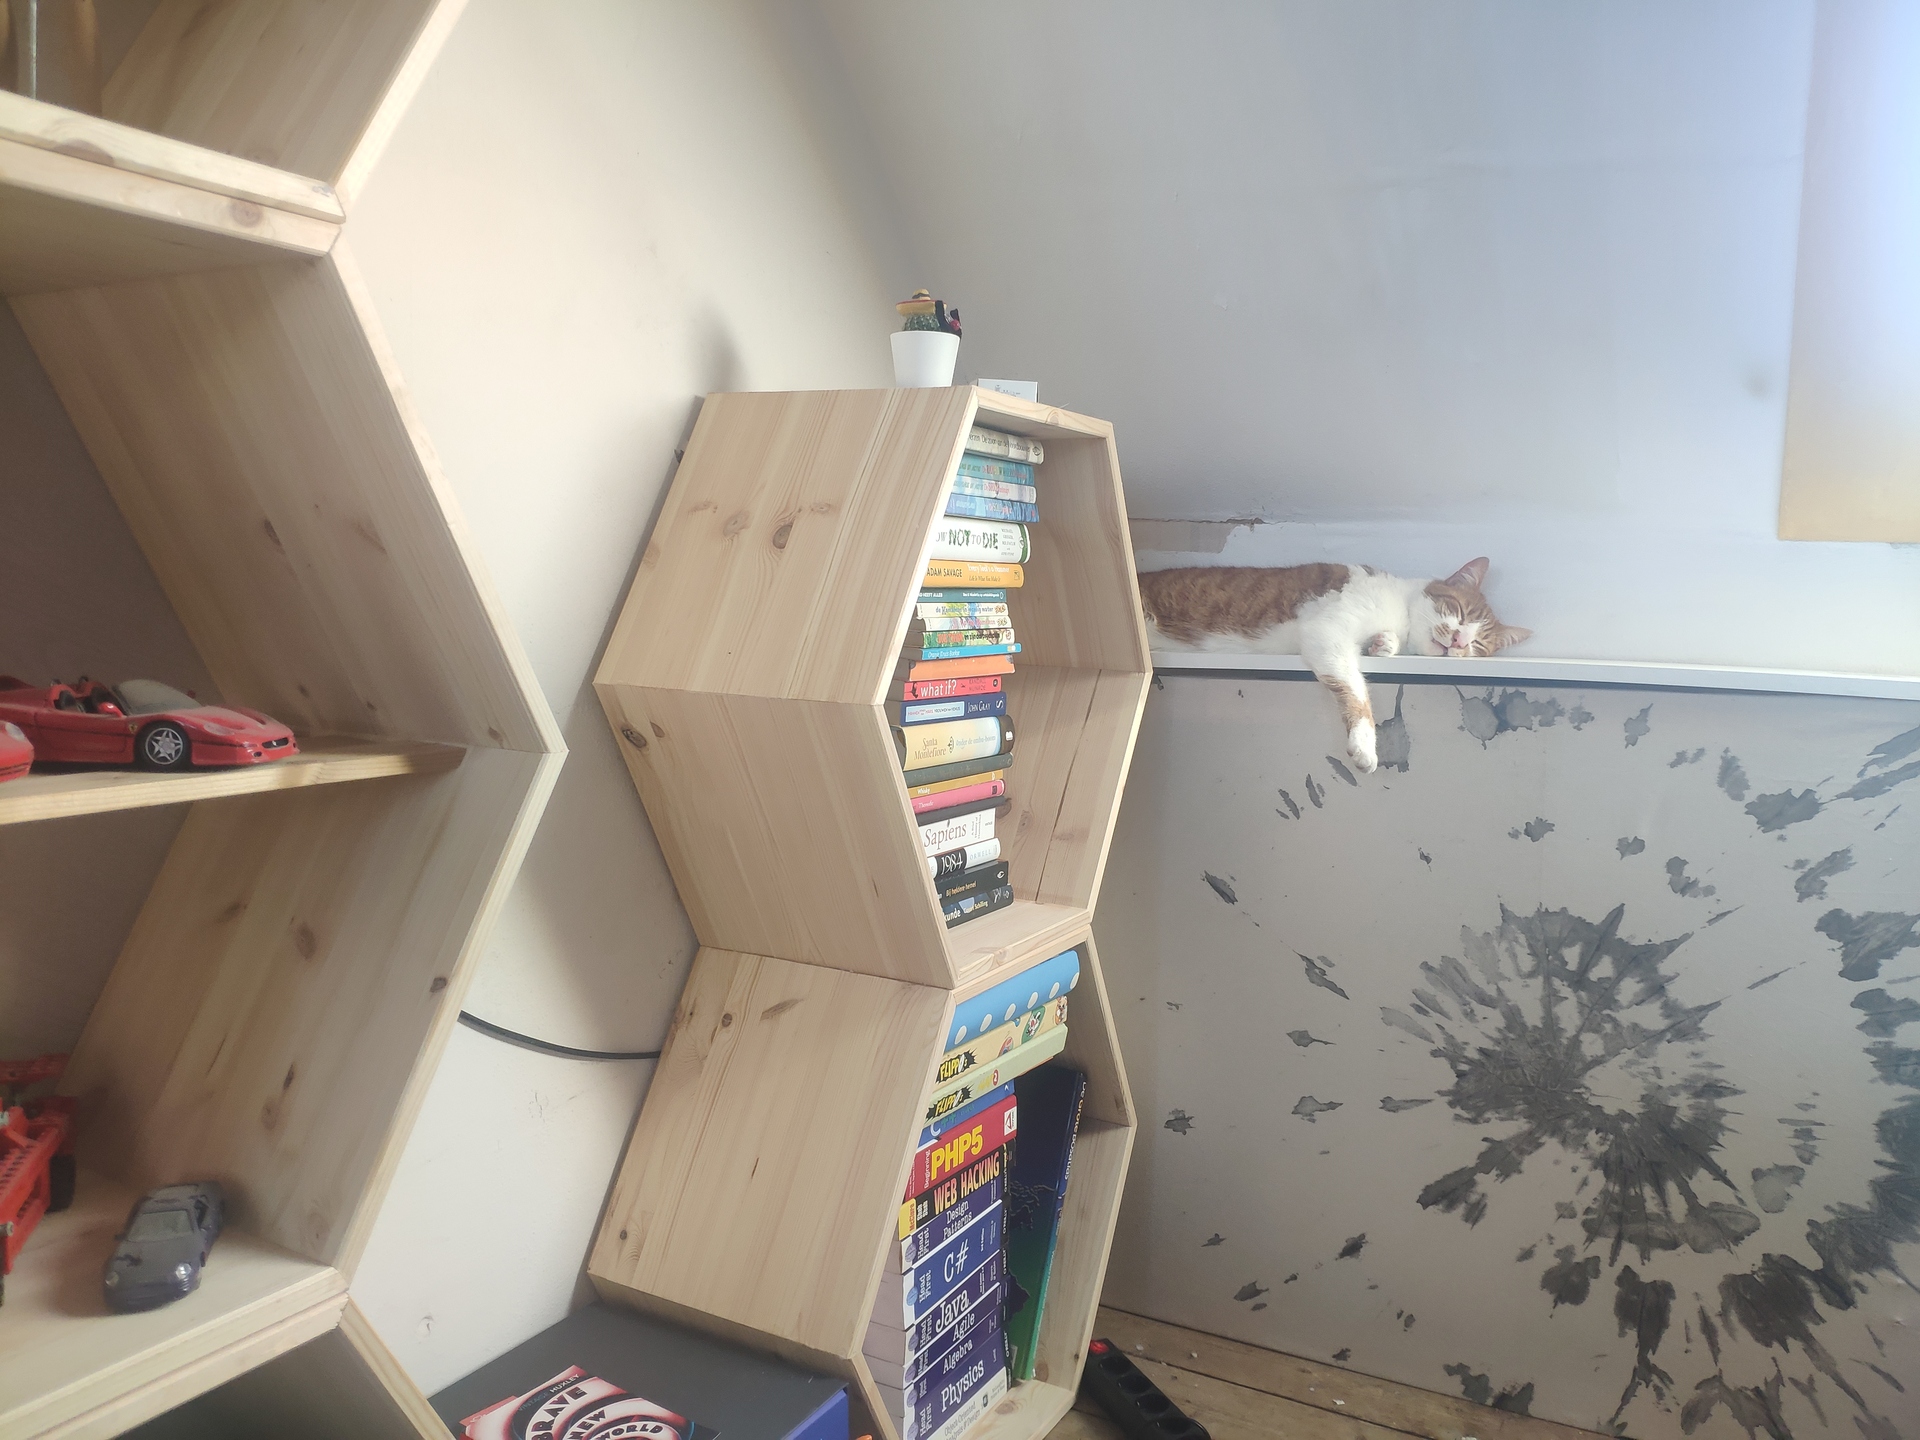
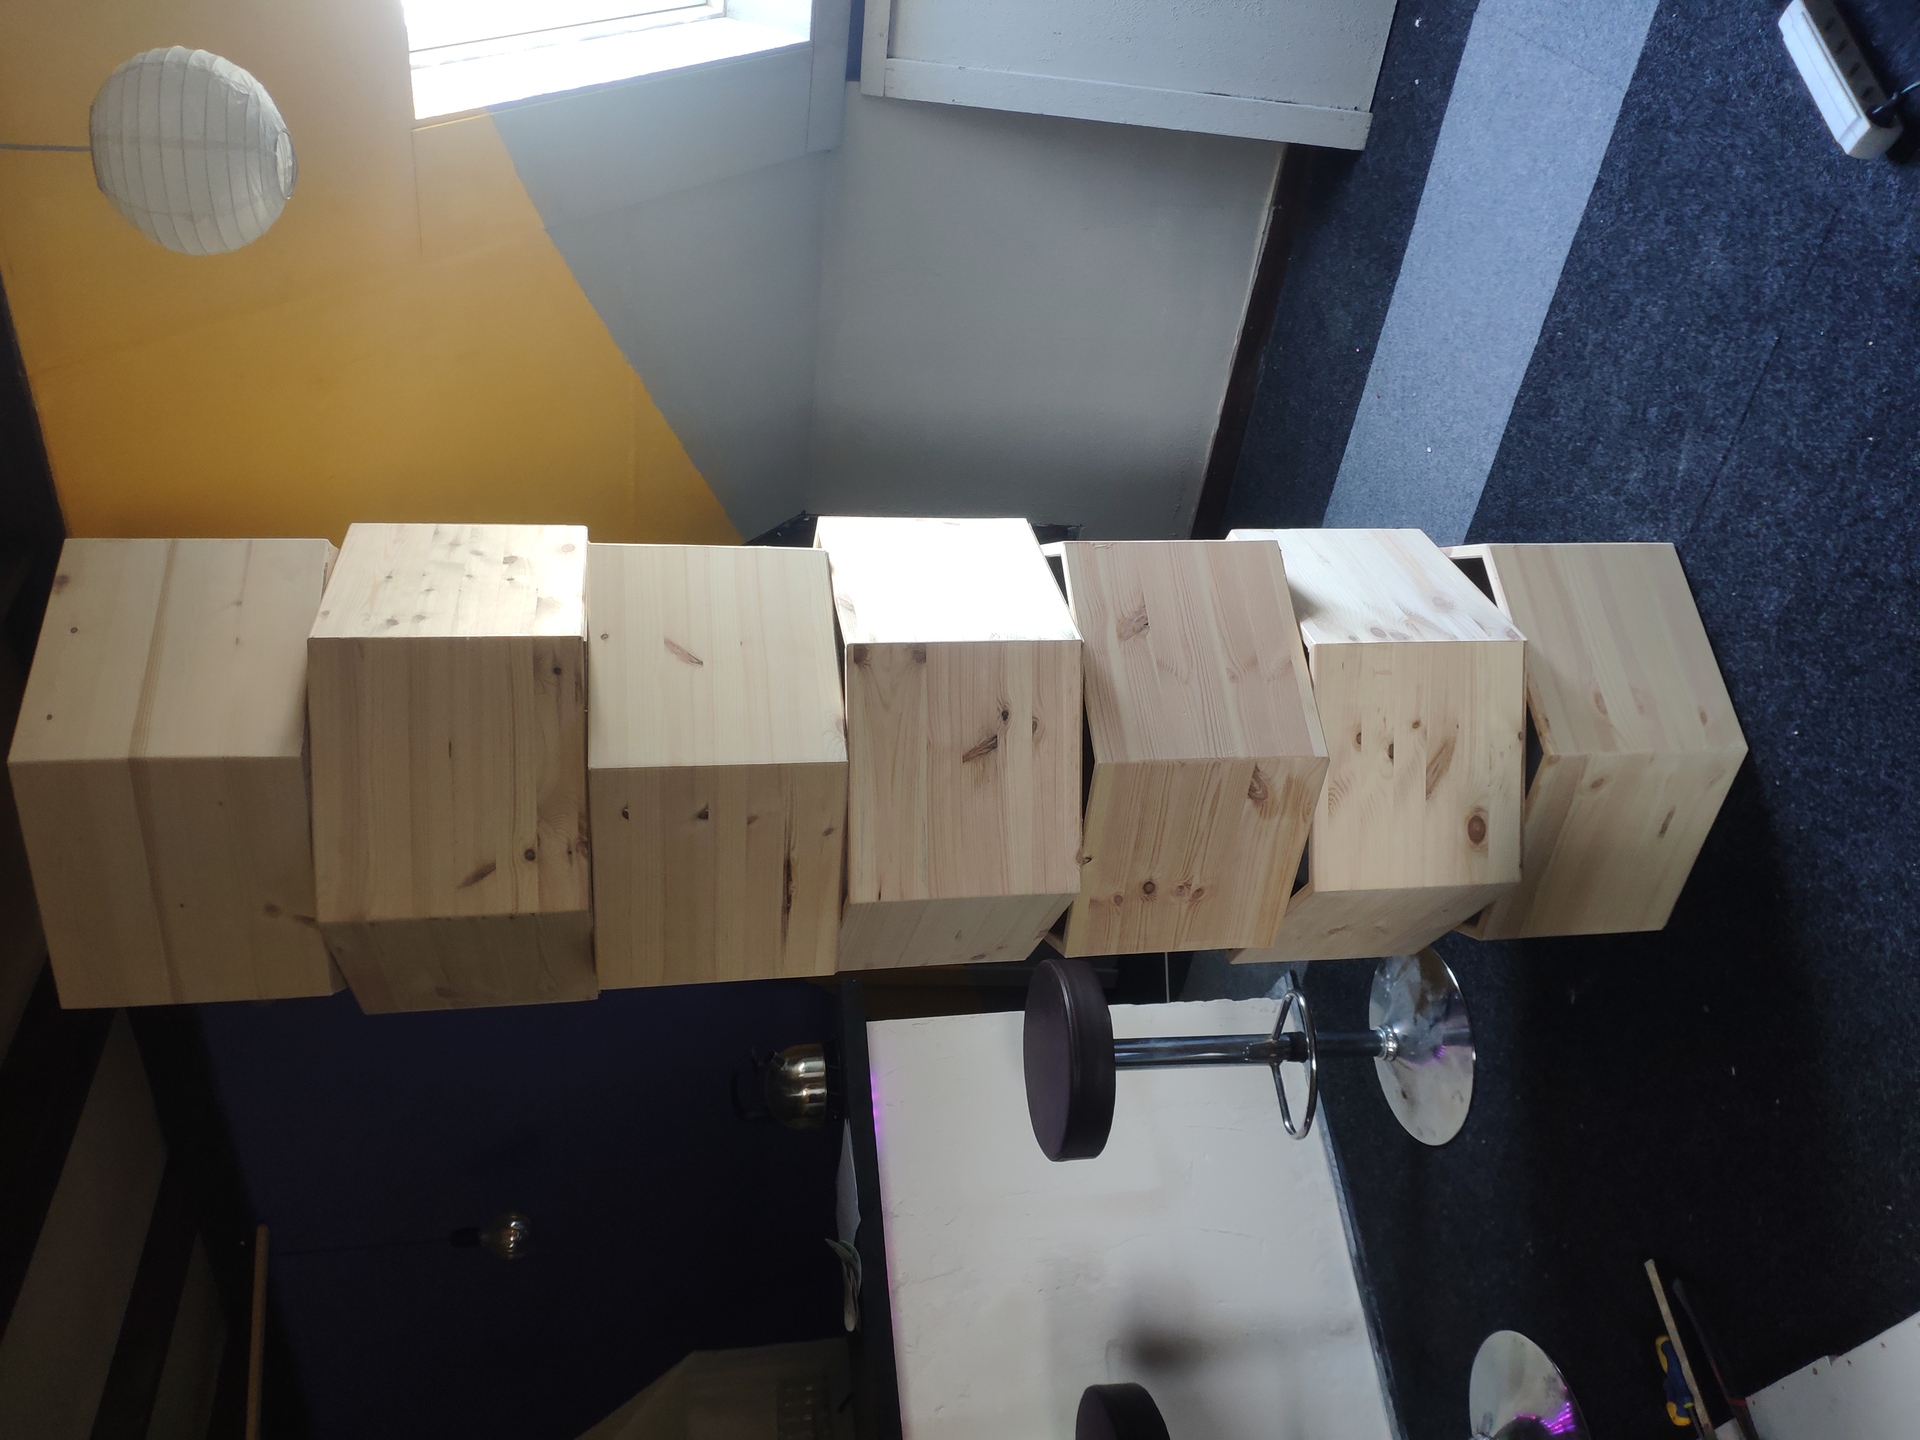
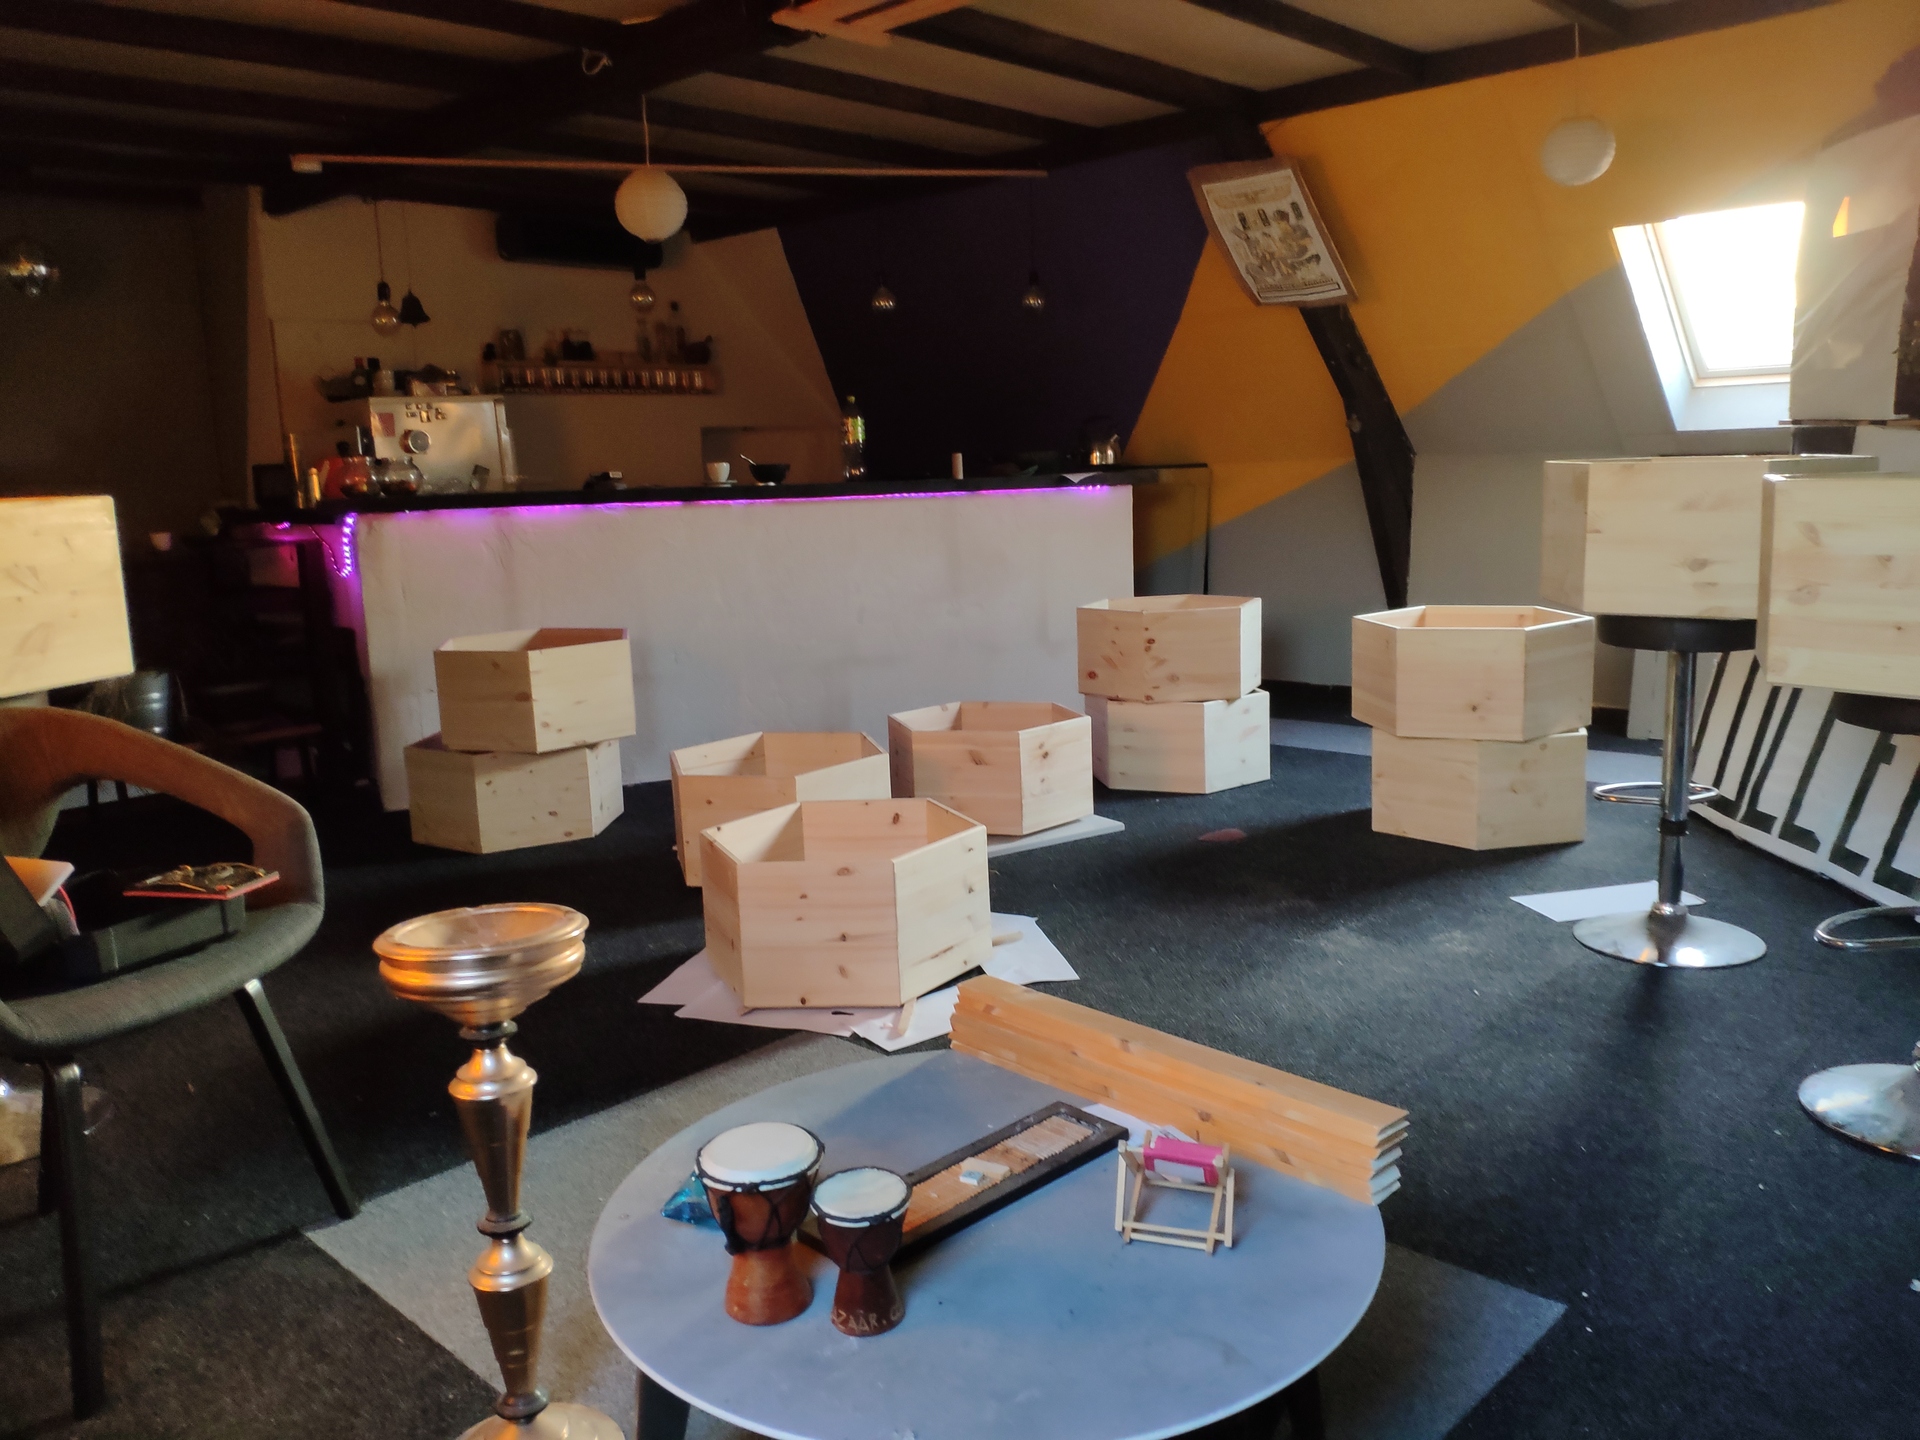
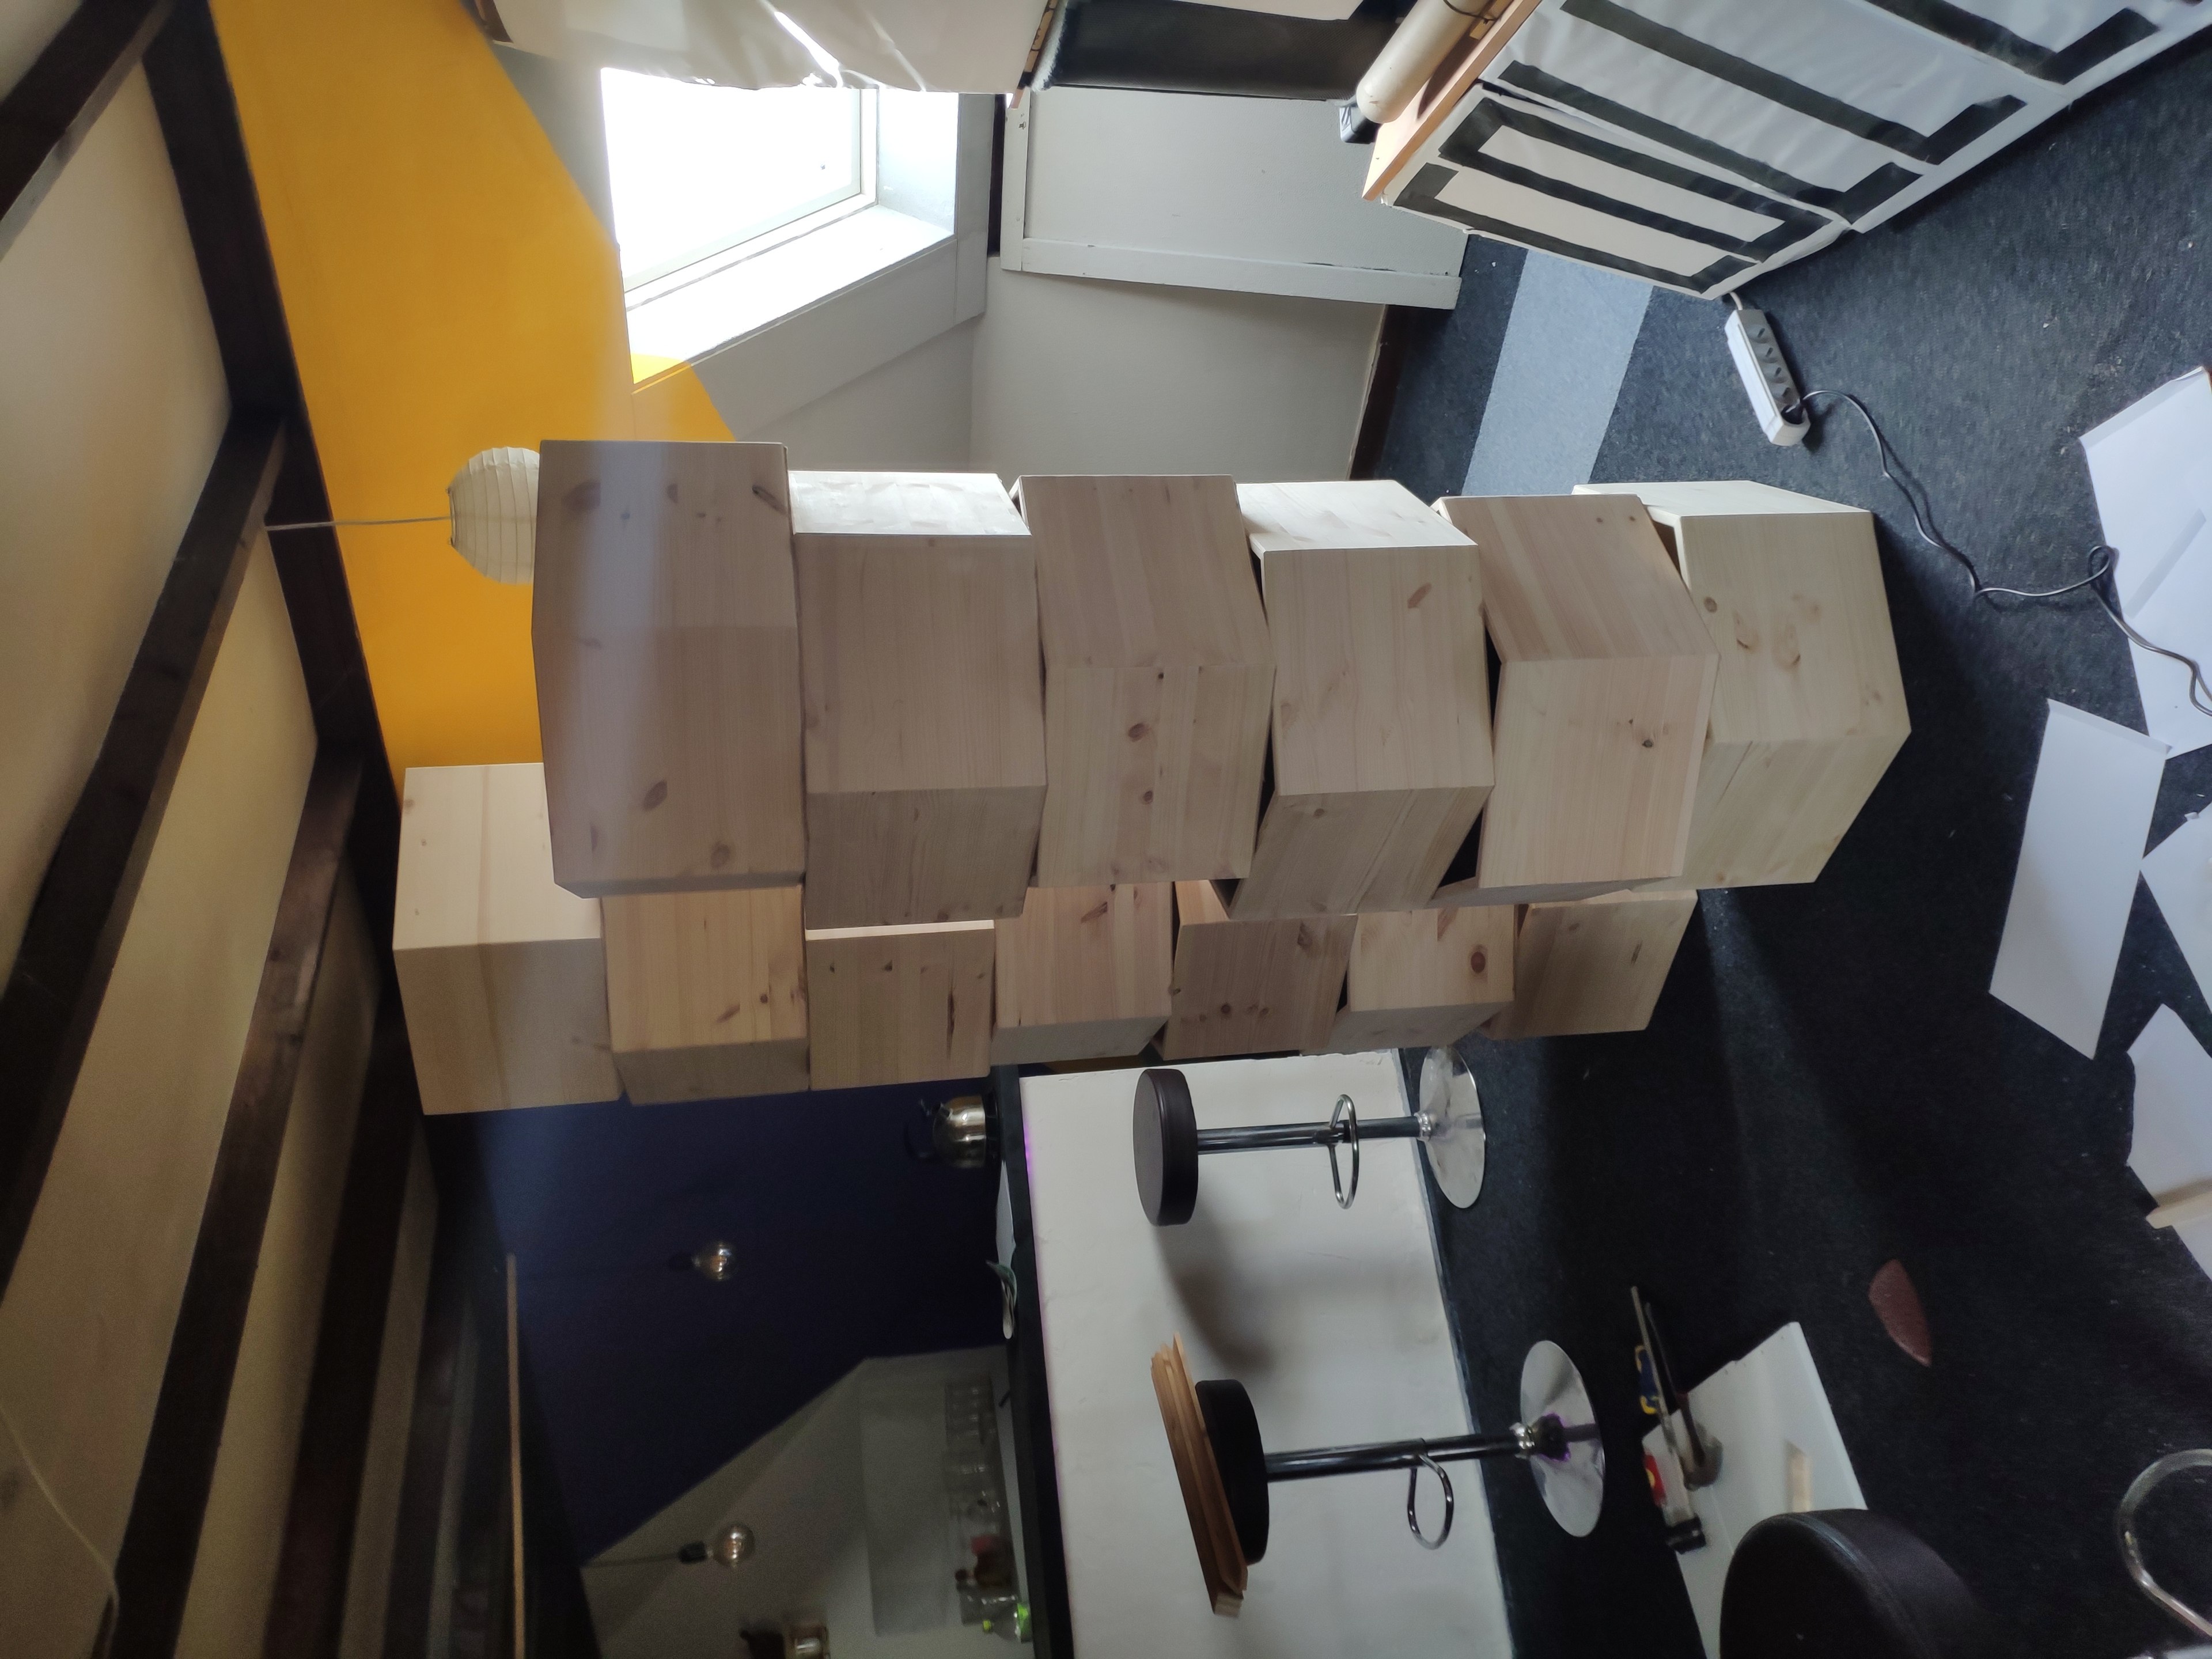
Hexagons
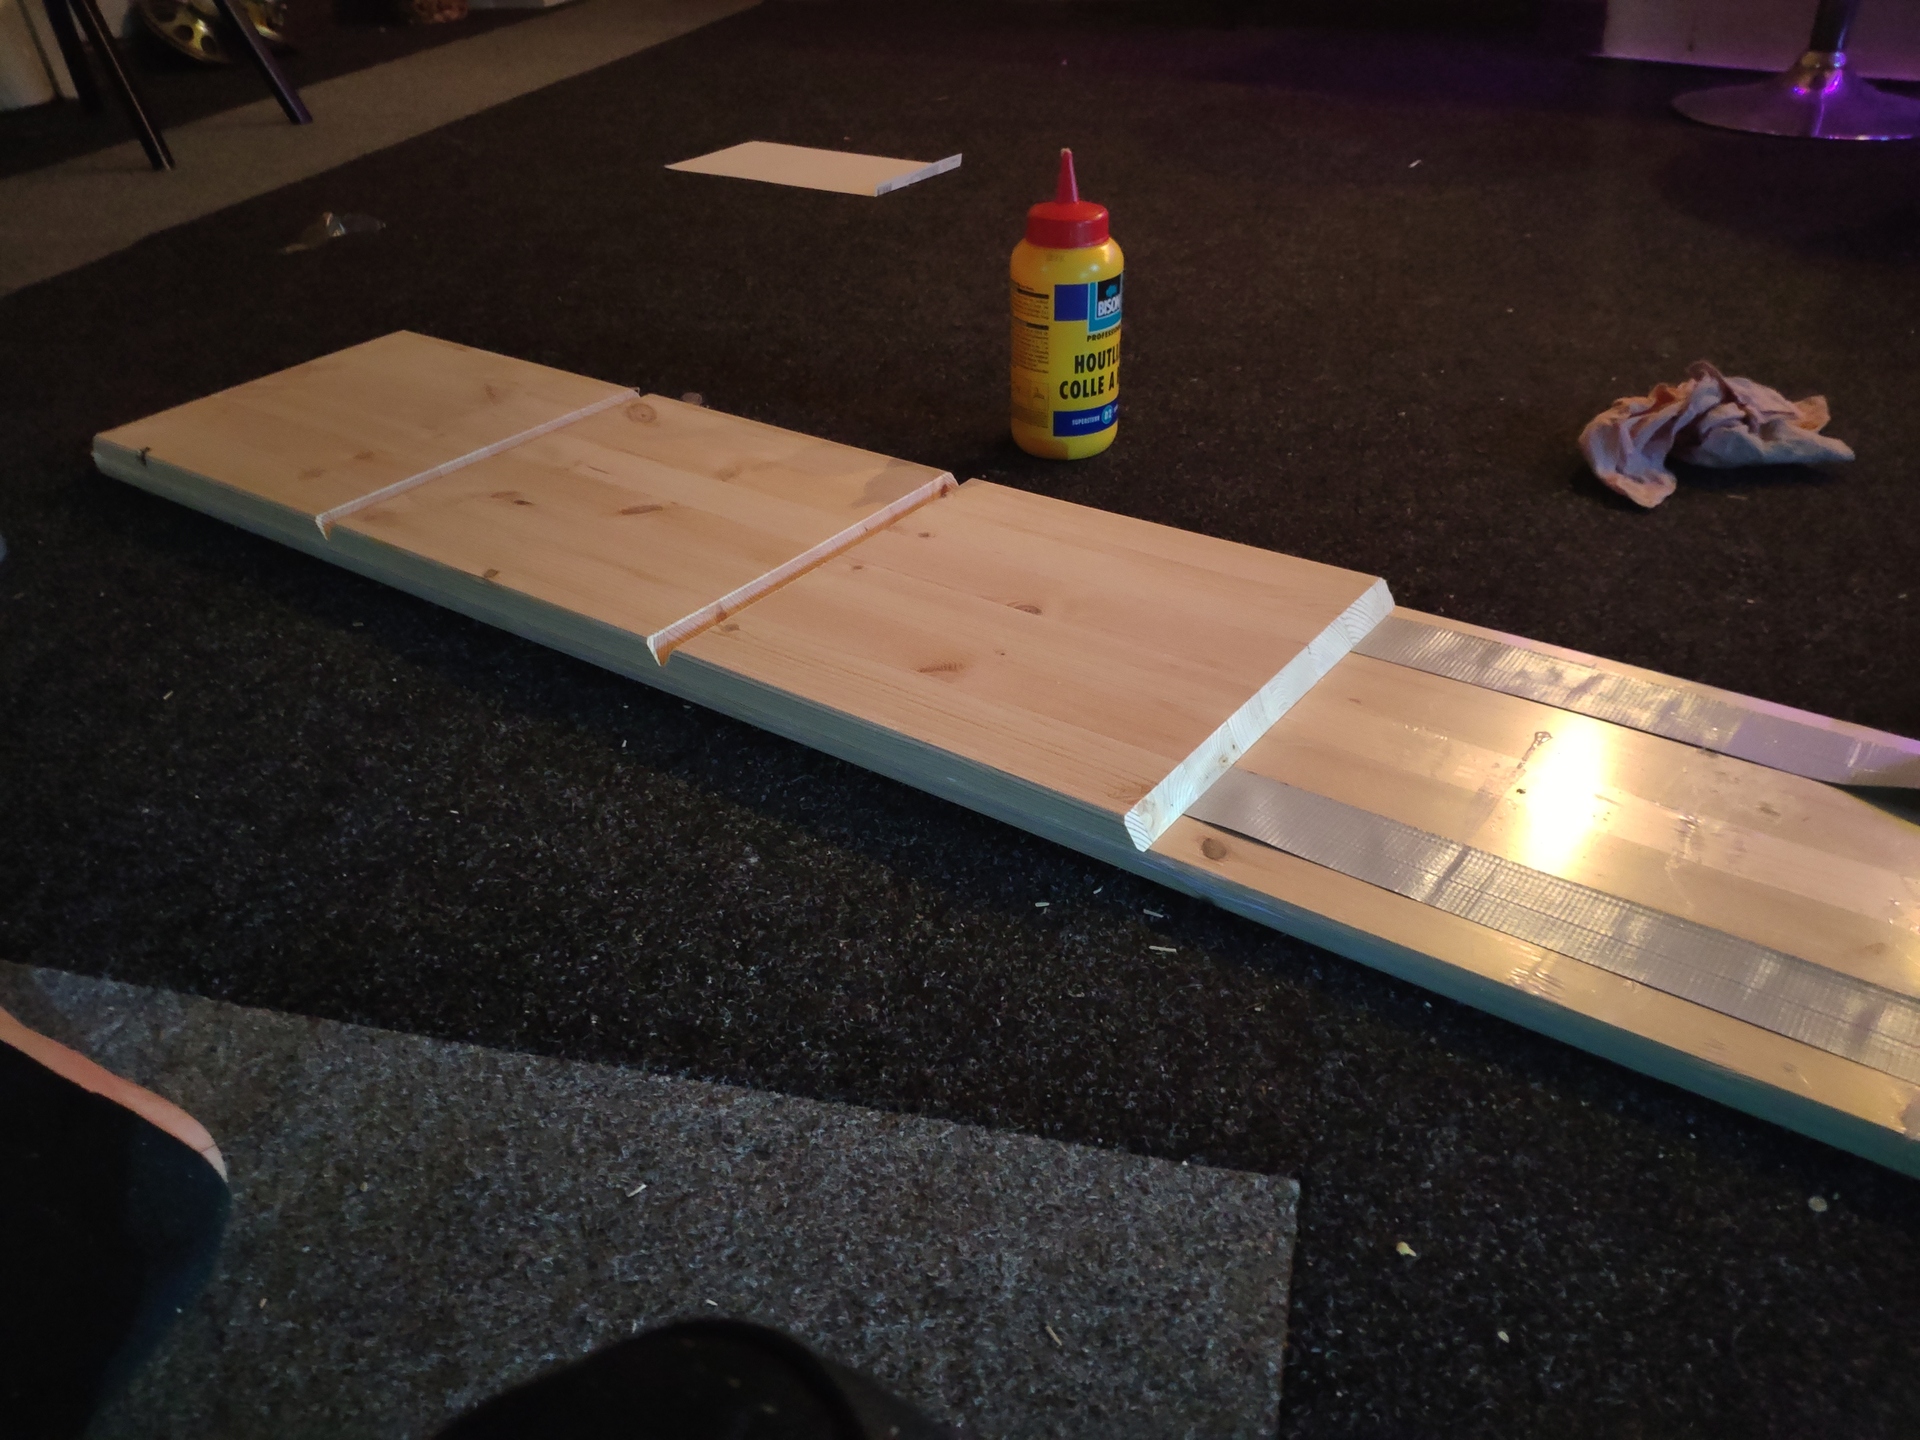
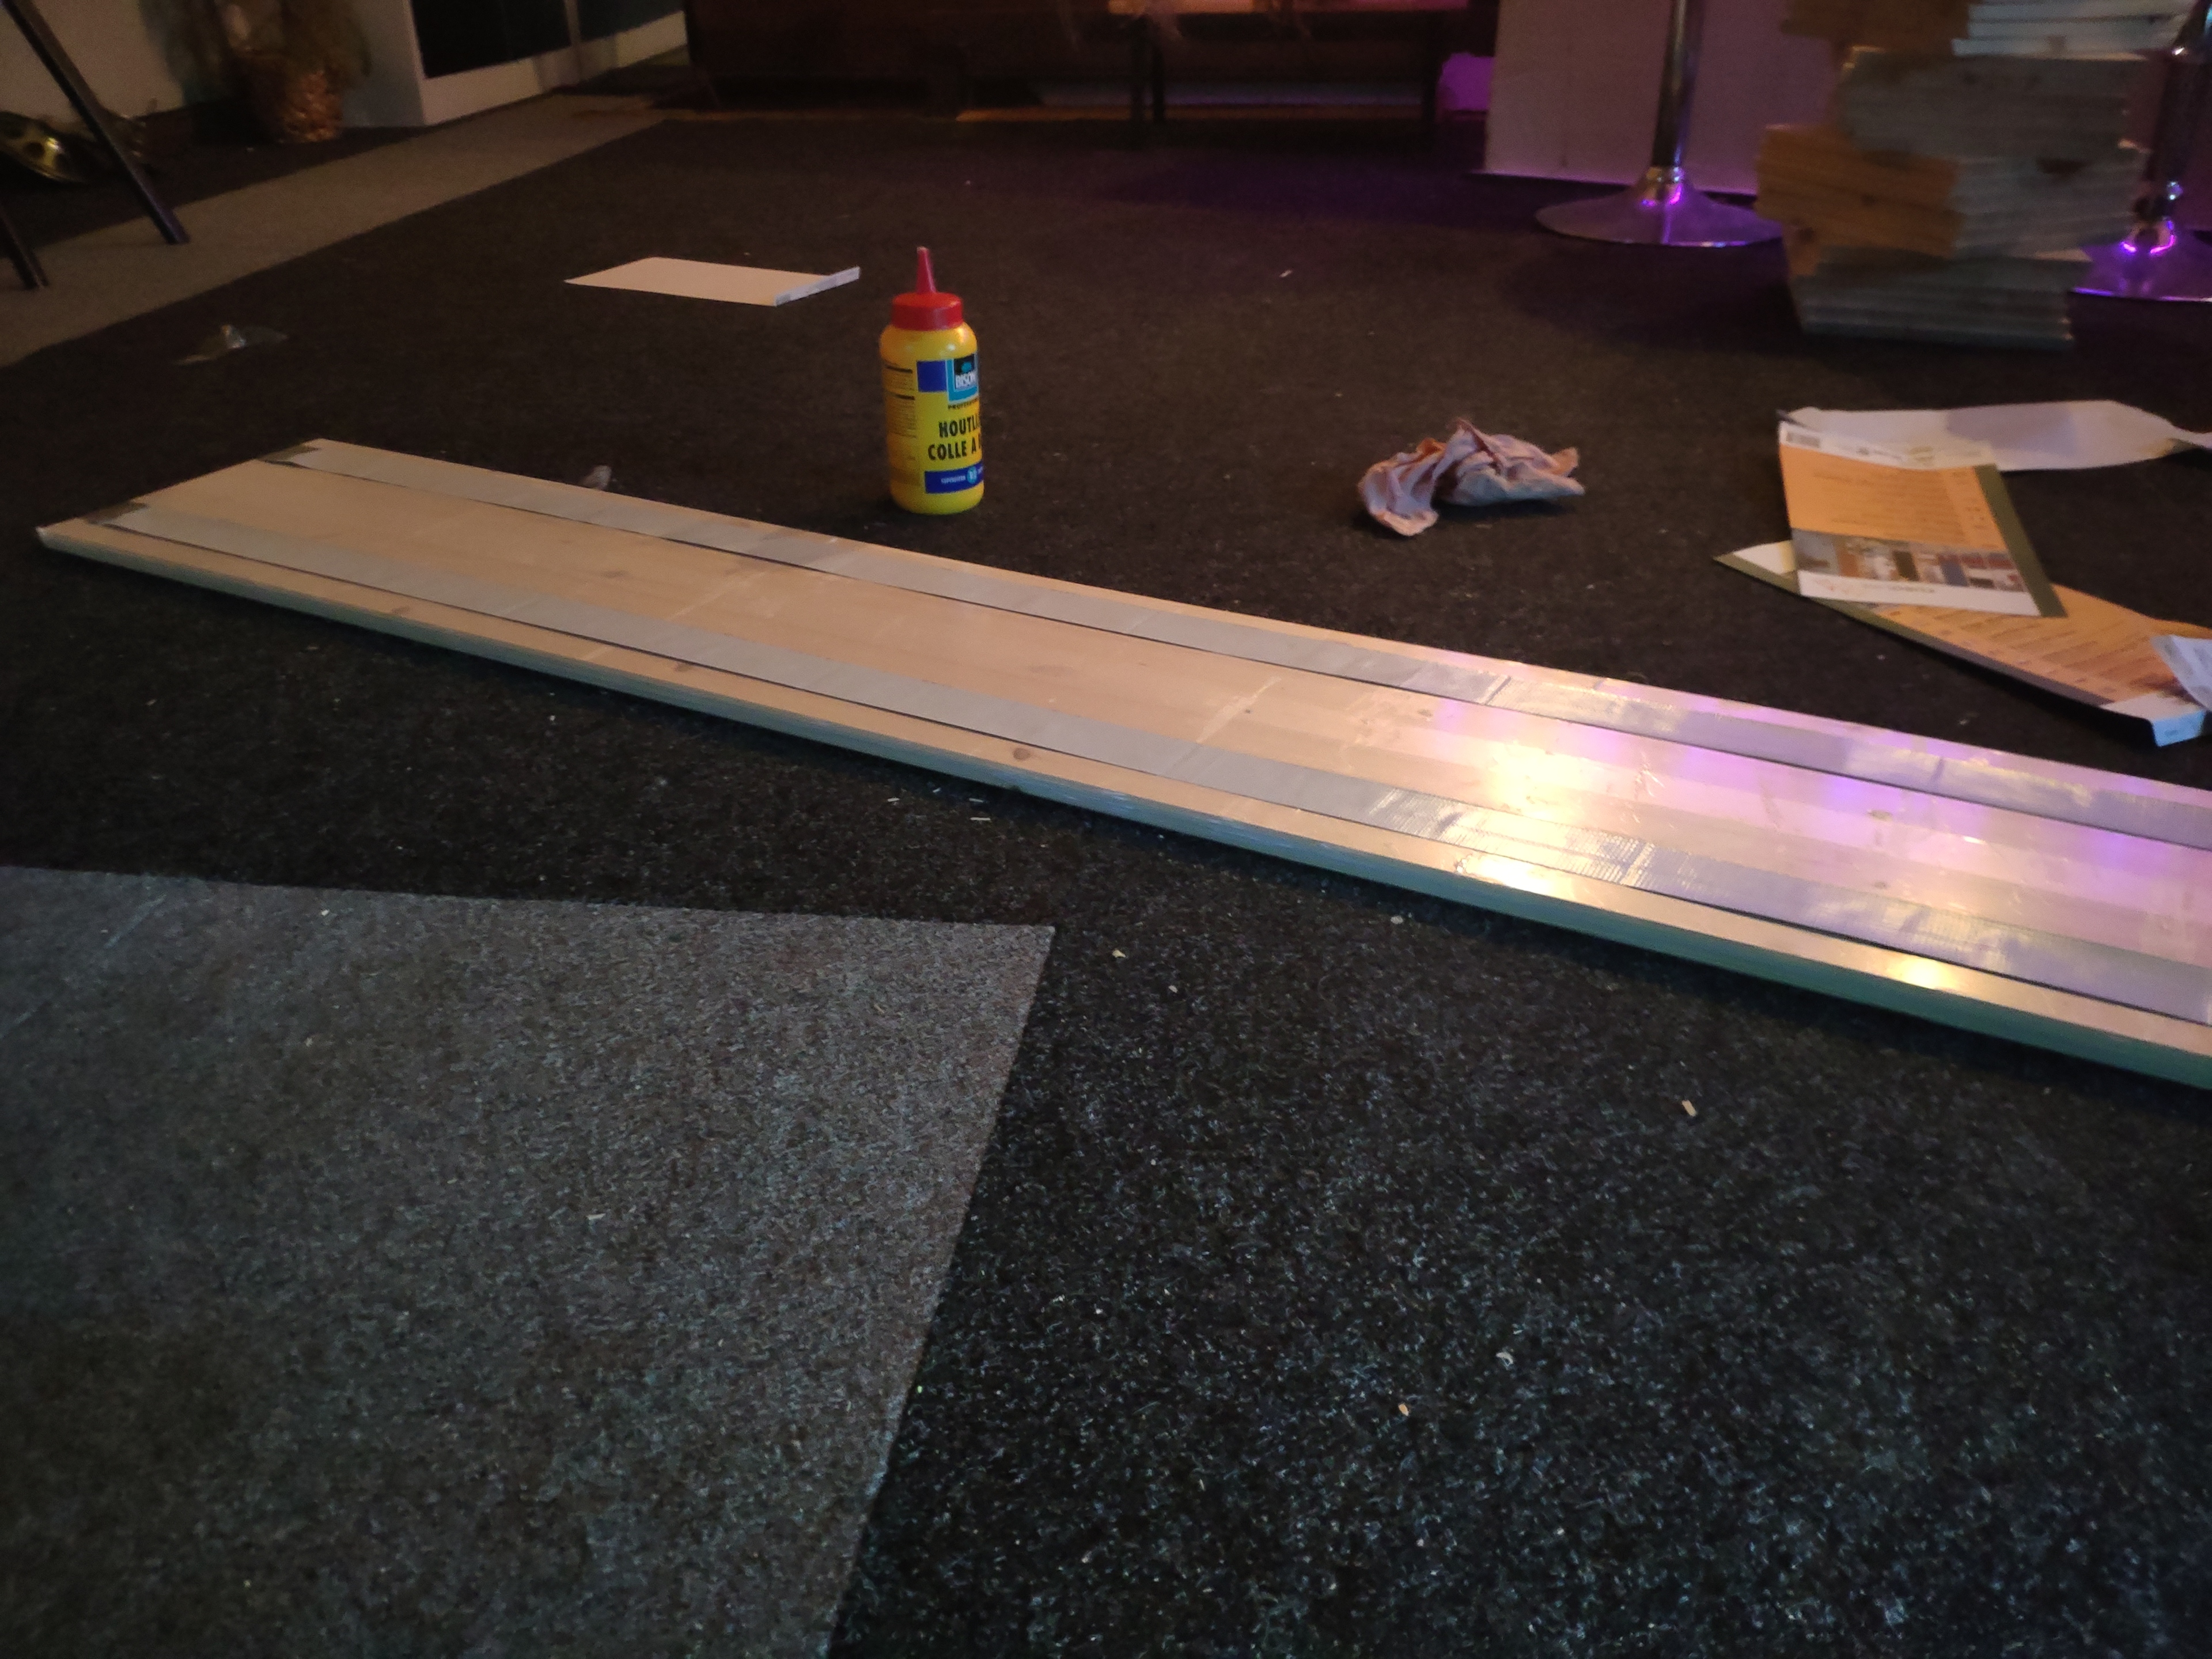
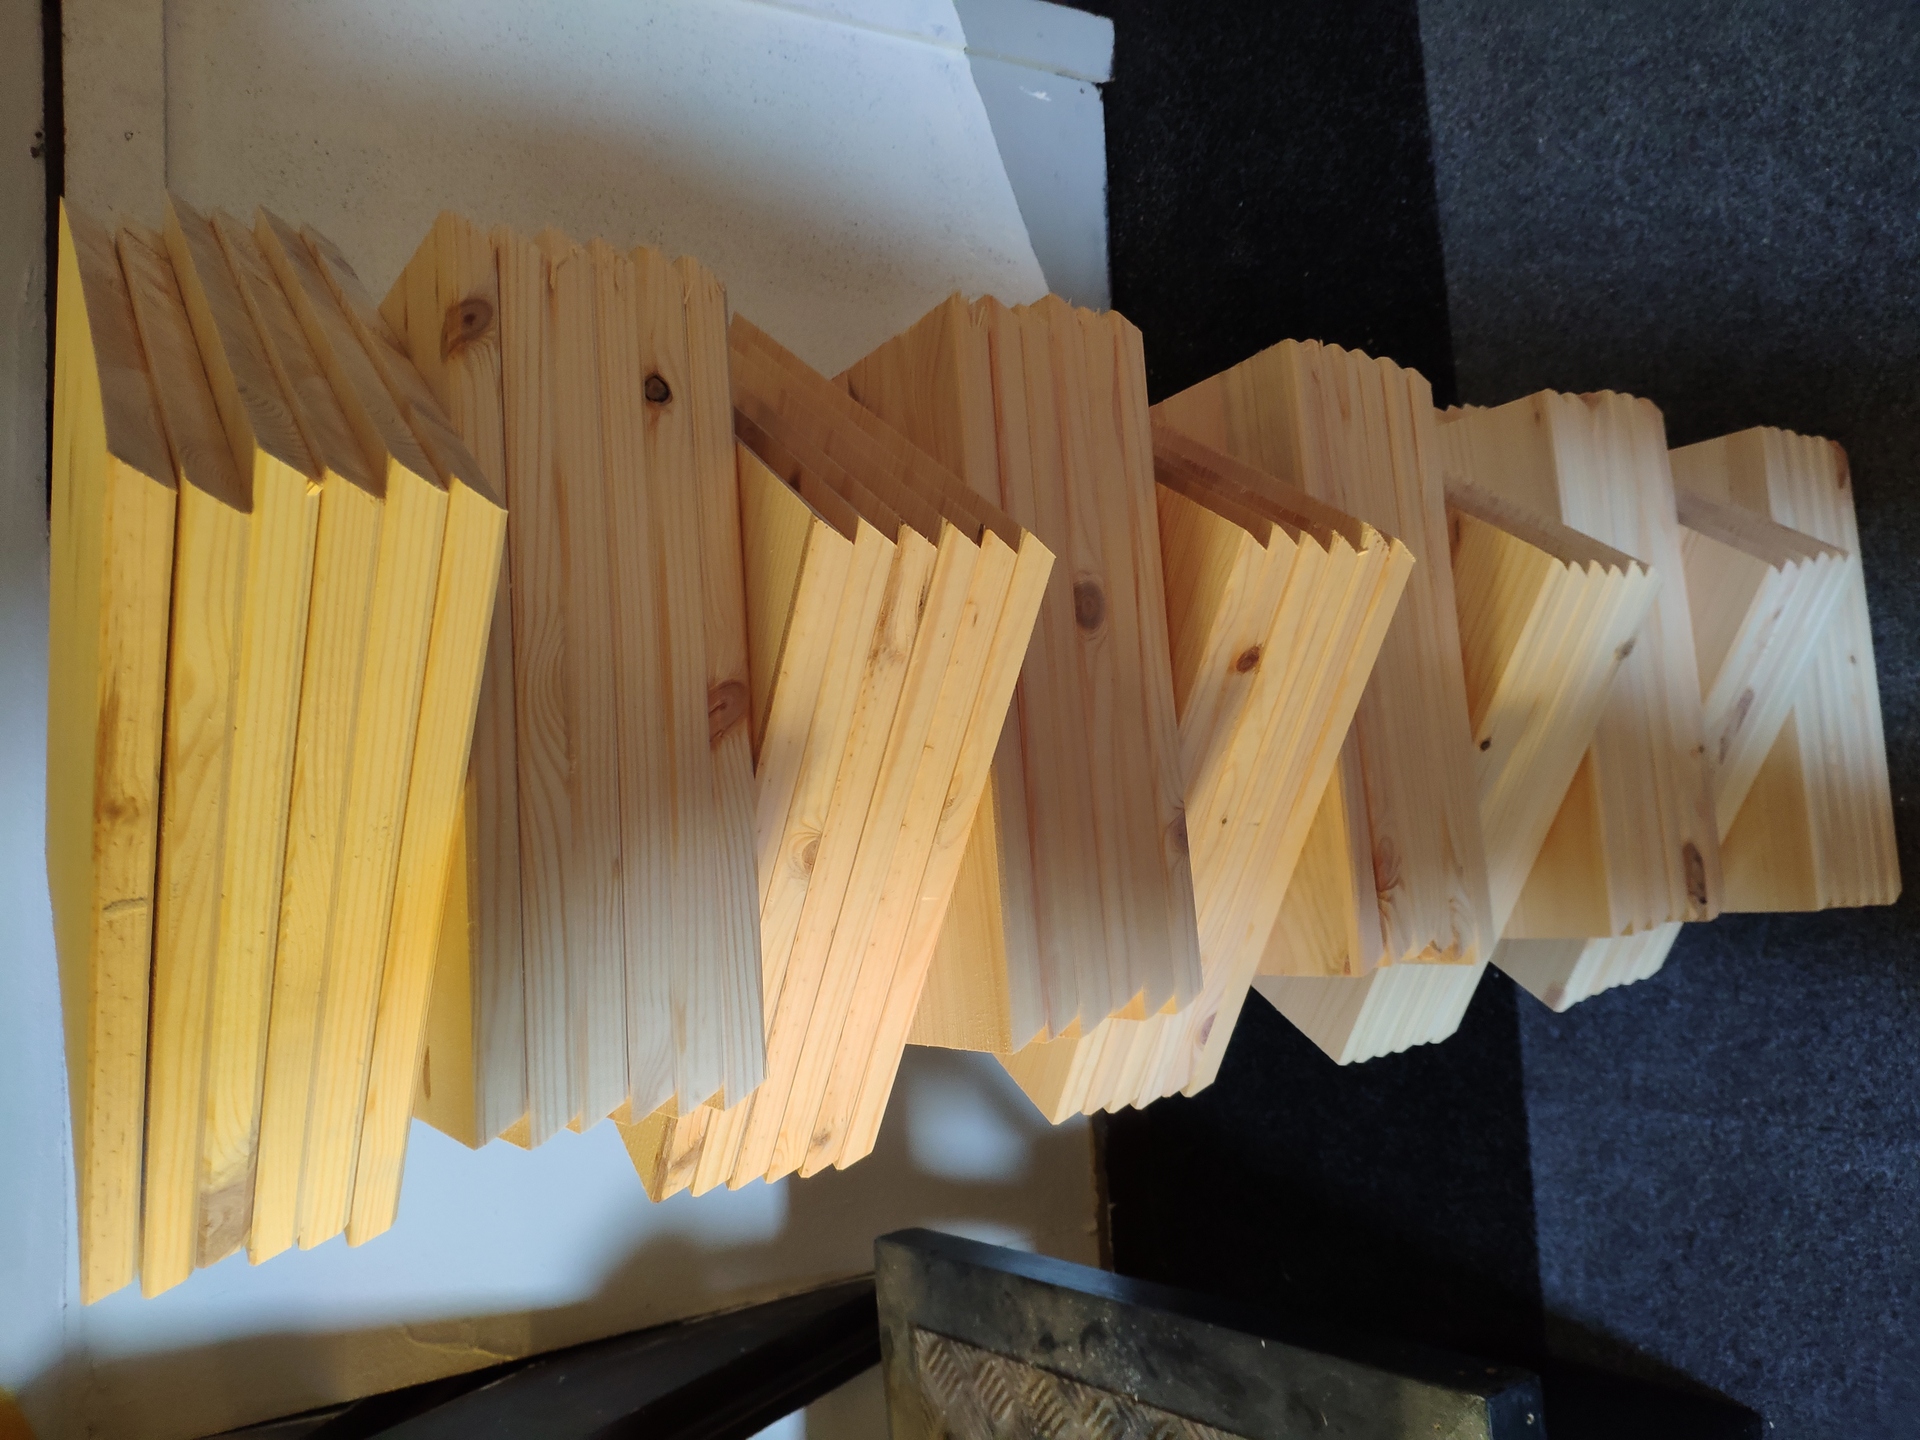
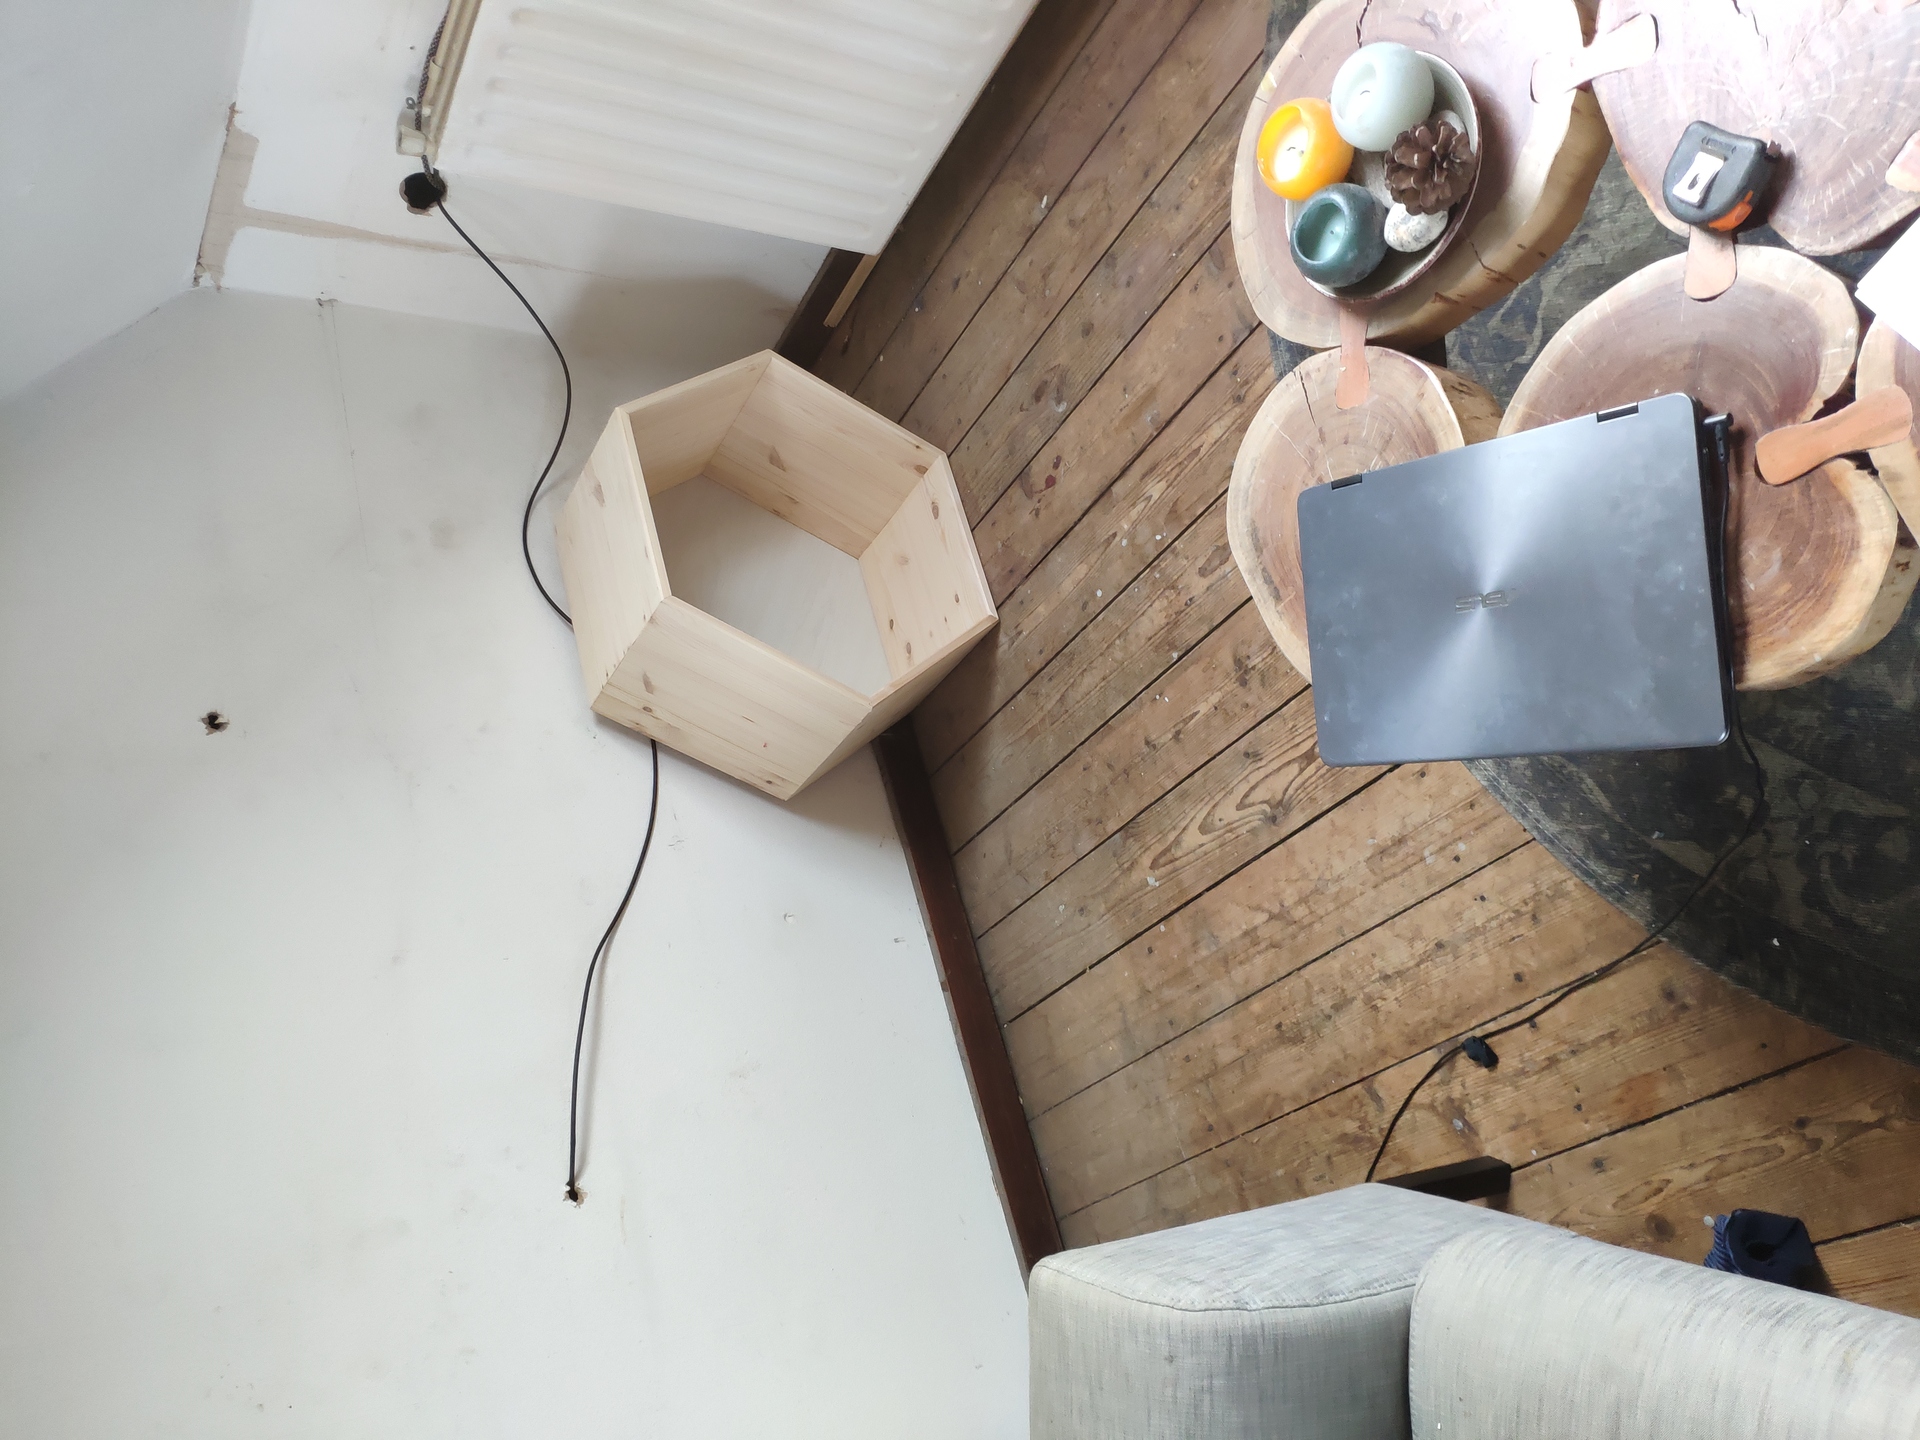
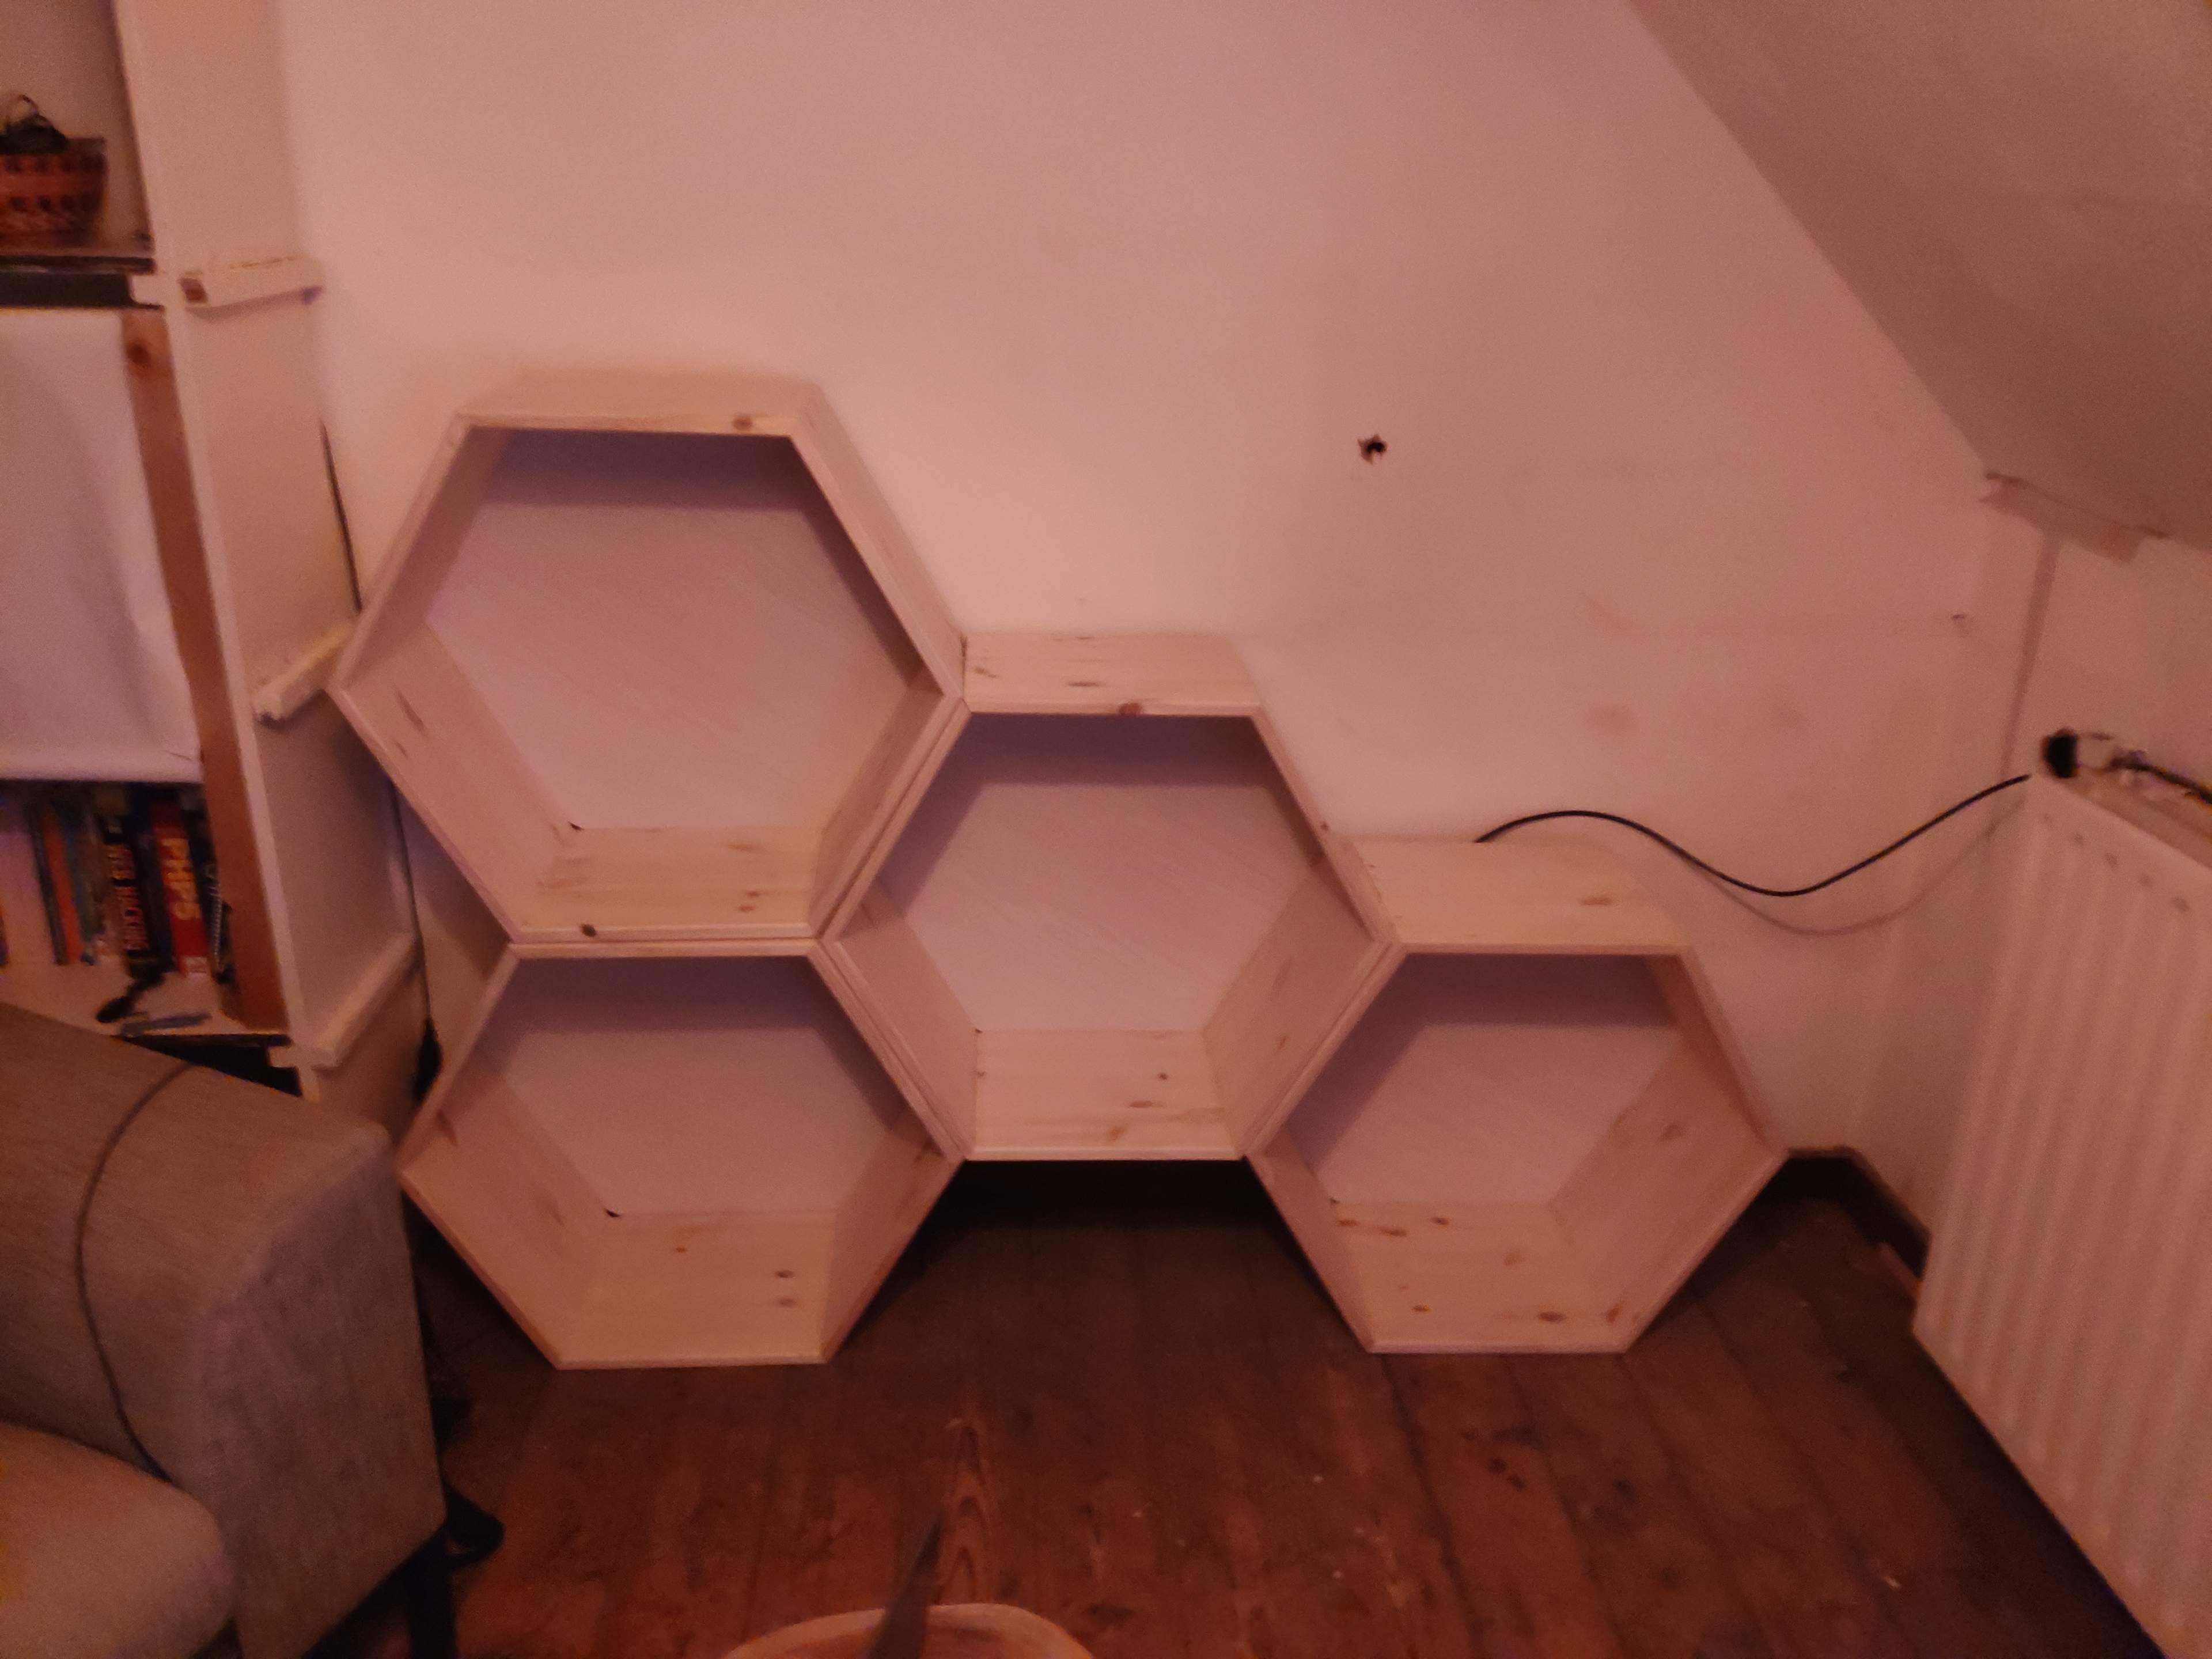
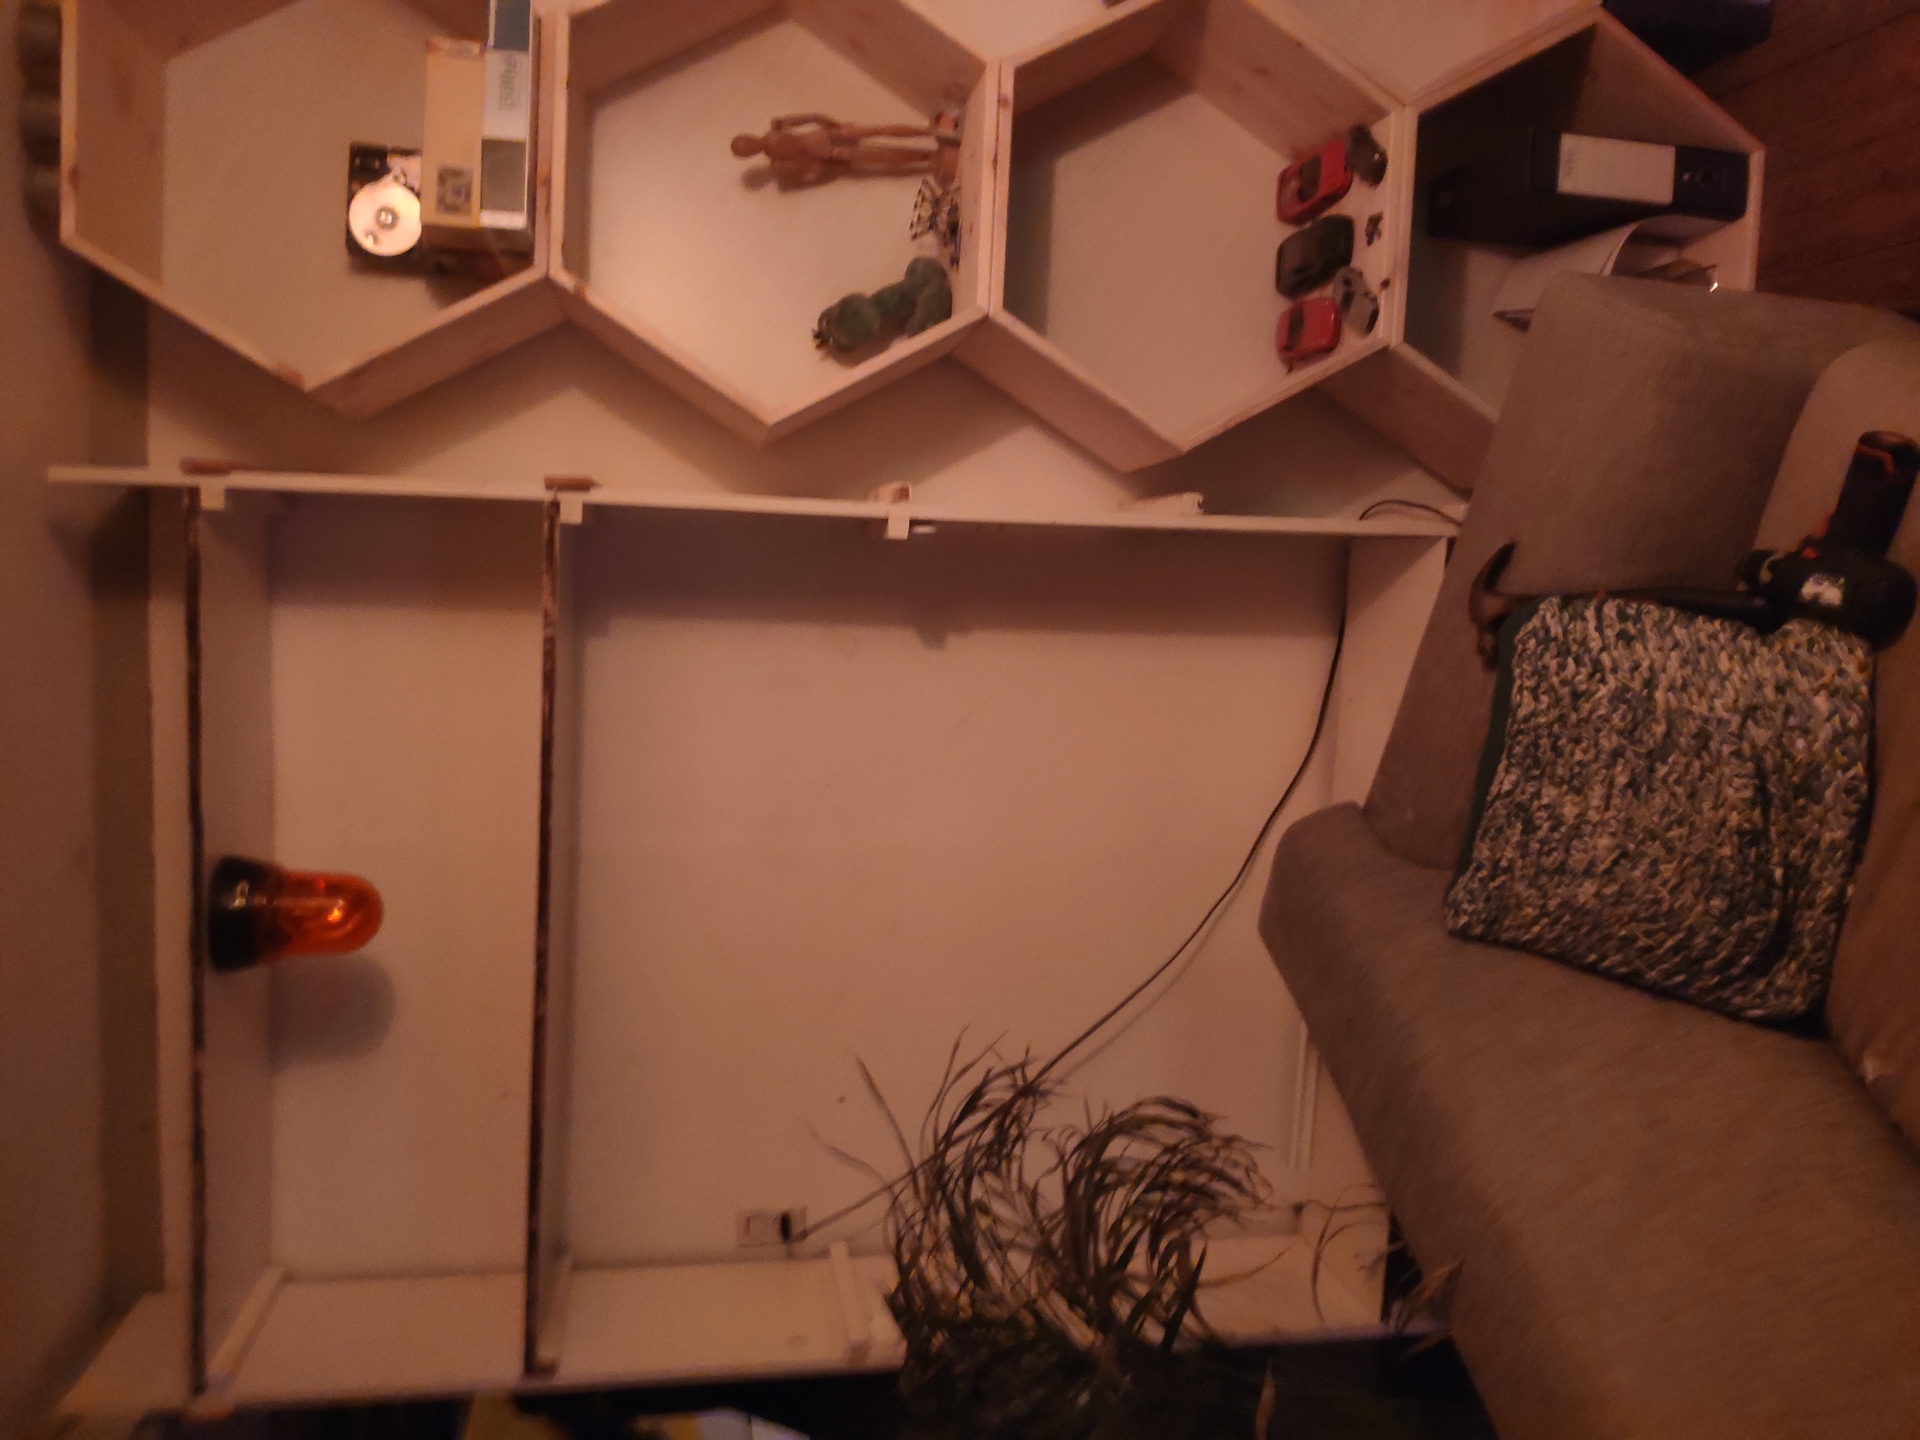
This cabinet consists of 16 hexagons with sides of 320mm and a depth of 320mm, made of 18mm plywood.
Arduino
Getting started
- Download the IDE from the Arduino website and install.
- Go to Sketch -> Include Library -> Manage Libraries and search for 'neopixel'.
- Install Adafruit NeoPixel library.
- Go to Tools -> Board and select 'Arduino Uno'.
- Go to Tools -> Programmer and select 'Arduino as ISP'.
- The port probably is already selected.
I have Arduino 1.8.19 installed, above terms may vary depending on your version.
My program is based on the strandtest included in this library: Open File -> Examples -> Adafruit NeoPixel -> strandtest. The original source is also included in this repository.
Below are some comments that were included in that file:
Neopixel best practices
- Add 1000 uF CAPACITOR between the + and - connections of the NeoPixel strip.
- Minimize wiring length between microcontroller board and first pixel.
- The DATA-IN of the NeoPixel strip should pass through a 300-500 Ω RESISTOR.
- Avoid connecting NeoPixels on a live circuit. If you must, always connect GROUND (-) first, then +, then data.
A Dutch manual to calculate the resistance based on the color coding.
For a polarized electrolytic capacitor as seen here, the negative (–) lead is usually indicated by a stripe and/or may be shorter than the + lead. Draw schemes like this with Fritzing.
Another useful source is the Adafruit NeoPixel Überguide.
How many NeoPixels are attached to the Arduino?
LED_COUNT is defined by 16 hexagons times 108 LEDs, considering 60 LEDs/meter, that would mean a total of 1728 LEDs.
Declare our NeoPixel strip object
- Argument 1 = Number of pixels in NeoPixel strip
- Argument 2 = Arduino pin number (most are valid)
- Argument 3 = Pixel type flags, add together as needed: NEO_KHZ800 800 KHz bitstream (most NeoPixel products w/WS2812 LEDs)
Setup function runs once at startup
It is required to include strip.begin(); in this setup function. This can be used to turn all LEDs off initially and set a brightness. Other functions related to the strip can be found in the class reference.
Loop function runs repeatedly
In this function the animation functions can be called. The default ones included in the strandtest are colorWipe(), theaterChase(), rainbow() and theaterChaseRainbow(). You can find the documentation of these functions in the original strandtest.ino file. I added my own functions to it: FX_hexCircle(), FXcolorWipeMulti().
Remote
The light effects can be selected with a remote control, having a numpad and 4 arrows. However, I might be using the remote of my Dolby receiver, which has an unused numpad. Maybe I will be able to use the arrow buttons on that too. You may find some useful instructions in this YouTube video.
The plan is to program each of those numbers with its own effect. Example:
- Each hexagon is turning on one by one
- Each hexagon starts circling around
- Everything is quite dim, but with a motion sensor a single hexagon can light up if I come close
- Equalizer
- Circle around 6 hexagons
- Light up certain hexagons (use arrows to pick which)
- All off, except when approached
- Ableton with Max4Live control
- TBD
- ...
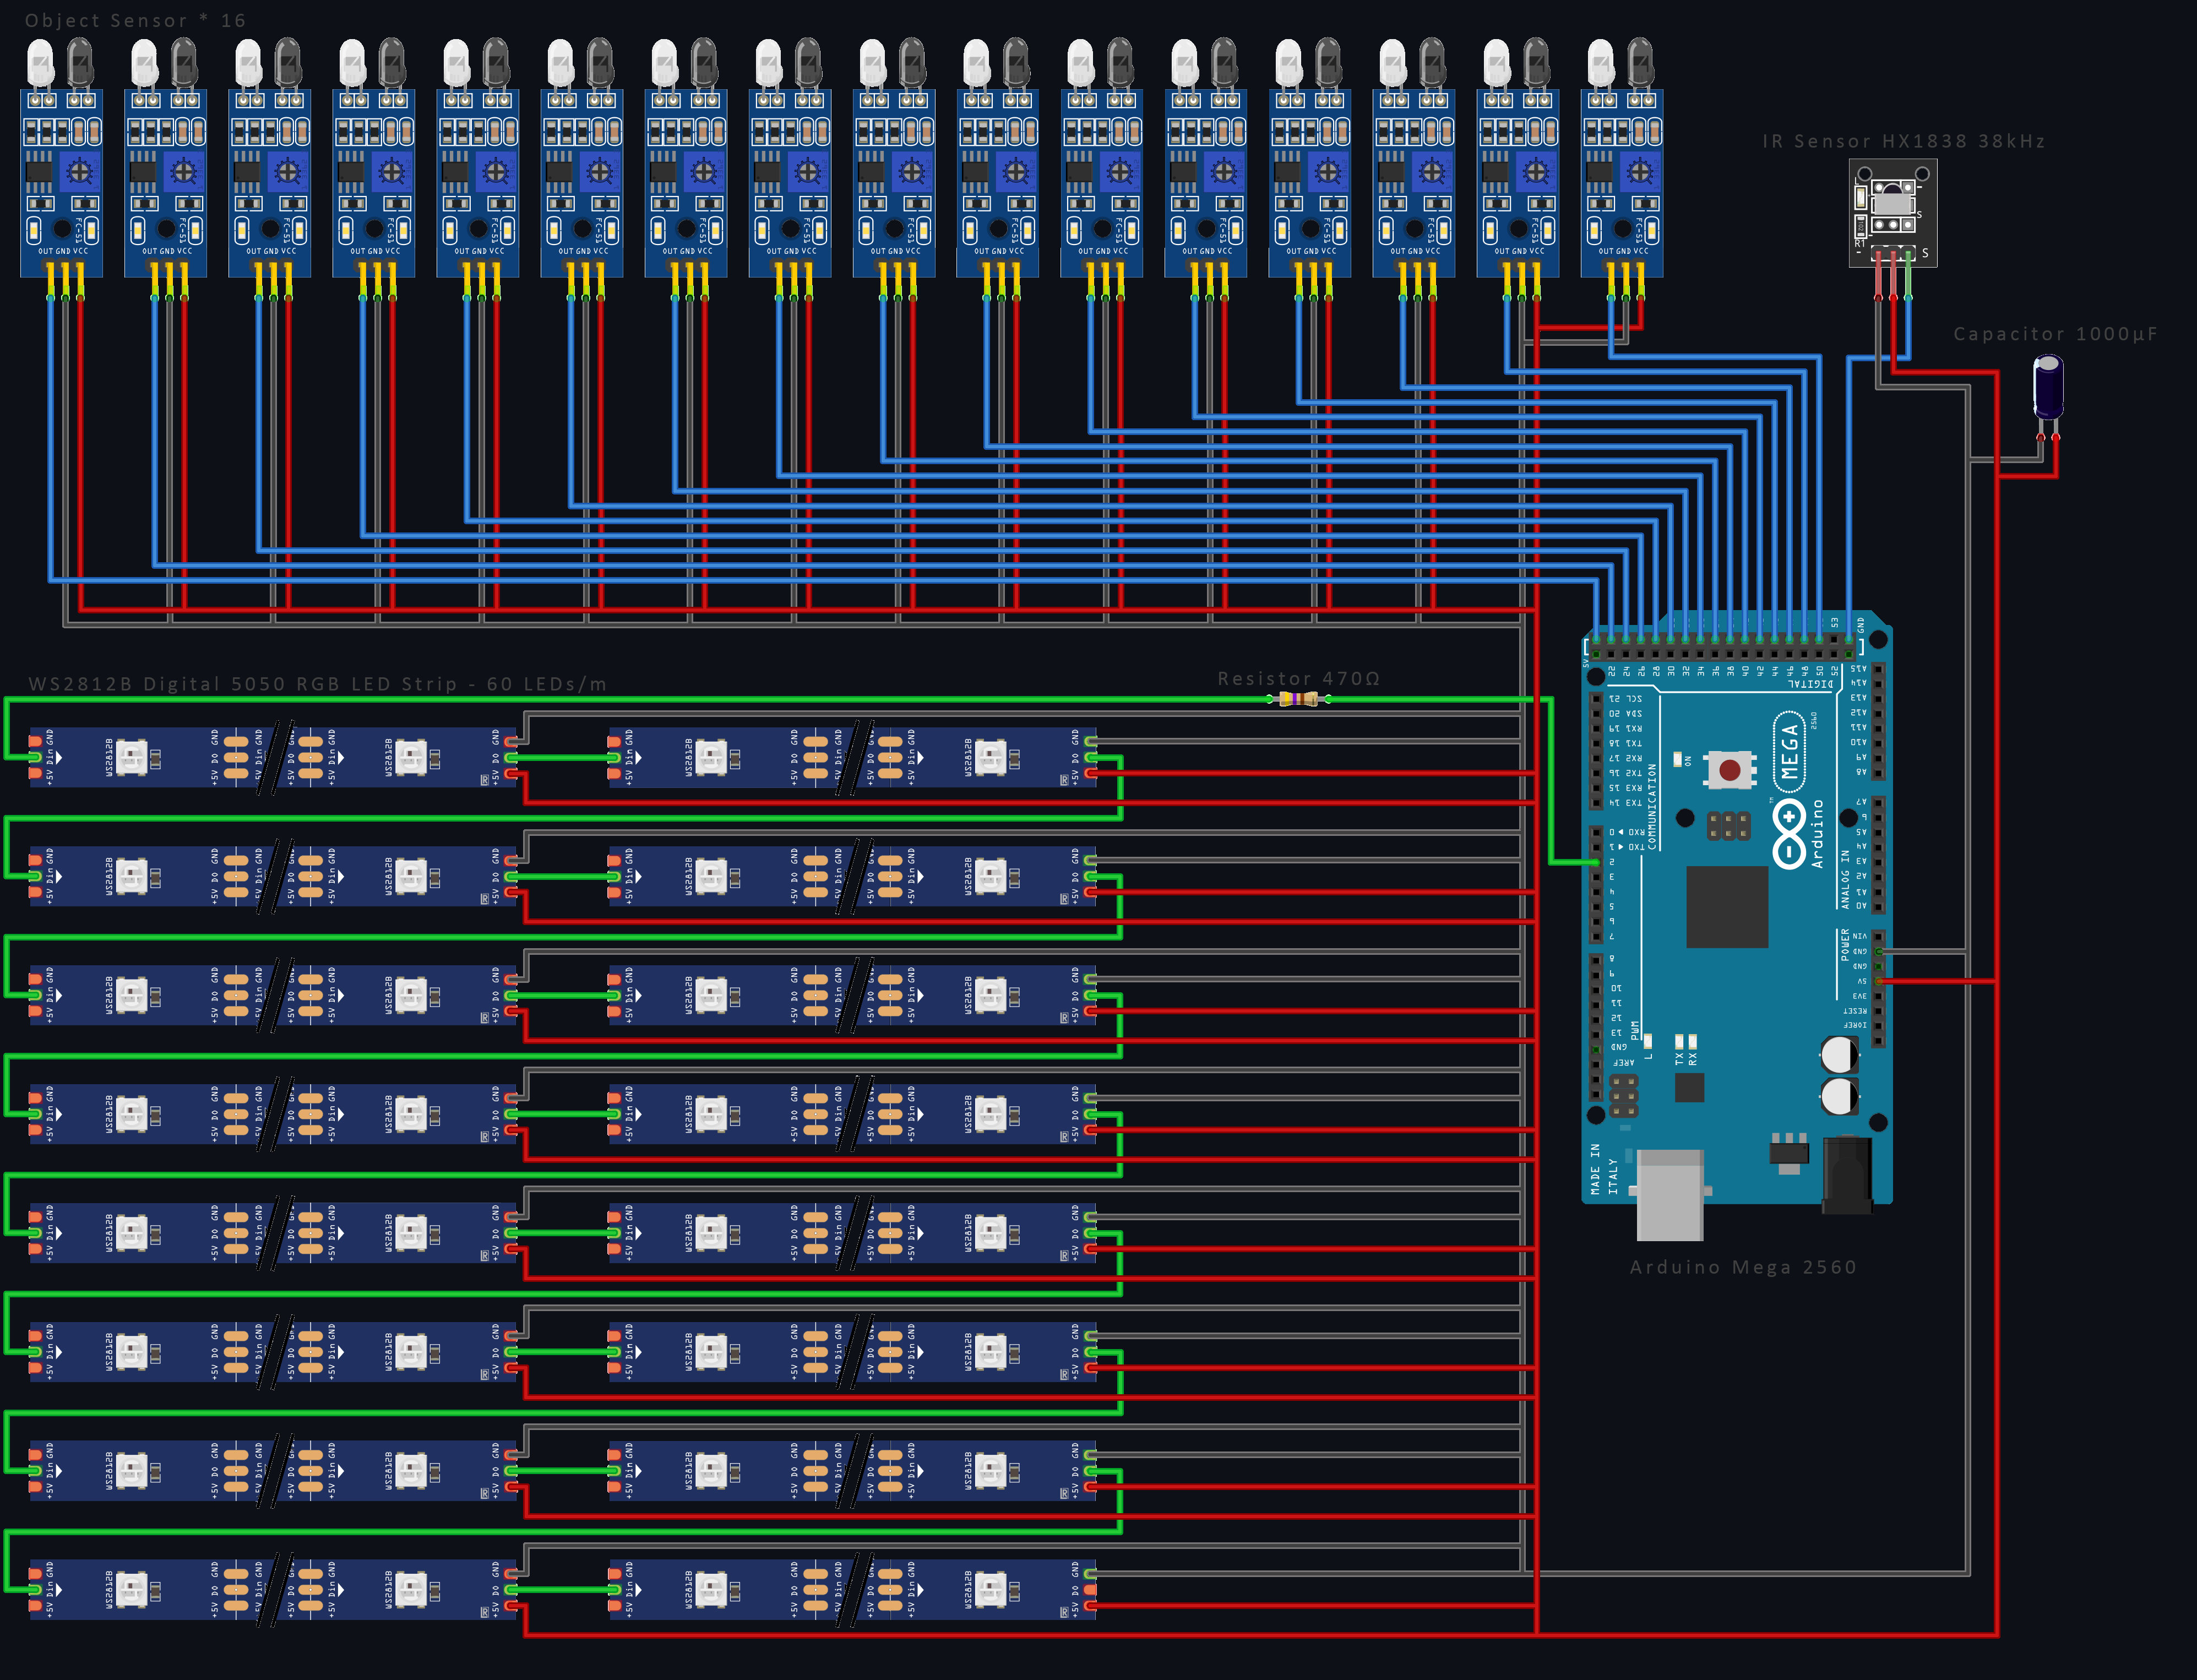
Proximity sensors
Each hexagon contains a proximity sensor which can be used to light up a hexagon when something is grabbed from it. Because 16 of those sensors are needed, unfortunately an Arduino Uno is not sufficient, as it is impossible to connect that many things. That is why I included an Arduino Mega in the shopping list. This also gives me some extra memory capacity. The differences are visible in the table below:
The code I have so far
#include <Adafruit_NeoPixel.h>
#include <IRremote.hpp>

#define LED_PIN           6
#define RECV_PIN          10
#define LED_COUNT         300
#define HEXAGON_COUNT     20
#define HEXAGON_LED_COUNT 108
#define TIMEOUT           50

#define C_PURPLE  strip.Color( 92,  94, 220)
#define C_RED     strip.Color(255,   0,   0)
#define C_YELLOW  strip.Color(255, 255,   0)
#define C_GREEN   strip.Color(  0, 255,   0)
#define C_CYAN    strip.Color(  0, 255, 255)
#define C_BLUE    strip.Color(  0,   0, 255)
#define C_MAGENTA strip.Color(255,   0, 255)

// Stuff for remote
int Program = 0;
int maxProgram = 2;
int Horizontal = 0;
int Vertical = 0;
int Brightness = 50;
bool Active = false;

// Declare our NeoPixel strip object:
Adafruit_NeoPixel strip(LED_COUNT, LED_PIN, NEO_GRB + NEO_KHZ800);

// Runs once at startup
void setup() {
    Serial.begin(9600);
    Serial.println('Arduino is set up!');
    IrReceiver.begin(RECV_PIN, true);

    strip.begin();
    show(); // Turn OFF all pixels
    strip.setBrightness(50);
}


// Runs repeatedly
void loop() {
    if (IrReceiver.decode()) {
        uint32_t myRawdata = IrReceiver.decodedIRData.decodedRawData;
        // Serial.println(myRawdata, HEX);

        RM_translate(myRawdata);
        IrReceiver.resume();
    }

    FX_hexCircle(C_PURPLE,  TIMEOUT);
    FX_hexCircle(C_RED,     TIMEOUT);
    FX_hexCircle(C_YELLOW,  TIMEOUT);
    FX_hexCircle(C_GREEN,   TIMEOUT);
    FX_hexCircle(C_CYAN,    TIMEOUT);
    FX_hexCircle(C_BLUE,    TIMEOUT);
    FX_hexCircle(C_MAGENTA, TIMEOUT);

    FX_colorWipeMulti(C_PURPLE,  10, TIMEOUT);
    FX_colorWipeMulti(C_RED,     20, TIMEOUT);
    FX_colorWipeMulti(C_YELLOW,  30, TIMEOUT);
    FX_colorWipeMulti(C_GREEN,   40, TIMEOUT);
    FX_colorWipeMulti(C_CYAN,    50, TIMEOUT);
    FX_colorWipeMulti(C_BLUE,    60, TIMEOUT);
    FX_colorWipeMulti(C_MAGENTA, 70, TIMEOUT);
}

void show() {
    if (IrReceiver.isIdle()) {
        strip.show();
    }
}

void FX_hexCircle(uint32_t color, int wait) {
    for (int j = 0; j < HEXAGON_LED_COUNT; j++) {
        for (int i = 0; i < strip.numPixels(); i+=HEXAGON_LED_COUNT) {
            strip.setPixelColor(i + j, color);
            strip.setPixelColor(i + j -5, strip.Color(0, 0, 0));
        }
        show();
        delay(wait);
    }
}

void FX_colorWipe(uint32_t color, int wait) {
    for (int i = 0; i < strip.numPixels(); i++) {
        strip.setPixelColor(i, color);
        show();
        delay(wait);
    }
}

void FX_colorWipeMulti(uint32_t color, int pixels, int wait) {
    for (int i = 0; i < strip.numPixels(); i += pixels) {
        for (int j = 0; j < pixels; j++) {
            strip.setPixelColor(i + j, color);
        }
        show();
        delay(wait);
    }
}

void FX_rainbow(int wait) {
    for (long firstPixelHue = 0; firstPixelHue < 5*65536; firstPixelHue += 256) {
        strip.rainbow(firstPixelHue);
        show();
        delay(wait);
    }
}


void RM_translate(uint32_t signal) {
    // Pioneer Remote
    // Stop signal: 66995CA3


    switch(signal) {
        case 0x5EA150AF:
            Program = 1;
            Serial.println("Each hexagon is turning on one by one");
            Serial.println("- use < and > to control the color");
            strip.clear();
            Active = true;
            break;

        case 0x5DA250AF:
            Program = 2;
            Serial.println("Each hexagon starts circling around");
            Serial.println("- use < and > to control the amount of lit LEDs");
            Serial.println("- use UP and DOWN to control the speed");
            strip.clear();
            Active = true;
            break;

        case 0x5CA350AF:
            Program = 3;
            Serial.println("Each hexagon fils up");
            Serial.println("- use UP and DOWN to control the speed");
            strip.clear();
            Active = true;
            break;

        case 0x5BA450AF:
            Program = 4;
            Serial.println("Everything is quite dim but with a motion sensor a single ");
            Serial.println("hexagon can light up if I come close");
            Serial.println("- use < and > to control the color");
            strip.clear();
            Active = true;
            break;

        case 0x5AA550AF:
            Program = 5;
            Serial.println("All off, except when approached");
            Serial.println("- use < and > to control the color");
            break;

        case 0x59A650AF:
            Program = 6;
            Serial.println("Circle around 6 hexagons");
            Serial.println("- use < and > to control the color");
            Serial.println("- use UP and DOWN to control the speed");
            strip.clear();
            Active = true;
            break;

        case 0x58A750AF:
            Program = 7;
            Serial.println("Light up certain hexagons");
            Serial.println("- use arrows to pick which");
            strip.clear();
            Active = true;
            break;

        case 0x57A850AF:
            Program = 8;
            Serial.println("Equalizer");
            strip.clear();
            Active = true;
            break;

        case 0x56A950AF:
            Program = 9;
            Serial.println("Ableton with Max4Live control");
            strip.clear();
            Active = true;
            break;

        case 0x5FA050AF:
            Program = 0;
            Serial.println("TBD");
            strip.clear();
            Active = true;
            break;

        case 0xDF250AF: // up
            RM_move(0);
            Serial.println("Vertical: " + Vertical);
            strip.clear();
            Active = true;
            break;

        case 0x9B6450AF: // right
            RM_move(1);
            Serial.println("Horizontal: " + Horizontal);
            strip.clear();
            Active = true;
            break;

        case 0xCF350AF: // down
            RM_move(2);
            Serial.println("Vertical: " + Vertical);
            strip.clear();
            Active = true;
            break;

        case 0x9C6350AF: // left
            RM_move(3);
            Serial.println("Horizontal: " + Horizontal);
            strip.clear();
            Active = true;
            break;

        case 0x10EF50AF: // enter
             break;

        case 0xF50A5AA5: // volume up
            RM_brightness(1);
            Serial.println("Brightness: " + Brightness);
            break;

        case 0xF40B5AA5: // volume down
            RM_brightness(0);
            Serial.println("Brightness: " + Brightness);
            break;

        case 0x1CE350AF: // disp
            break;

        case 0x1AE550AF: // clr
            strip.clear();
            Active = false;
            break;

        default: // Other button
            break;
    }
}

void RM_move(int direction) {
    switch (direction) {
        case 0:
            if (Vertical < 100) Vertical += 10;
            break;
        case 1:
            if (Horizontal < 100) Horizontal += 10;
            break;
        case 2:
            if (Vertical > 0) Vertical -= 10;
            break;
        case 3:
            if (Horizontal > 0) Horizontal -= 10;
            break;
    }
}

void RM_brightness(int direction) {
    switch (direction) {
        case 1:
            if (Brightness < 250) Brightness += 25;
            break;
        case 0:
            if (Brightness > 25) Brightness -= 25;
            break;
    }
    strip.setBrightness(Brightness);
}
| Arduino Micro | Arduino Uno | Arduino Mega | |
|---|---|---|---|
| Price | € 19,00 | € 20,50 | € 35,00 |
| Dimension | 45 * 18 mm | 68.6 * 53.4 mm | 101.5 * 53.3 mm |
| Processor | ATMega328P | ATMega32U4 | ATMega2560 |
| Clock Speed | 16 MHz | 16 MHz | 16 MHz |
| Flash Memory | 32 kB | 32 kB | 256 kB |
| EEPROM | 1 kB | 1 kB | 4 kB |
| SRAM | 2.5 kB | 2 kB | 8 kB |
| Voltage Level | 5V | 5V | 5V |
| Digital I/O Pins | 20 | 14 | 54 |
| Digital I/O with PWM Pins | 7 | 6 | 15 |
| Analog Pins | 12 | 6 | 12 |
| USB Connectivity | Micro USB | USB-A | USB-A |
| Shield Compatibility | No | Yes | Yes |
Smartphone
Using RemoteXY you can create an app for your smartphone. However, I don't think I will be using this as it requires too many steps to open the app and control my lights. Watch this YouTube video for further instructions on that. I put a WiFi receiver in the shopping list regardless.
Ableton
For Ableton Live there is a Max4Live plugin to control the Arduino. I am not sure how to set that up yet and some additional hardware might be needed. So this part will remain on the wish list until further notice.

Shopping list
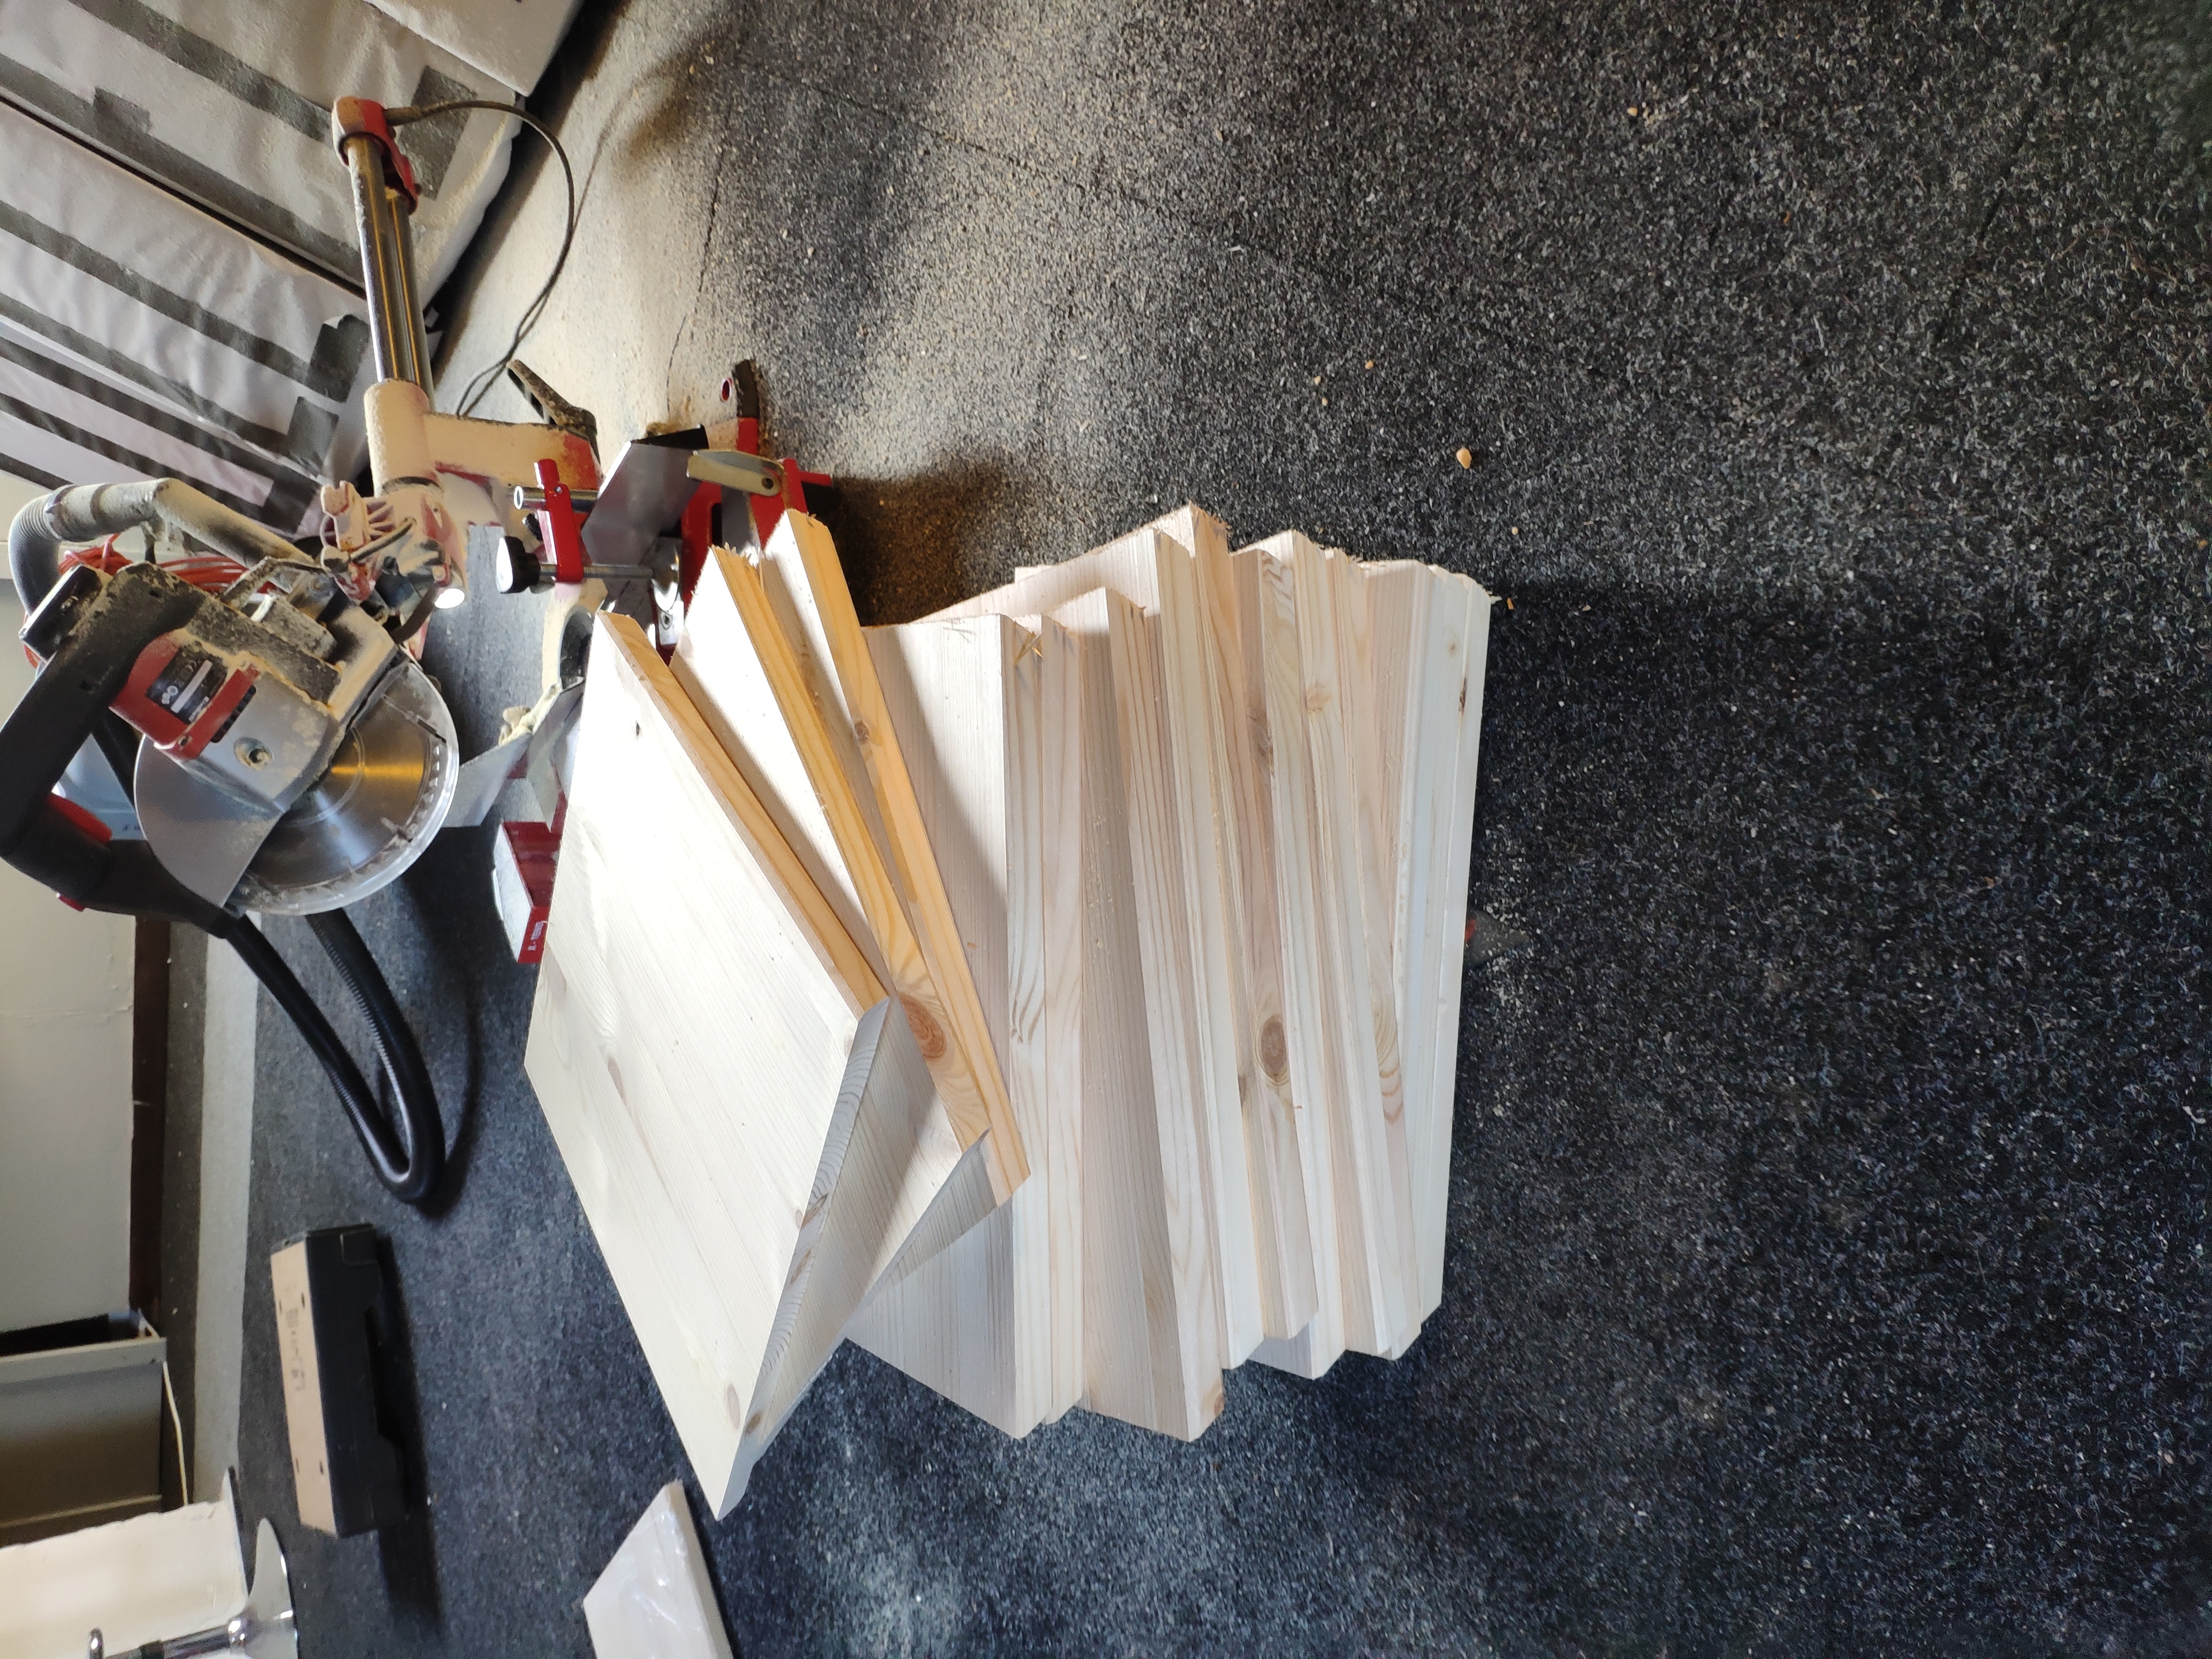
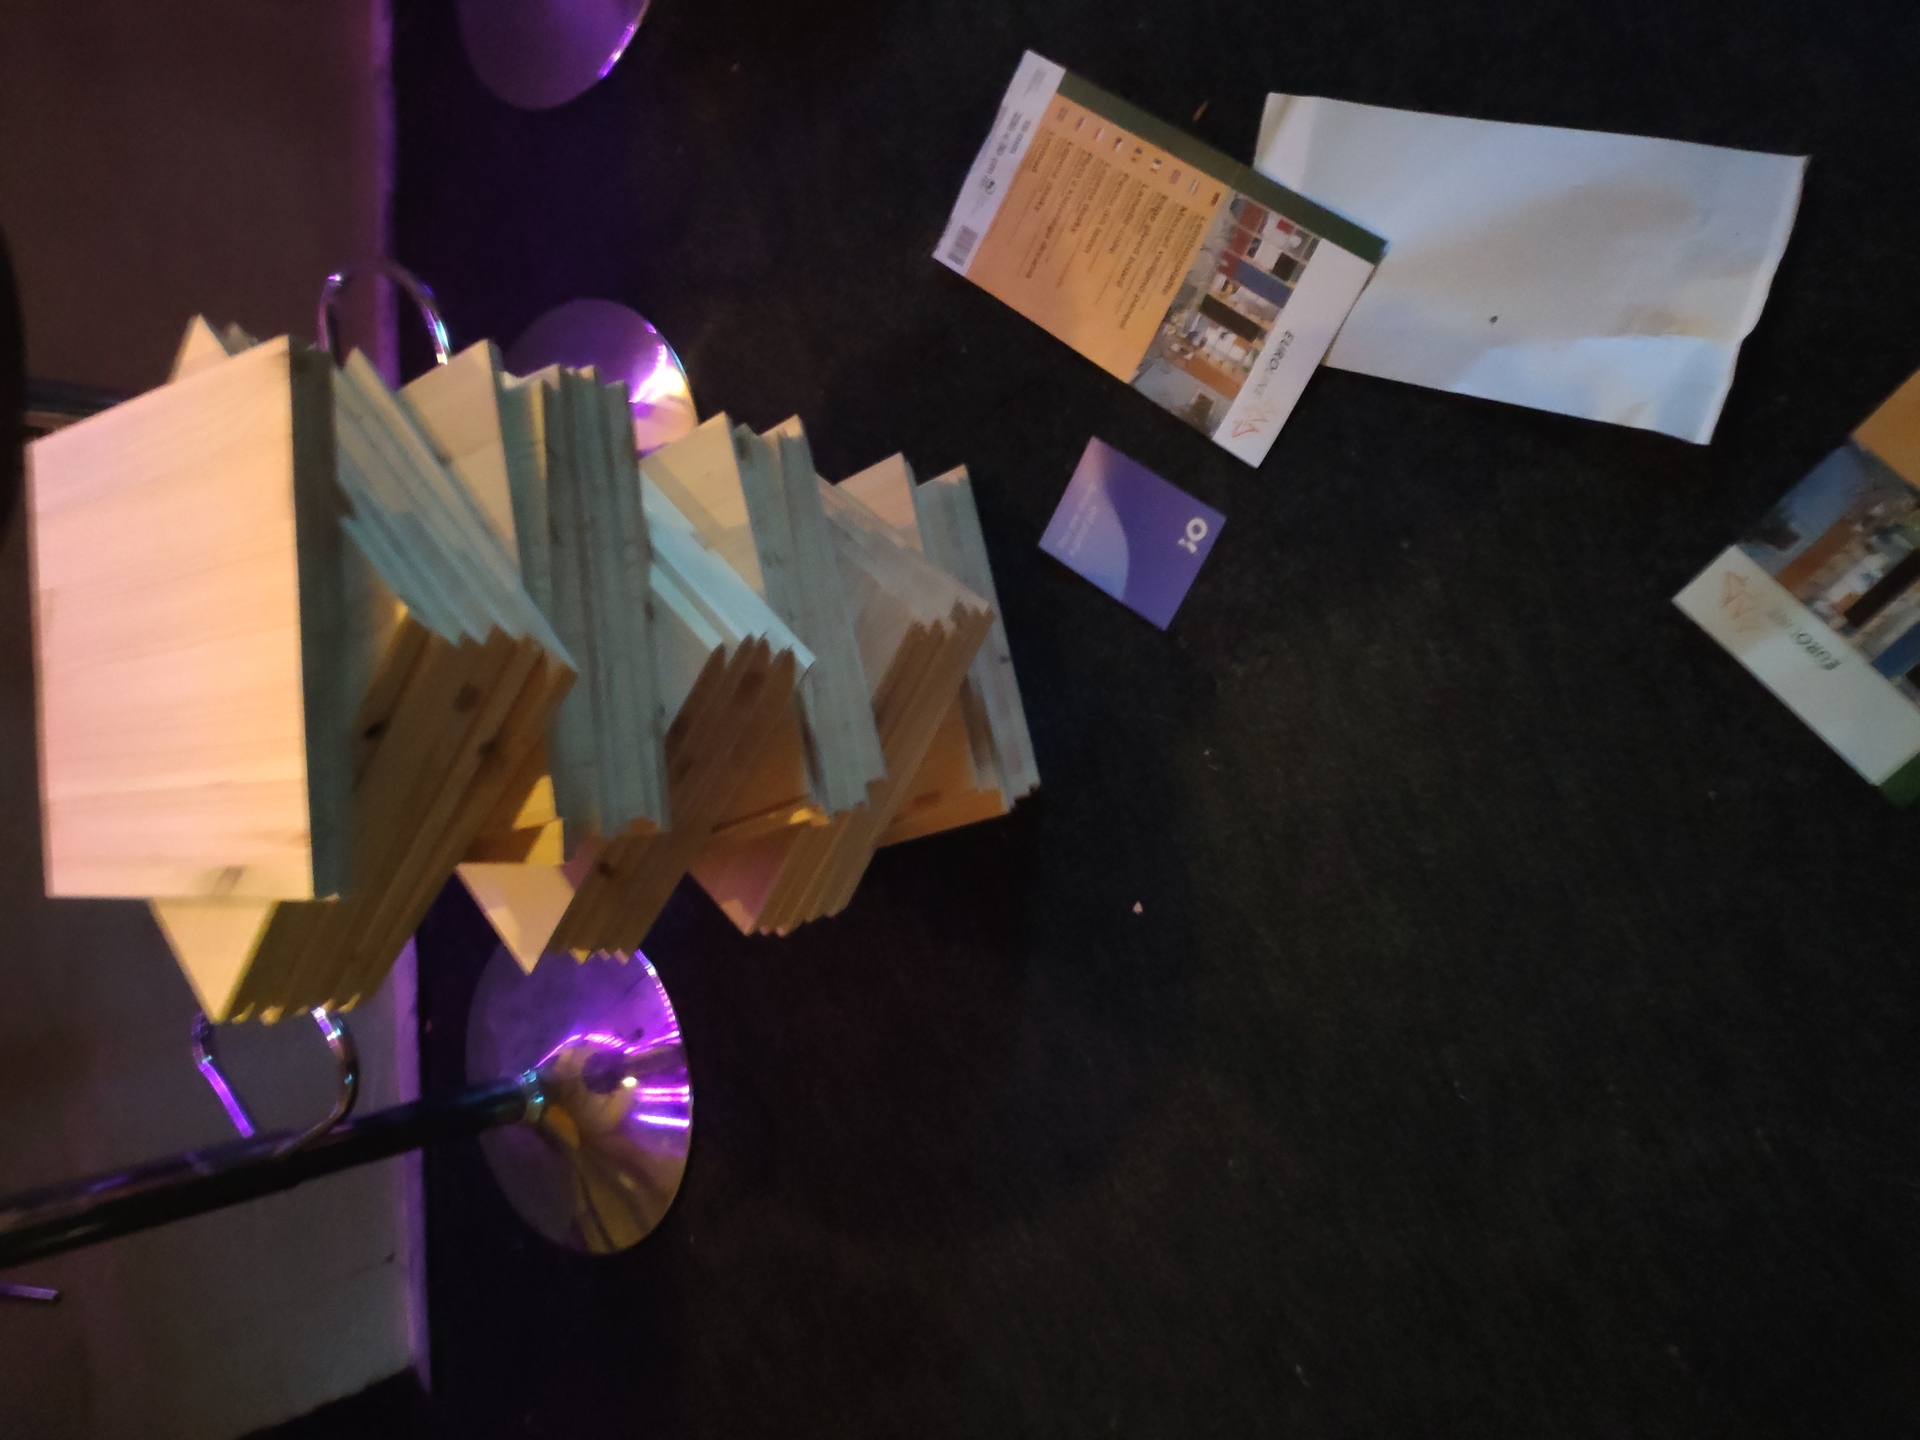
- 13x Solid wood glued panel pine 2350x300x18mm 21 320x320x18mm sections per slab € 24,75
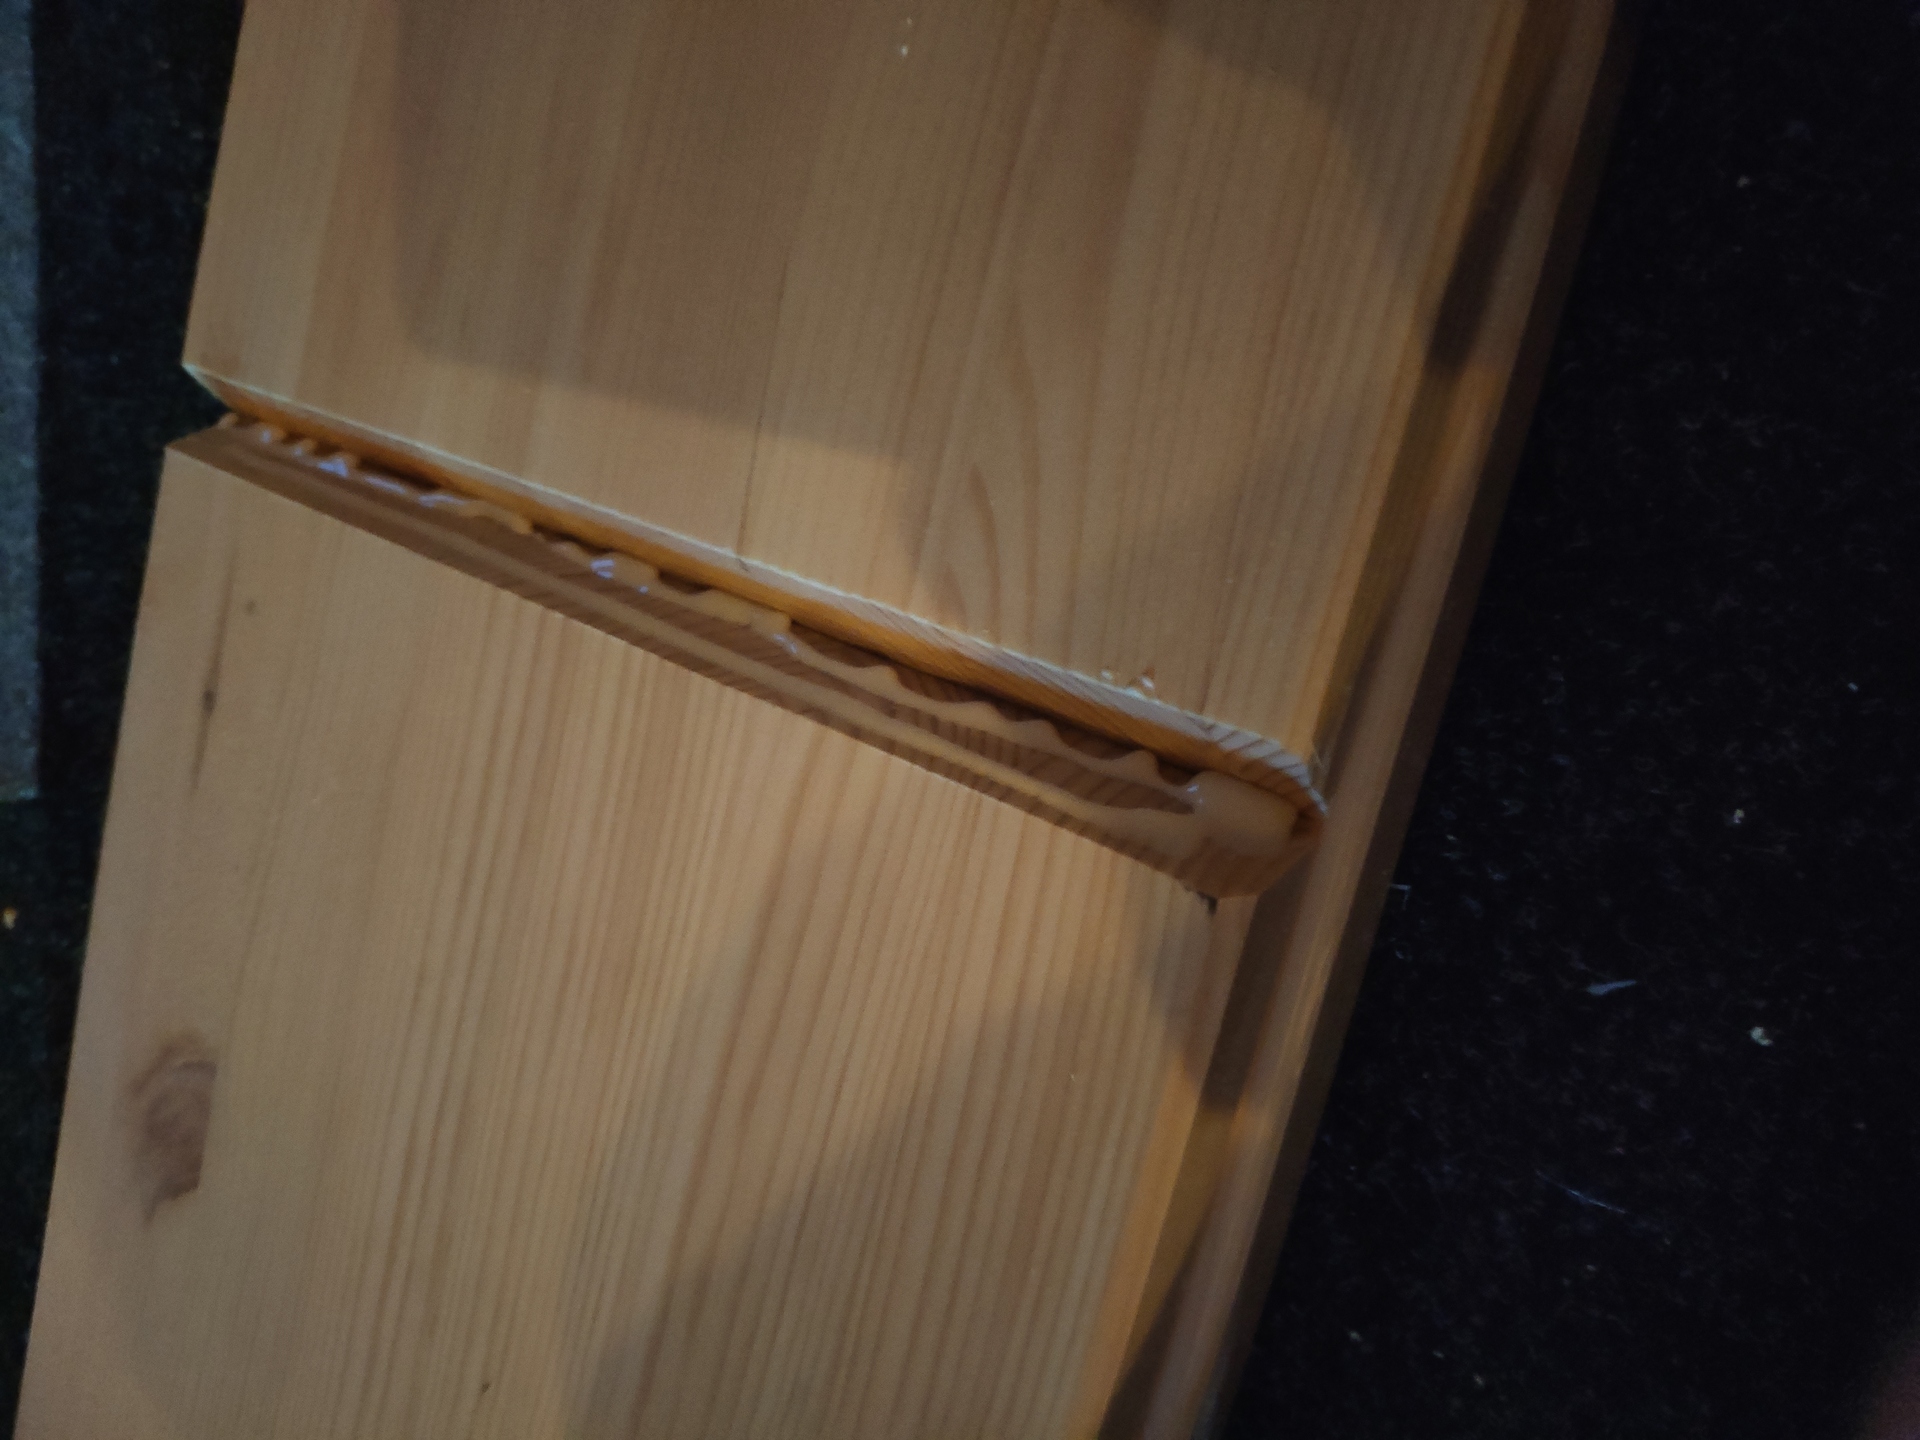
- 1x Wood glue € 9,39
- 1x Wood finish € 31,29
- 1x Arduino Mega 2560 R3 € 35,00
- 2x DuPont Jumper wire Male-Female 20cm 10 wires € 0,75
- 1x 1000uF 25V Elektrolytic Capacitor € 0,25
- 6x WS2812B Digital 5050 RGB LED Strip - 300 LEDs 5m € 50,00
- 1x Heat shrink tubing 2:1 - Ø 14mm diameter - 50cm € 1,15
- 1x 470Ω resistor € 0,05
- 2x Mean Well Power Supply - 5V 26A - Switching Power Supply - RS-150-5 € 30,00
- 2x Standard 230V Power supply cable - 1.8m - Angled plug € 4,00
- 1x Heat shrink tubing Kit - Black € 4,00
- 1x Budget Soldering Station Kit - ZD-99 - 48W € 25,00
- 1x Rotary Encoder Module € 1,50
- 1x IR sensor module with remote and battery - With IR LED € 3,00
- 16x Object Detection Sensor Module € 2,00
- 1x Breadboard 170 points - Black € 1,50
- 20x JST-SM 3p Compatible Extension Cable - 100cm € 2,50
- 1x ESP8266 WiFi Module ESP-01 1MB € 5,00
- 1x Segment Display - 1 Character - Red
- 1x LCD Display 16 * 2 characters with white text and blue backlight
- LCD Displays
- Proximity sensor
Totals: € 891,38
Other Arduino projects
TODO


- Build the cabinet, cut up the LED strip in 16 pieces holding 108 LEDs each.
- Connect all to the Arduino and the power supply - determine how many power supplies are needed.
- Include programming for the IR-sensor and the remote
- Include programmig for the object detection
- Tutorial for LCD usage